Content:
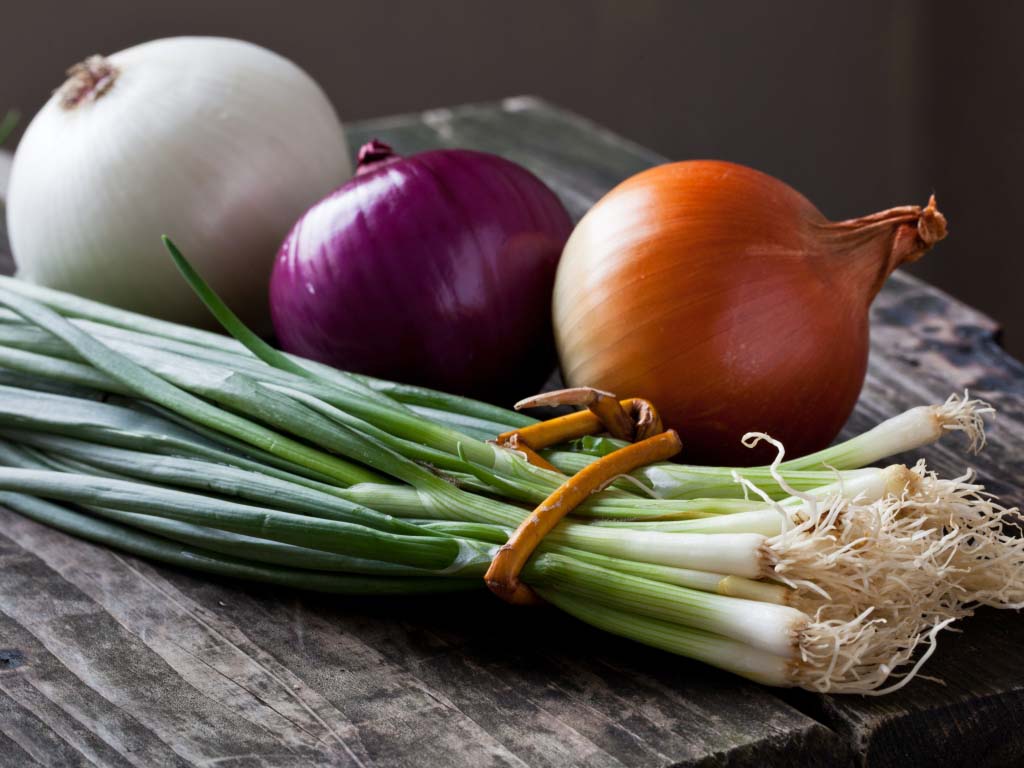
Garlic in Russian cuisine (along with salt and pepper) is considered the main spice. In ancient times, common garlic food helped to stop the plague in Europe because it is a unique plant with bactericidal, anti-inflammatory, antifungal and antiseptic properties.
The spicy plant is one of the least demanding plants, however, it has some characteristics that should be considered when planting. On the one hand, garlic is hardy, on the other, it needs a sunny and not too humid place. In winter, the garden bed can be additionally protected with straw, mulch or brushwood. This article will introduce you to how to care for and cultivate garlic outdoors.
Boarding time
Vegetable growers grow both spring and winter garlic. However, planting winter garlic is more common. The fact is that by spring the planted material has a good root system, thanks to which the process of bulb ripening begins.
In order for the planted material to take root, it must be planted one and a half months before the first frost. In this case, winter will not be terrible for him. Each region has its own landing time. In the middle lane - this is the end of September. In more southern regions, this period can last until early November.

Winter garlic
Soil preparation
With the approach of cold weather, experienced gardeners begin to prepare a plot for sowing. Crop with large bulbs can be obtained on quality soil. Winter garlic loves loamy and sandy loam soils. It does not grow on acidic and saline soils. To get a good harvest for planting, you need to allocate a non-shaded fertile plot of land in the garden, carefully dug up, not containing lumps. The digging depth should be at least 25 cm and all weeds removed.
If necessary, the soil is improved by introducing complex fertilizers or organic matter, but not fresh manure. It can cause fungal infections in garlic. The best for feeding will be peat introduced during digging, as well as an addition per 1 square meter of fertilizer mixture: 20 grams each. superphosphate and potassium fertilizer. Saltpeter is added before planting, at the rate of 10 grams per 1 square meter.
Seed preparation
The main condition for obtaining a good harvest is high-quality planting material and a competent selection of zoned varieties. You should not take teeth from large heads bought in supermarkets for sowing. This garlic is imported and grown mainly in warm countries. He is not used to the mid-latitude climate, so there is no guarantee that he will produce a good harvest.
Otradnensky and Komsomolets are popular high-yield varieties of garlic that tolerate low temperatures well. Novice gardeners should know that before planting, the seed is calibrated by selecting the largest cloves. The garlic bulb is disassembled before planting.
To prevent possible diseases, the seed is soaked for a couple of hours in a weak solution of potassium permanganate. Gardeners recommend empirically proven 2-stage effective disinfection of chives:
- For 3 minutes the planting material is immersed in a solution of ordinary table salt. Solution - 1 tbsp. a spoonful of salt in 2 liters of water;
- For 3 minutes it is immersed in a solution of copper sulfate. Solution - 2 teaspoons of vitriol per 2 liters of water.
Potential diseases and pests
Garlic is considered a biological pesticide. Pests like aphids cannot withstand its smell and tend to stay away. The garlic bulb is most susceptible to disease during the growing season. A fungal disease, in which the roots die off and the leaves turn yellow, is the rot of the bottom. Downy mildew manifests itself as a gray bloom on the leaves.
The garlic tuber becomes ill only if you overdo it with watering, and waterlogging occurs in the garden. This is what can lead to rotting or fungal disease, usually the so-called "garlic rust". In this case, unfortunately, nothing can be done, the tubers are no longer edible.
Prevention in this case is the processing of seed and not waterlogging of the soil.
Planting in the beds
The bed must be leveled. To obtain a harvest with large garlic bulbs, rows are formed every 20-25 cm from each other. The distance in a row between the cloves is from 10 to 12 cm. On average, 45-50 cloves per 1 square meter are considered the norm.
The earth should be of moderate density so that in winter the clove is not pushed out of the ground. Too soft is also not suitable, it can pull the seedling down, as a result, small heads will form.
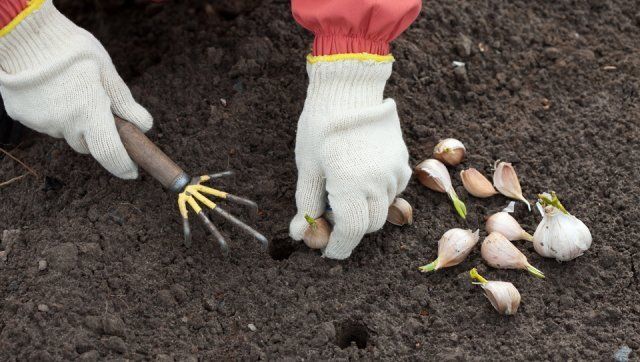
Planting in the beds
When planting, the tooth should not be pressed into the ground, so as not to damage the place of root growth. How deep to land depends on the size of the teeth. The recommended distance from the tip of the clove to the top of the soil is up to 5 centimeters.
Before leaving for the winter, the garlic beds are mulched with a layer of leaves, dried grass or sawdust, and brushwood is laid out for snow retention.
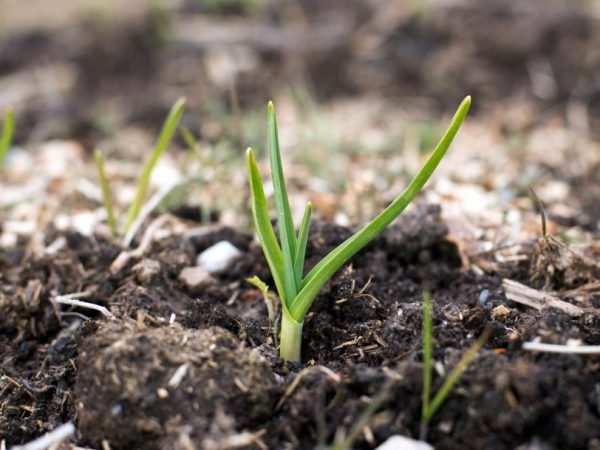
Care
Garlic is an unpretentious plant. Taking care of sprouted garlic after winter is easy. With the arrival of spring, the beds with winter garlic begin to loosen, removing the winter shelter, and weeding is carried out from weeds that have managed to appear in the aisles. Weeding must be done constantly, removing weeds that are competitors of garlic in obtaining nutrients.
In April, there are already green sprouts of garlic in the beds. At this time, he likes to loosen the soil, for a better supply of oxygen, and needs additional nutrition. Due to the preference of gardeners, summer residents, organic or mineral fertilizers are chosen. Winter garlic sprouting in spring is to help the plant start an active growing season.
The first top dressing is applied two weeks after the snow melts or the first garlic leaves appear. This is an aqueous solution of urea (for 10 liters of water - 1 tablespoon of urea). Fertilizer distribution - per 1 sq. meter of planting is 2 liters of solution.
Winter garlic care in spring
If an active growing season has begun, and the soil is well fertilized in the fall, the second top dressing can be done in April-May. It uses ammophoska and nitrophoska (2 tablespoons per 10 liters of water), produced a couple of weeks after the first feeding. Fertilizer distribution - about 3 liters of solution per 1 square meter of planting.
You should not be zealous with fertilization, as well as forget that only proper care of garlic in spring will bring a good harvest. Fertilization is traditionally considered to be more harmful than beneficial. If the leaves of the garlic have lightened, the plant is fed with nitrophosphate (2 tablespoons per 10 liters of water).
You need to start watering the garlic after the spring moisture has left. You need to water the seedlings regularly, but moderately during the period of active growth, so that a large garlic head is formed. There should be light soil moisture. If the beds are mulched, soil moisture remains longer. Throughout the summer, weeding and loosening of the soil after irrigation are carried out.
In arrowed garlic, the arrow is broken off at its height of 10 cm. If there is a need to grow bulbs for "divorce", a few strong plants are left.
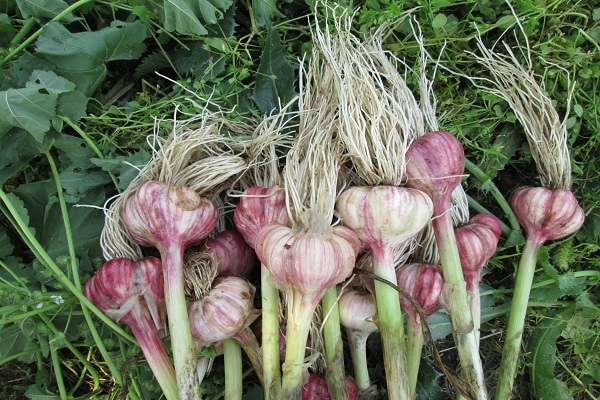
Harvesting garlic correctly
Watering should be stopped a month before harvesting the garlic. When the arrow is 20 cm high, it must be pinned at a height of 5 cm and the soil must be shaken off from the bulb so that its top is visible for faster ripening.
The first signs of the readiness of the garlic harvest for harvest are the yellowed lower leaves and the majority of them. In mid-July, harvesting begins in the middle lane, and in Siberia and the northern regions - in the first decade of August.
Harvesting garlic correctly
Weather conditions are also important. If the rainy season is successful, the bulbs will ripen earlier than in a hot, dry summer. In any case, the type of garlic, its upper dense scales, serves as a guide for ripening. Why shouldn't you hesitate to dig up the garlic bulbs? The bulb in the ground will “overripe” and begin to disintegrate and germinate. In this case, the garlic is poorly preserved.
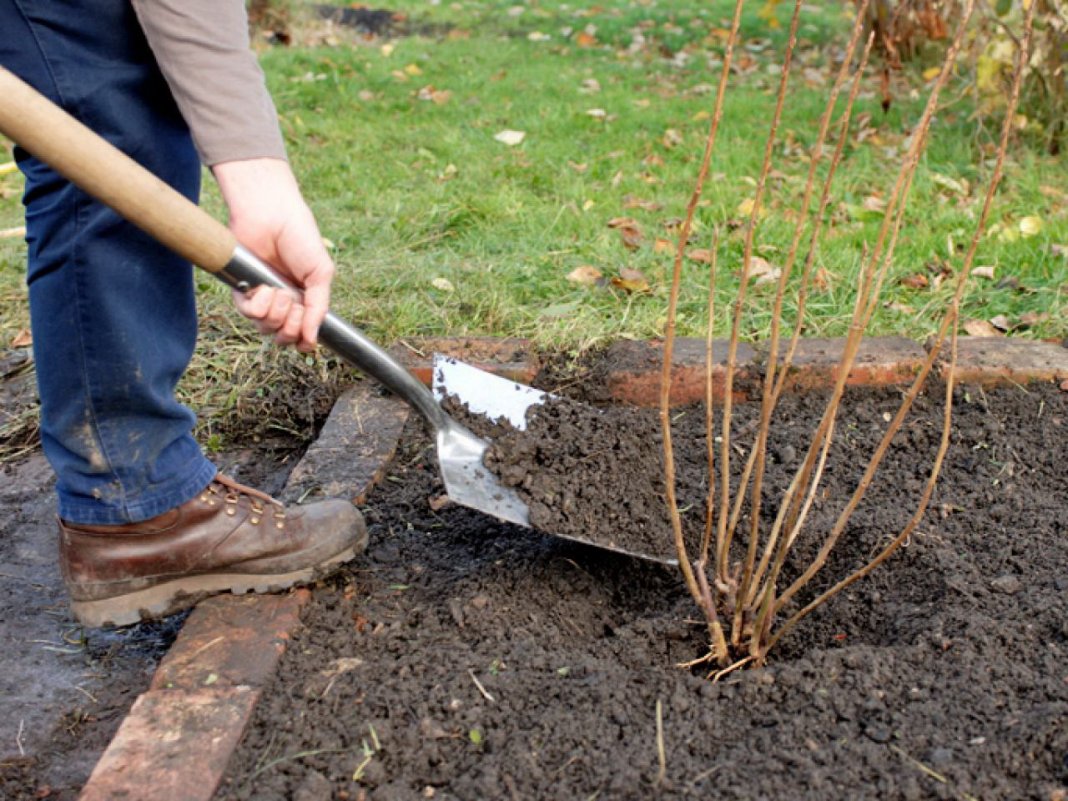
Harvesting is carried out on warm sunny days:
- When collecting garlic, use a shovel or pitchfork. The main thing is not to damage the bulbs;
- From the dug out garlic, you need to shake off the soil from the rhizome, but in no case knock on the shovel. The garlic head in the striking places may begin to rot;
- Drying of garlic is carried out within a week. In sunny weather, garlic is dried in convenient places in the dacha or in the garden plot. On cloudy days, drying can be organized in a well-ventilated area such as an attic or a shed in the yard;
- Do not cut off all the leaves of the plant. During drying, they provide additional nutrients;
- After drying, the garlic should be inspected for the integrity of the cover. It protects the garlic in storage. It is recommended to prune the roots, but leave 2-3 cm so that the garlic does not dry out. It is necessary to leave the trunk of the garlic for long-term storage;
- The best heads with large teeth should be set aside as seed for winter planting.
How is garlic stored
Harvested garlic can be stored both at room temperature and cooler. The optimum room humidity should not exceed 60%. Not the last role is given to ventilation. Garlic can be stored in a number of ways:
- In the form of a braided braid, weaving up to 20-25 heads. At the end of the braid, a loop of rope is made to hang it in the storage area. This can be a dry basement and pantry;
- Garlic is kept in wicker baskets. It is well ventilated, and the risk of decay of the heads into teeth from drying out decreases;
- Garlic is well preserved in flour. It protects against rodents and insects;
- In canvas bags soaked in saline, garlic does not dry out and is stored until spring;
- If garlic is used frequently in food preparation, it can be stored in a container in the kitchen, sprinkled with salt;
- Some growers store garlic in paraffin. A thin shell is formed around the onion dipped in paraffin, through which the liquid does not evaporate. Garlic is preserved, and in this form it remains fresh for many years.

How is garlic stored
Wherever you store the harvested garlic crop, it should be reviewed from time to time. In preparation for storage, there may be an unnoticed scuff or cut on the bulb. This can cause rotting or mold formation on the bulb. Spoiled and suspicious material must be removed from the storage area to avoid contaminating healthy heads of garlic.