Content:
Beekeeping is one of the most popular agricultural activities. In our country, they have a rather negative attitude to any innovations in this area. Styrofoam hives belong precisely to such moods - they are not at all like professional beekeepers. We can safely say that such bee houses are welcome only to people who are capable of experiments and easily accept everything new.
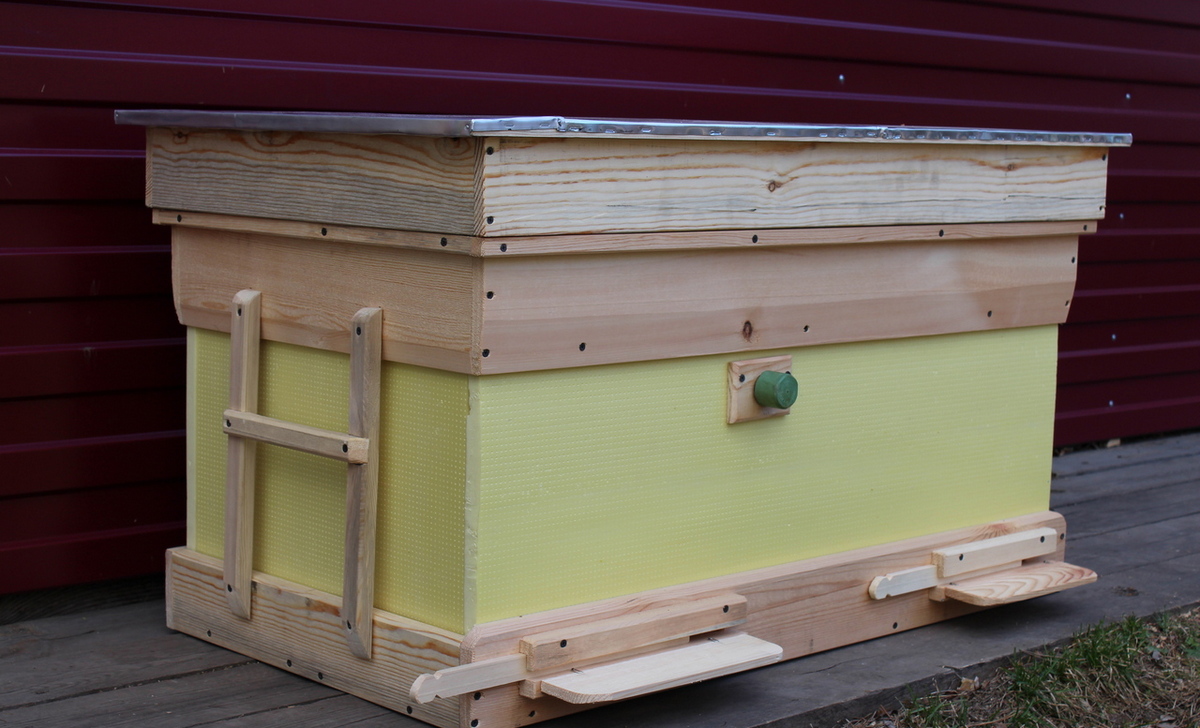
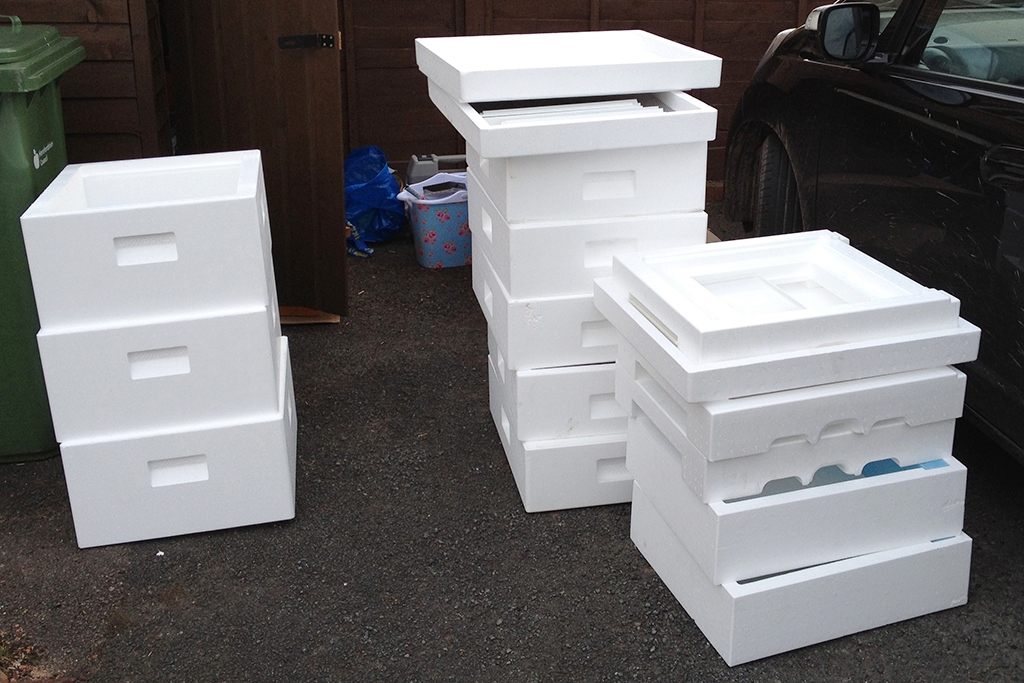
DIY styrofoam hives
Of course, there is nothing that we could be better than quality wood. Naturally, such materials are much more expensive than their artificial substitutes, which are foam or polystyrene. But only if the hive was built with your own hands from expanded polystyrene.
Styrofoam hive
In the polystyrene production, plates are manufactured using extrusion technology. In special chambers, work is performed to straighten plastic granules, from which, as a result, closed-cell masses are obtained, bonded at the molecular level. The heat in the stoves is retained by oxygen or gas, which remains in the cells.
Styrofoam hive: advantages and disadvantages
There are several types of this material, some of them are used in the construction of highways and other road facilities. The main advantages of such hives are:
- durability when used;
- environmental safety, since this material does not emit harmful substances and toxins;
- resistance to fungal and putrefactive formations;
- The Styrofoam hive is completely uninteresting for mice and rats.
And while making a beehive from penolex, it is worth remembering about the shortcomings of this material.
It's too light. Houses made from this material can be knocked down by strong gusts of wind, even when fully loaded. Structures with several levels are especially unstable. That is why, when installing, the hives must be secured with bricks or other heavy elements.
No matter how advertised this material, saying that it "breathes" and perfectly lets the air through, in fact it is not at all like that. You just need to remember that these materials are the cause of excessive moisture during wall insulation in living quarters.
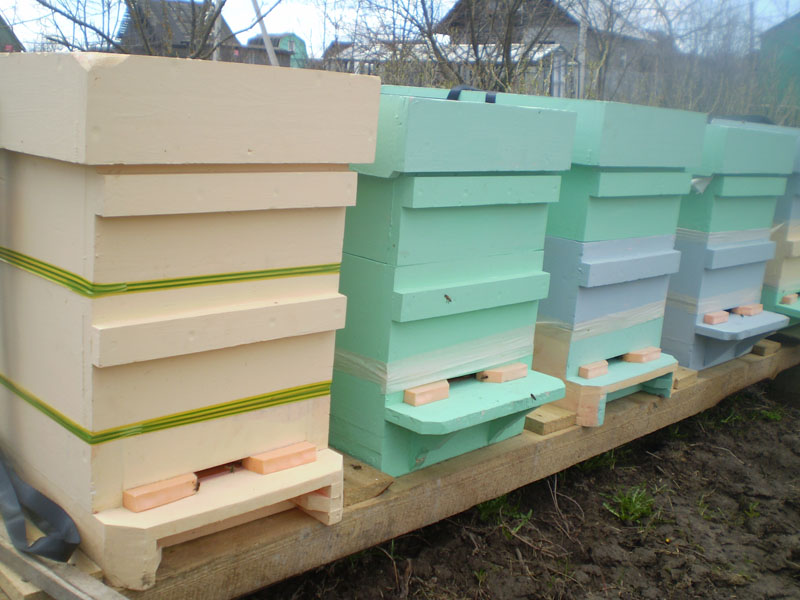
Houses made from this material can be knocked down by a strong gust of wind.
That is why penoplex hives accumulate a huge amount of condensation. To protect yourself from it during manufacture, you need to take care of special holes adapted for ventilation. If necessary, they can be plugged with plugs. A Styrofoam hive requires close attention from the beekeeper, since only through his oversight, mold or mildew can appear on the frames.
Manufacturing technology
For the manufacture of foam hives, in addition to the material itself, a number of different devices will also be required:
- glue or liquid nails suitable for working with this material;
- mesh, which will serve to close the ventilation holes;
- pen or felt-tip pen;
- a clerical knife and wood screws, the length of which must be at least 7 cm;
- roulette;
- sandpaper;
- screwdriver or Phillips screwdriver.
In order to rationally use the prepared materials, it is necessary to make a drawing of the future hive.
Preparation of the necessary parts
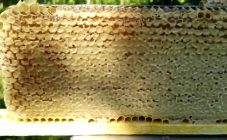
For the walls of the house, it is necessary to prepare polystyrene foam, the thickness of which is 0.5 cm. It is this type of material that has sufficient lightness and density.
It should be noted that bee houses consist of several parts: roof, walls and bottom.
The dimensions that were included in the drawing must be transferred to the PPP plates, but with a small margin. And then cut with a clerical knife, while helping with a ruler. It is worth remembering that the gap between the parts should not be, or they should be minimal. This requires extraordinary precision. After all, if the bees see a gap, they will gnaw through an additional entrance in it.
Build rules
After all the necessary parts have been cut out, they must be sanded with sandpaper. This will give them extra smoothness. Only after all the preparatory work can folds be applied to the walls of the future bee house, which will serve as a support for installing the frames.
Sand with sandpaper
The hive must be collected, taking into account the following sequence:
- grease the edges of each workpiece with glue;
- connect and fix the joints of the parts;
- remove the remnants of the glue until it dries.
In order for the hive to be more durable, it is necessary to additionally connect the parts with self-tapping screws. The distance between them should be 12-15 cm. And the screw-in depth should not exceed 4-5 cm.
Complete drying of the structure occurs within 24 hours. If it's dry and sunny outside, you can leave it outdoors. But to improve the fastening, tighten with belts or special harnesses, and in order to prevent the structure from falling, you can put several bricks or stones on its roof.
The last stage of work
After complete drying, it is necessary to grind all the ends of the parts with sandpaper, but it is worth remembering that you cannot press on it. If, nevertheless, small gaps remain between the parts, they must be closed with ordinary polyurethane foam. And only after that, proceed to the final stage of work:
- fix the corners on the walls in the places of the recesses;
- insert the finished frames inside;
- a mesh must be introduced into the bottom of the hive, which will provide air access; for this you can use an aluminum bumper mesh;
- install a cover on the structure, but at the same time make sure that it does not outweigh it;
- in order to increase the service life of the hive, its outer part must be painted with water-based paint.
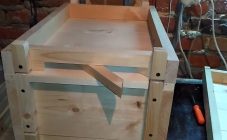
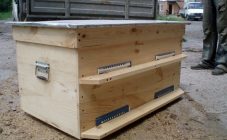
How to build 6 pps frame hive
The first thing to start with building a six-frame house for bees is to prepare all the consumables. What materials and tools will be needed is described above.
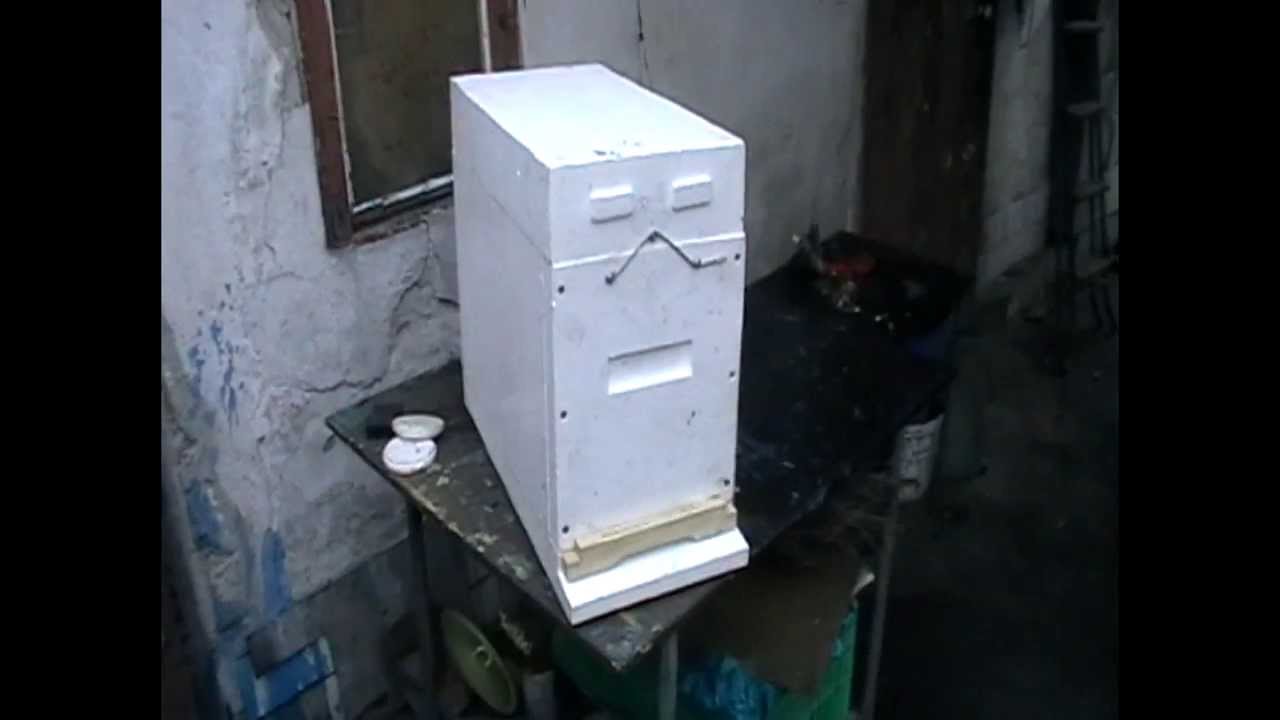
6 pps frame hive
The principle of operation is also practically the same. The only thing is the number of folds for frames.
After everything that is necessary has been prepared, it is necessary to proceed with the execution of the drawing, in which all the necessary dimensions must be entered. The dimensions of the future hive depend on the number of frames.
As you can see, making a bee dwelling does not require special knowledge and skills. Even a schoolboy can build it. You just need to correctly calculate the dimensions and make a drawing.