Content:
With the help of juniper, you can decorate the garden without much effort and cost. It will not only improve the design of the site, but will also be beneficial by enriching the air with oxygen, killing pathogens with phytoncides. This article describes how to grow and where to use Green Carpet Juniper in your home gardening.
Characteristics of the juniper Green Carpet
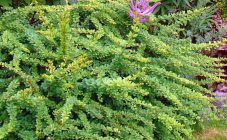
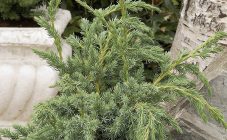
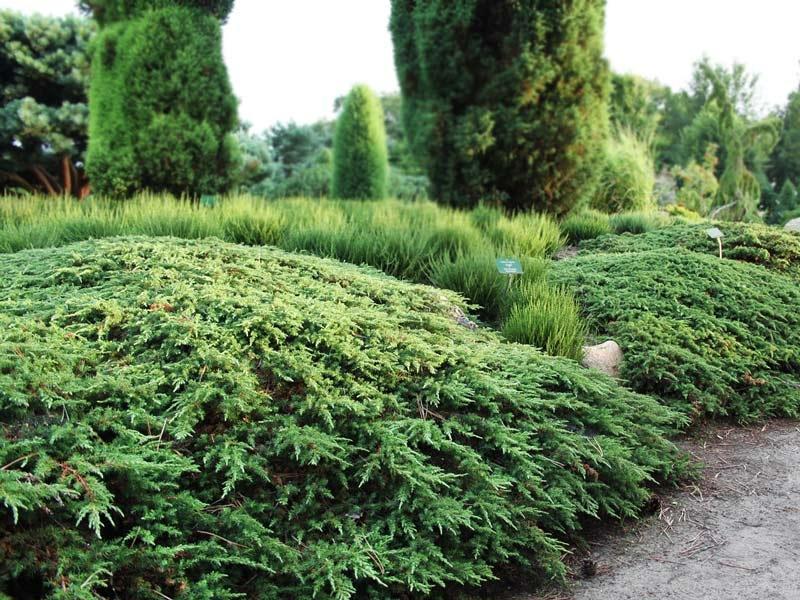
In the description of this shrub, a characteristic feature is its creeping crown, which grows in diameter up to 1.5-2 m.At the age of 10, its height reaches only 0.1-0.2 m.The shape of the needles is acicular, the color is green with bluish tint. At a young age, the bark of the plant is red-brown in color, with age it turns brown.
Juniper Green Carpet
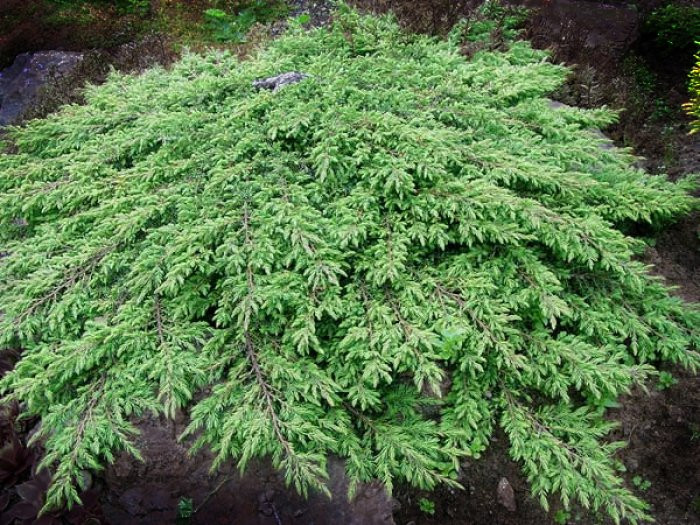
Juniper shoots have a dense structure, as they grow, they intertwine with each other. Due to the flat shape and soft needles, carpet flooring is created on the site. Due to the branchiness, the juniper clogs the weeds on the site, and does not require weeding.
When to plant
A juniper (in Latin - juniperus) with an open root system is planted only in the spring (April, May). At a later time, the needles may get burned. You need to choose a cloudy, but not rainy day for planting a bush.
Seedlings with a closed root system are planted in spring and autumn (until the end of October). When planting at a later time, the bush may not have enough time to adapt, and in a frosty winter it is more likely to die.
Where to plant
Juniper Green Carpet will thrive under the following conditions:
- the planting area should be open, without large plants next to it;
- access to light is necessary throughout the day, otherwise the bush will lose its decorative appearance;
- the landing site should not be blown by northerly winds.
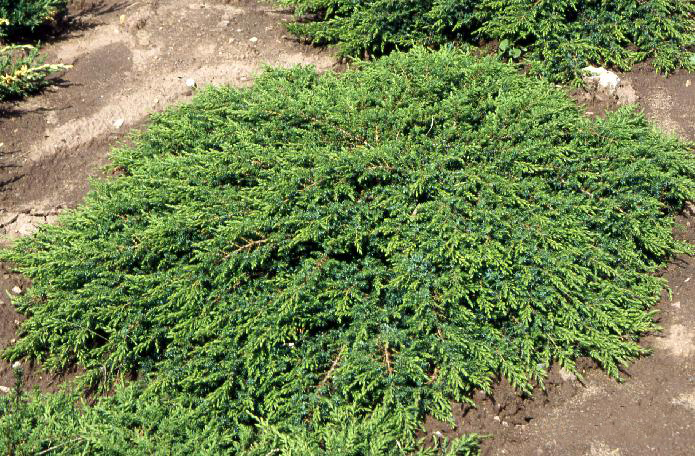
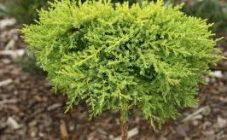
Light access is required throughout the day
Common juniper allows light shade at noon, but not more than a few hours.
Soil preparation
The best substrate for juniper is a mixture of coniferous soil, coarse sand and peat. It is advisable to calcine the sand in the oven to destroy harmful microorganisms. This must be done in advance for the subsequent restoration of microflora in the sand.
The components are thoroughly mixed until a homogeneous mass is obtained. Mulch is also being prepared. It should consist of peat and sawdust, preferably from coniferous crops.
Juniper planting
Step-by-step instructions for planting a juniper are as follows:
- Places of planting of bushes are marked. If several plants are planted, it must be borne in mind that they will grow over time, and observe a distance between the pits of about 1.5 m.
- Planting holes are pulled out, having a diameter 2 times larger than the root system. The depth is dug taking into account the drainage layer.
- At the bottom of the hole, drainage is laid out, consisting of broken brick, gravel, sand.
- Then the prepared substrate is poured. You can add about 200 g to it.nitroammophos.
- For 2-3 weeks, the soil in the planting hole should settle naturally. This is to minimize the risk of root damage.
- After the specified time, the seedling is placed in the center of the pit, covered with prepared substrate, but without adding fertilizer.
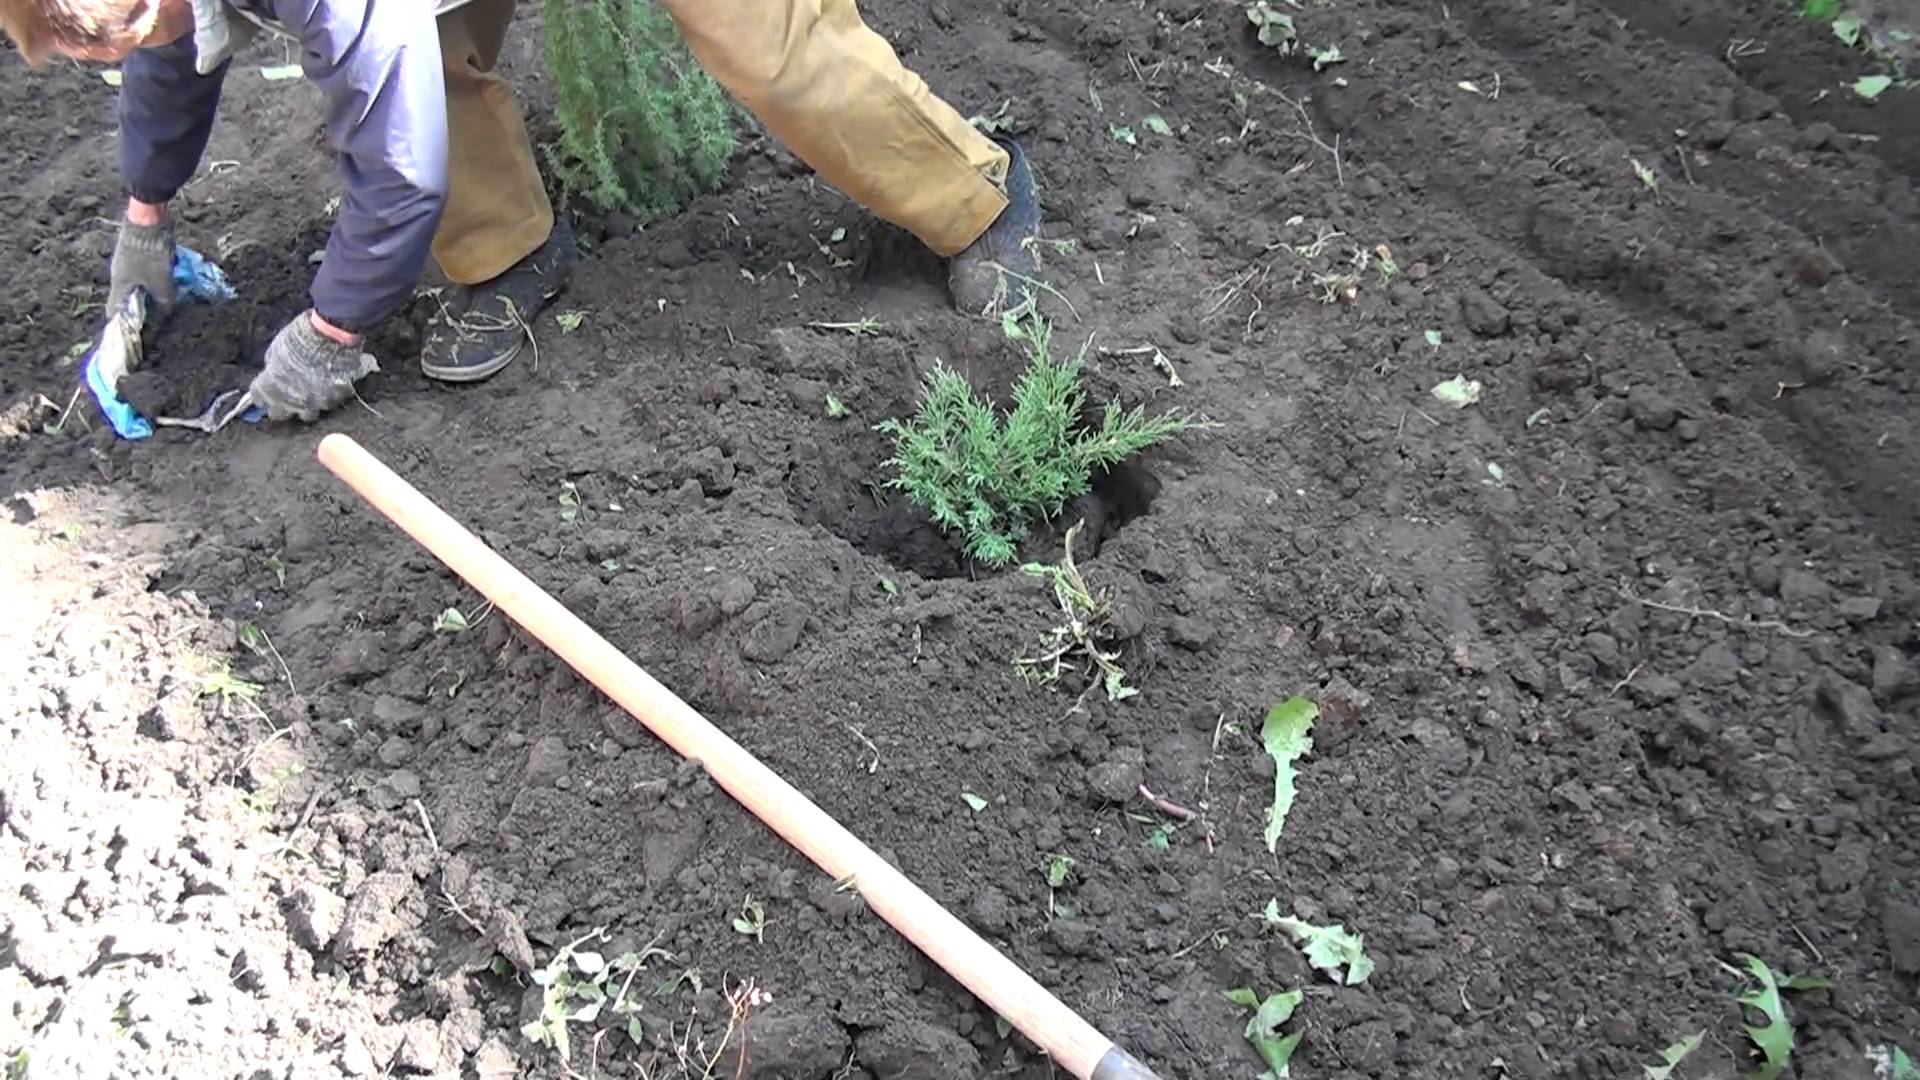
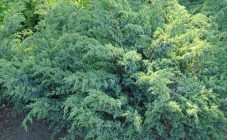
Juniper planting
Care
Seedlings require some attention after planting, which is as follows:
- after planting, the bushes must be watered;
- the root circle is mulched with peat and sawdust with a layer of up to 5 cm;
- a month later, the juniper is fed with nitroammophos (for 1 sq. m - 40-50 g of substance);
- watering is carried out only during prolonged dry weather;
- every week the needles are sprayed from a spray bottle.
Spraying has a positive effect on the condition of the plant. It should be produced in the morning or in the evening, since the needles may burn if exposed to sunlight. Pruning is carried out only sanitary: broken, dry, diseased branches are cut. Juniper propagation is mainly done by cuttings.
Diseases and pests
In early spring, the Green Carpet juniper can be burned by the sun's rays. To prevent this, the bush is covered in late February or early March with a non-woven material (lutrasil, spunbond), spilled at the same time with water.
In addition, the juniper can be affected by fungal diseases. Affected juniper branches are cut and destroyed, the remaining ones are treated with fungicides. Fungal diseases are best prevented: in early spring, spray the plants with antifungal drugs.
In early spring, the Green Carpet juniper can be burned by the sun
Of the pests, the juniper can be attacked by aphids, scale insects, spider mites. As a measure to combat them, solutions of insecticidal preparations are used.
Use in landscape design
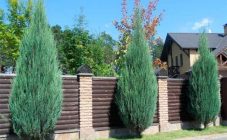
Junipers are beautiful in themselves, but in combination with flowering plants, the site will sparkle with new colors. Common juniper of the Green Carpet variety is best combined with small-flowered plants of low growth. In an alpine hill, herbaceous carnations, subulate phlox, young barberries will be good companions for him.
The creeping juniper can also "knock the legs" of its taller relatives, for example, the Strict juniper, especially if it is formed in the form of a trunk. Low-growing varieties with different shades of needles, planted nearby, look beautiful.
Having planted a creeping species of juniper on the site and properly caring for it, the gardener will be able to admire the beautiful shoots for a long time, as well as inhale the useful phytoncides that they thin out.