Content:
Professional beekeepers often use new technologies. One of these is the keeping of bees in multi-hive hives. The advantage of this method is its functionality. Thus, you can increase the seasonal yield of honey at least 3 times. The following is all about the multi-hive hive, how to install and equip it.
The basics of beekeeping in multi-body hives
One of the most important actions of the beekeeper is the expansion of nests for bee colonies. The apiary needs such work in the spring time, until the heat comes, and the weather remains unstable. At the same time, it is logical that the second body will take heat, making the design much cooler than a single-body design.
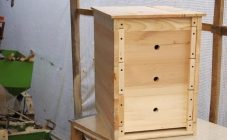
You can make a multi-body hive with your own hands or buy it. For this purpose, soft wood is used, the moisture content of which is no more than 8%. You should not use larch for boards, since such a tree can crack after complete drying.
DIY multi-body hive
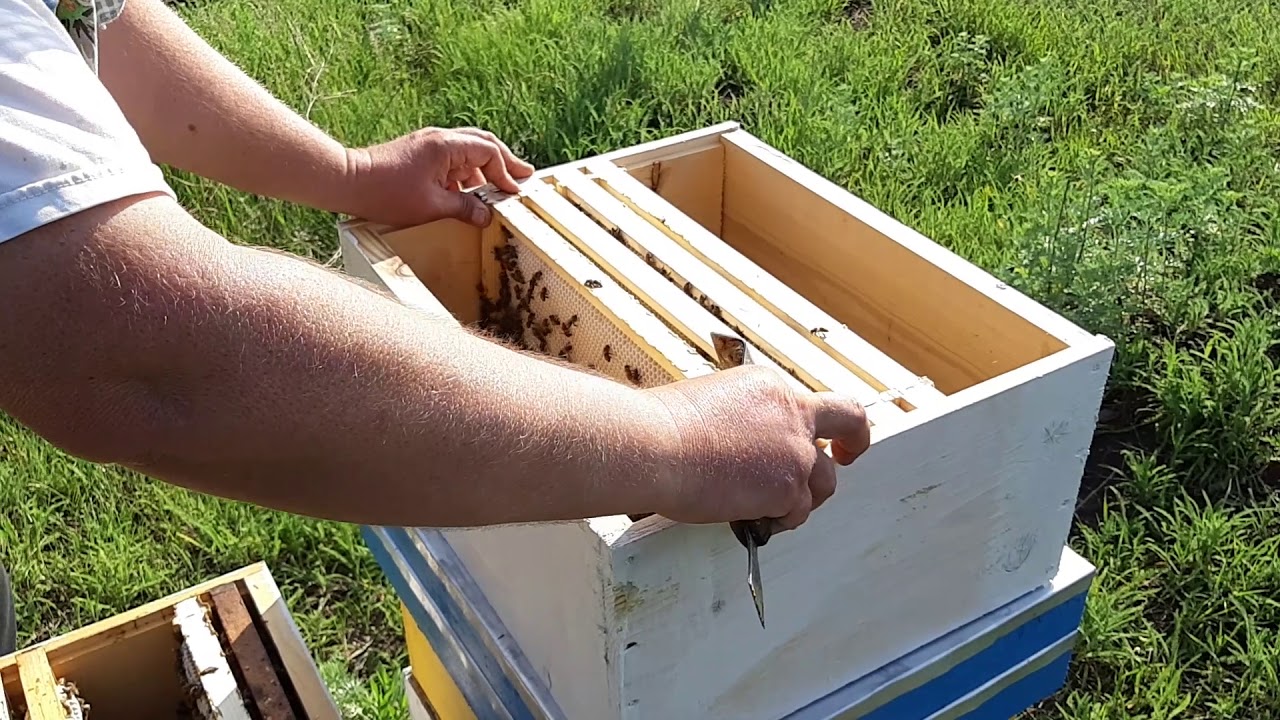
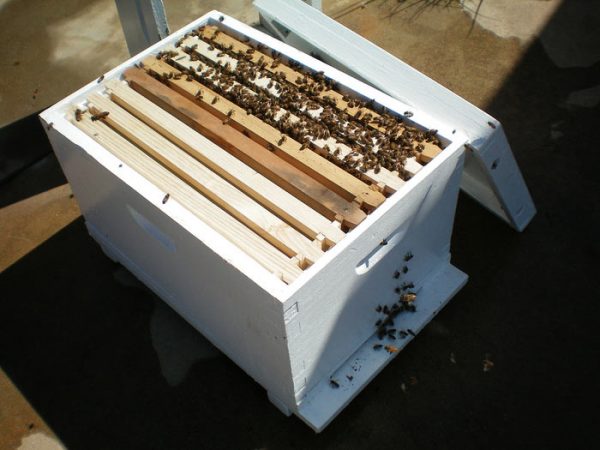
Typically, one hive can contain up to 7 hives. Their number may vary based on seasonality. The beekeeper can place up to 10 frames in one body, the size is 435x230 mm. It should be noted that each case is lightweight, which makes it easy to swap them. The thickness of the walls of the hives, as a rule, is not more than 35 mm. Also mandatory parts of the hives are:
- Stand for hives;
- Housing;
- The bottom of the hive;
- Arrival board;
- Cover and liner;
- Ceiling boards;
- Dividing grid;
- Honey extension.
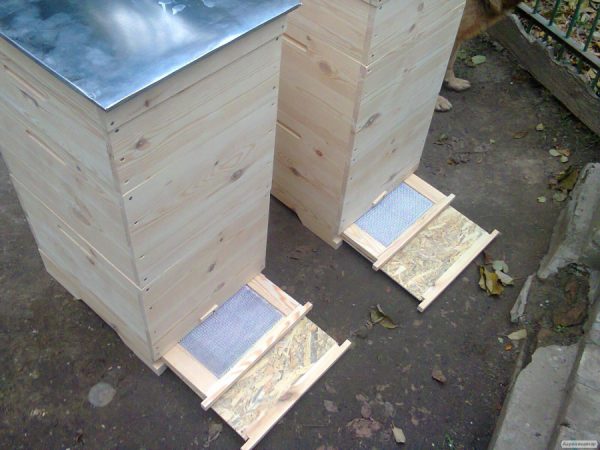
Mesh bottom multi-hive
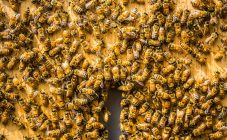
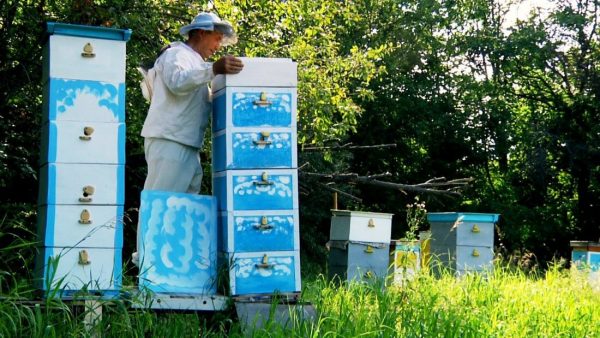
Keeping bees in multihull hives
The multi-hive hive and beekeeping techniques allow bees to live in conditions that closely resemble their natural environment. This means that beekeeping consists not only in obtaining finished products, but also in increasing the immunity of workers, prolonging life and adding strength. Therefore, compulsory ventilation of the hives, especially in the cool season, is not the last place. Mandatory heating of the hives is considered during the structure of the structure, installing specially thought-out walls. Additionally, you can use various types of insulation allowed in beekeeping.
Multi-hive hives force beekeepers to take care of their weak bees twice as much. It is especially important to ensure proper care of the hives during the winter, as it is complicated by low temperatures.
Insufficient air exchange often causes the death of many bee colonies due to overheating. Therefore, it is advisable to leave only strong families for the winter. In this case, each frame in the body must be filled. If the space is incomplete, the bees are combined. It is necessary to maintain the temperature in the clubs at least 22 degrees. Do not allow striped insects to deplete by heating structures. For this purpose, you can use a natural heater - covering the bottom with sawdust and foliage.
For properly assembled families, wintering will be easier. The upper body contains carbohydrate feed. Directly under it you need to fix the buildings with the clubs.
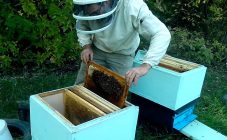
It is possible to determine the state and composition of the bees after winter by looking at the hives during rearrangements in the tiers. Even the strongest families can weaken by spring, so they can be joined during the examination. It is necessary to expand the hive block at least twice.
How to make a multihull hive
When summer comes, insects begin to prepare for the bribe. The end of June-July is the time to separate the uterus. This is done with a mesh in the lower case. By about the second half of June, multi-hives should have the following order:
- Honey building;
- Printed brood;
- Body with uterus;
- Open brood;
- Building building.
Having collected the last crop, insects should be prepared for the cold. The hive should not be supplemented during this time. At this stage, the state of the hive is checked, the striped workers are examined, the excess parts of the bee domina are removed. During this period, you can more intensively engage in feeding.
Bee hives
How to install the second chassis
When the upper layers are completely filled, the installation of the second body on the hive becomes relevant.
If you carry out the expansion, then this procedure will be most effective 35-40 days before the main harvest. Ignoring this time, bees begin to use the combs as queen cells. In such situations, it is not necessary to complete the tiers. Insects will stop building frames with foundation, and even changing full queen cells will not help correct the situation. Juveniles begin to swarm and the non-working state is extended indefinitely. So, harvesting will begin only at the end of the swarming of the family.
When installing a new case, you should adjust everything in size, leaning on the base so that no gaps appear. You also need to make sure that the distance between the frames is the same, and how to fly between them.
DIY beehive
Experienced breeders recommend unloading the main part of the hive, leaving no more than 8 frames there. When the strengthening occurs, you can add 3 more frames, but with the brood opened. Expansion can be done in two ways:
- This method is based on the additional installation of a new housing on the hive. Frames with eggs and brood are installed, located between the frames with closed brood and foundation. It is necessary to ensure that during such movements the uterus is in the main nest. It is also necessary to additionally install a frame with honey and bee bread on each side. They must be transferred with the sitting bees to the second building. At the same time, it will be necessary to reduce the number of frames with bees in the main nest by installing boards and layers of insulation.
- The second method relies on the reluctance of the bees to stay in the main nest. So, after the brood emerges, insects move independently to the second building, equipping themselves there a nest. Over time, as the family grows, it will be necessary to increase the second building. To increase the efficiency of striped beetles, you can take out the rebuilt honeycomb and put frames with foundation. It must be remembered that the second building, like the first, must be insulated.
Frame hives
DIY hive stand
Wooden beehives can rot, and foreign pests, insects and even field rodents can also settle in them. All this makes it necessary to make a stand. They are sold in specialized stores or made by hand.
Self-made stands have the following advantages:
- Reliability of the support.Before setting up a hive for bees, beekeepers must ensure that they are stable and, if possible, prevent them from falling. Having a considerable weight, the cases can move, the stand helps them to be immovable;
- You can choose the material for manufacturing. It can be wood, metal needles or pipes;
- Reliable and long lasting use. A properly made stand will last a long time. For this, a drawing is used that takes into account all the nuances.
When starting the collection of such a structure, the first step is to determine which material is best to use. Most of them prefer a wooden base, which is easy enough to paint from environmental influences. Some craftsmen use brick, metal and even concrete fill. Regardless of the material, the structure will need to be deepened underground, lowering the front of the hives slightly below the level of the back. All this is done to prevent rainwater, snow and winter vapors from entering the notch.
Bee house
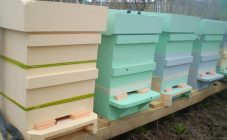
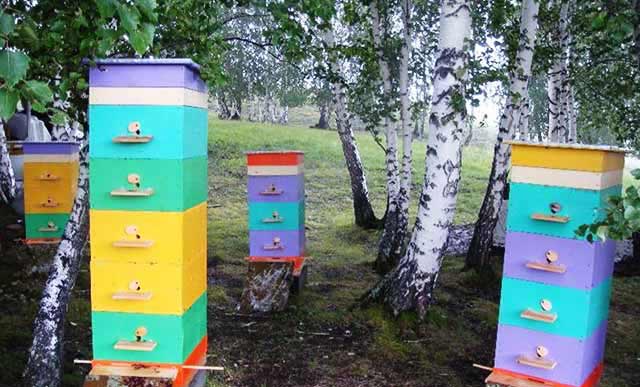
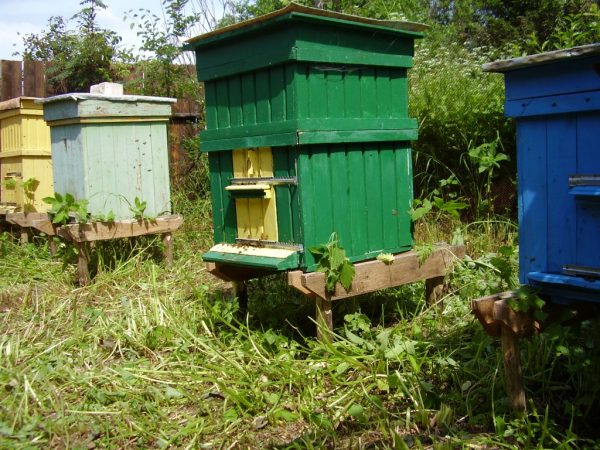
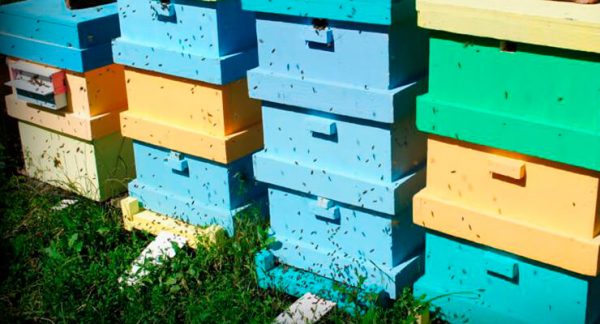
Painting wooden hives
Painting the hive is the last step in making any wooden structure. Although, due to the frequent replacement of cases in places, they are rarely painted when removed and reinstalled. In general, painting is used to:
- Protection. Wooden structures need to be treated from the effects of the environment and weather conditions;
- Orientation. For striped insects and queens, color is important when finding their way home. In addition, it is easier for beekeepers to find hives;
- Giving an aesthetic look.
Bee hive
The question arises of how to paint wood hives. Here you can use the tool of your choice: brushes, rollers and sprayers. For painting, which will last more than one year, you need:
- Separate parts of the hives for full staining;
- Correct roughness, eliminate chips, screw protruding parts more tightly;
- Make a ground layer by treating the tree with a special primer;
- Proceed directly to painting.
When choosing a base, you need to take into account that any paint for beehives is suitable, just not water-soluble. The container with the coloring material must be marked as for outdoor use, because the hives are installed outdoors most of the time.
Summing up, it should be said that the expansion of the hives should be carried out only with a large apiary and many bee colonies that quickly give birth to offspring. A stand for beehives is one of the indispensable elements that helps not only to preserve wooden houses, but also prevent them from overturning due to improper installation. Painting is another beneficial way to preserve wooden structures.