Content:
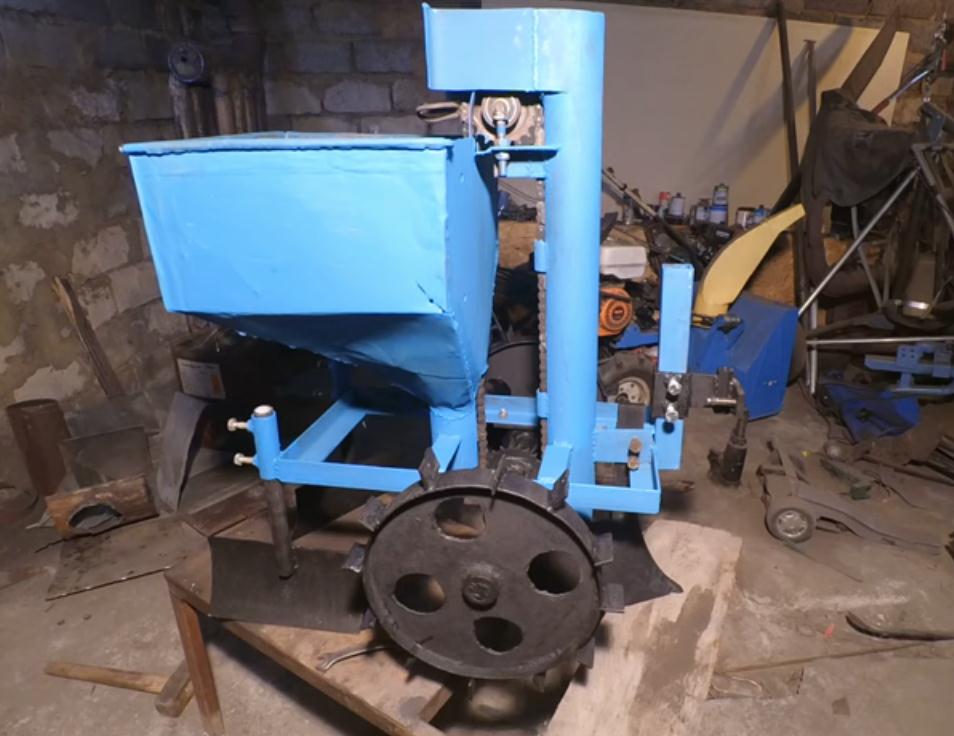
A mini tractor from a Neva walk-behind tractor is a type of home-made equipment very common among summer residents and small farmers. Thanks to a sufficiently powerful engine, it allows you to perform a number of works, replacing, in a small area, not only a walk-behind tractor that uses the foundations of the chassis, but also a multitasking cultivator.
Design features and advantages
The self-made Neva mini-tractor made of the same name walk-behind tractor has a number of the following features, which are at the same time its advantages:
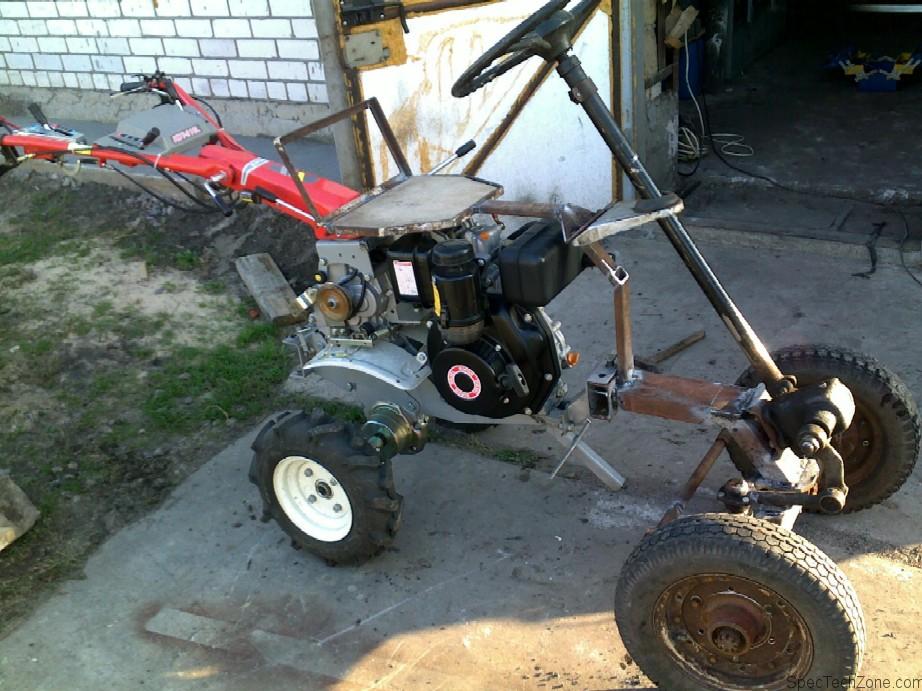
Mini tractor from the Neva walk-behind tractor
- The cheapness of components and spare parts - in addition to the used walk-behind tractor, the assembly of such a mini tractor does not require significant financial investments and the purchase of expensive spare parts and parts. When assembling such equipment, parts of the suspension, steering systems of old Soviet cars or foreign cars are used. The frame and frame are made of any durable rolled metal.
- Ease of manufacture - in order to assemble such a small tractor, minimal skills and theoretical knowledge are required to work with a welding machine and other electrical tools (grinder, screwdriver, drill, etc.).
- Compactness of placement in a small garage - in comparison with other factory-made mini tractors, such a homemade product does not require a large room for its storage in the off-season.
- Convenience when working in small areas - due to its small size and comfortable steering, this technique can be used in the confined spaces of summer cottages and medium-sized greenhouses, more efficiently and quickly performing soil tillage and other work.
- Multifunctionality - such a mini-tractor, due to the presence of two axles, stable adhesion to the soil, can be used for various types of field work: from plowing to hilling and harrowing. Also, in comparison with a simple walk-behind tractor, this technique can be used not only with standard walk-behind trailers, but also with more spacious and load-lifting car trailers.
- Low fuel consumption - the consumption of gasoline or diesel fuel, in comparison with factory-made minitractors, is 1.5-2 times less for such a unit;
- High speed of movement - a light mini tractor is capable of speeds up to 30-40 km / h.
Progress
Preparatory stage - drawing up drawings and diagrams of the future minitractor
The whole process of making such homemade equipment consists of the following steps:
- Preparatory stage - drawing up drawings and diagrams of the future mini-tractor, calculation and search for the necessary parts and materials, tools;
- Assembly and painting of the frame;
- Installation of the front suspension and brake system;
- Steering installation;
- Mount the accelerator and clutch pedals.
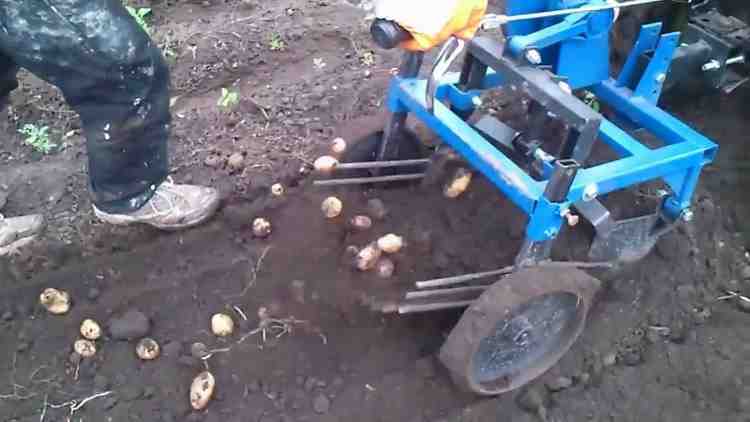
The final stage in the manufacture of a mini-tractor is its running tests with trailed and mounted agricultural units (plow, hiller, harrow, milling cutter), a trailer. At the same time, the quality and volume of work performed by the minitractor, the consumption of fuel and lubricants are assessed.
Preparatory stage
The most important and crucial stage in the independent manufacture of mini tractors from the Neva walk-behind tractor is the preparatory one.
At this stage, it is necessary to make detailed drawings and diagrams of the future mini-tractor, on their basis to calculate the need for materials and parts.
Drawing up diagrams and drawings
The drawing and diagram of the nodes of the future minitractor are made in two ways:
- Manually, using a ruler and pencil.
- Using one of such special computer programs as Compass, AutoCAD, Graphite.
At the same time, the size of each detail and unit is carefully drawn and considered: the frame, the front beam, the frame for the driver's seat. In the compiled graphic image, in addition to the dimensions of the structure, the places of fastening of its metal parts to each other are indicated, indicating the method of connection: bolted or welded.
Selection of parts and materials
Among the materials and parts for the manufacture of such a unit are required:
- Motoblock MB-23 with a 4-stroke gasoline engine Yamaha MX 250 (Japan) with a capacity of 11 hp;
- Channel 80 mm wide;
- Strong square profile 20 × 20 or similar equal angle bracket for the frames (frames) of the driver's seat and floor;
- A sheet of galvanized steel with a ribbed surface 3-4 mm thick;
- Steering gear from a passenger car - steering wheel, steering rack with rods;
- 2 hubs, 2 brake discs;
- 2 brake cylinders with pads;
- 3 pedals: clutch, gas, front brakes;
- Brake master cylinder;
- Rubber cushion for connecting the frame and front beam;
- 2 wheels for the front axle;
- Driver's seat.
Also, in the process of assembling a homemade mini tractor, you will need tools such as:
- Bulgarian;
- Drill;
- Screwdriver;
- Welding machine.
- Car socket set with ratchets and extensions.
To fasten the channel of the adapter frame to the walk-behind tractor, the seat frame to the engine, 12 mm galvanized strong bolts with washers and engravers are required.
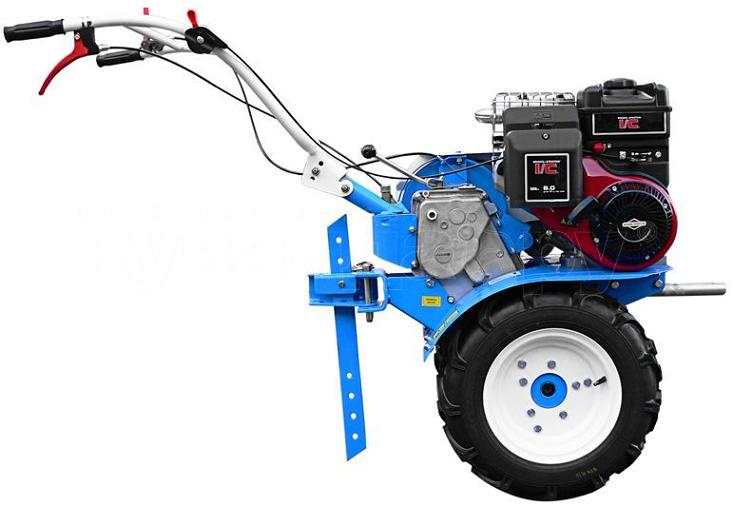
Motoblock MB-23
Assembling the frame
The assembly of the "skeleton" of the minitractor is as follows:
- The frame in most cases consists of a section of a thick-walled channel 80 mm wide. It is fixed rigidly by welding or using bolts to the pipe for attachments protruding in the front of the walk-behind tractor; screwed to the lower part of the walk-behind tractor frame with a bolt passed through two lugs welded to the shelves of the channel.
- The front beam is made from the same channel, which is located at right angles to the frame in the form of the letter "t". The beam and the frame are interconnected by an elastic rubber shock absorber or a movable crosspiece from a KAMAZ truck.
- L-shaped levers are welded to the ends of the beam at right angles towards the ground;
- Holes are made in the upper and lower parts of the lever for fastening ball bearings;
- At the rear of the frame, adjacent to the engine, a seat frame is assembled from a corner or a square profile, which is securely attached to the channel with bolts;
- The entire assembled frame is detached from the walk-behind tractor, thoroughly cleaned of dirt and rust with a metal brush, degreased, covered with a layer of primer, oil paint for metal;
- Between the seat frame and the front beam, a floor frame welded from a corner and bolted to the frame is installed, on which a sheet of ribbed galvanized steel is fixed.
Front suspension and brakes installation
After the frame is assembled, the front suspension is installed. To do this, perform the following operations:
- 2 hubs with steering knuckles (trunnions) are attached to the front beam using levers bolted from above and below on the bolts of the ball bearings;
- Brake discs with calipers and pads are installed on the hub axle;
- The main brake cylinder with a brake fluid reservoir is screwed to the front of the frame;
- The brake cylinders of the wheels are connected by hoses or copper pipes to the master brake cylinder;
- The main brake cylinder is connected by a rod (rod) with a pedal installed on the right side near the place where you plan to place the steering wheel;
- Two tubeless car wheels (preferably with winter tires) are installed on the hub studs.
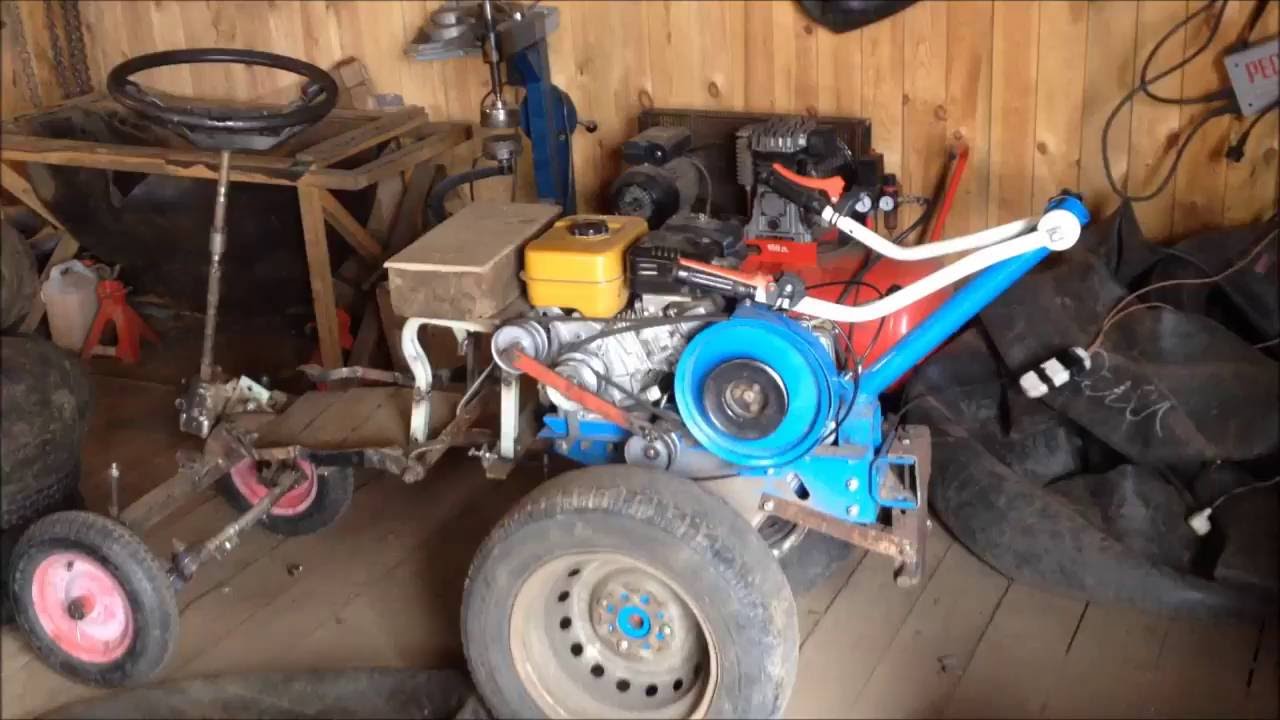
Making a mini tractor with four-wheel drive from a Neva walk-behind tractor is not so profitable and simple
Steering assembly
- The steering column is fixed in the middle of the front part of the frame;
- The steering column is connected by the steering shaft to the steering rack installed under the beam;
- The rack and pinion rods are connected with the steering knuckles of the hubs by means of tips.
Installation of gas pedals, clutch
After the front suspension, braking system and steering are mounted, the gas pedals and the steering column clutch are attached. In this case, the gas pedal is fixed together with the brakes to the right of the steering wheel, the clutch is to the left. After that, the corresponding cables from the walk-behind tractor are attached to the pedals.
The gear switch, removed from the handle of the walk-behind tractor, is installed on the driver's seat frame on the right side.
Thus, the alteration of the walk-behind tractor described above turns it into a full-fledged home mini tractor, allowing you to perform the same work that factory models of small tractors can handle. At the same time, such a unit will surpass many purchased counterparts in terms of cost and often in terms of its functional qualities.