Content:
A lot of tools and equipment have been developed to help gardeners and gardeners. Cultivators have proven to be very convenient and versatile.
What is a cultivator?
The machine is used as a cultivator of the soil, an assistant in the fight against weeds and for various soil treatments, with it you can plant and harvest. They are divided into two large groups - fallow and tilled (the former cultivate the soil with a solid forest, and the latter are created only for sowing).
In addition to their purpose, all cultivators are subdivided according to the type of movable knives, so in some they are passive (motionless), while in others they are active (driving knives). By the type of drive, simple cultivators, motor-cultivators and cultivators connected to a tractor are distinguished.
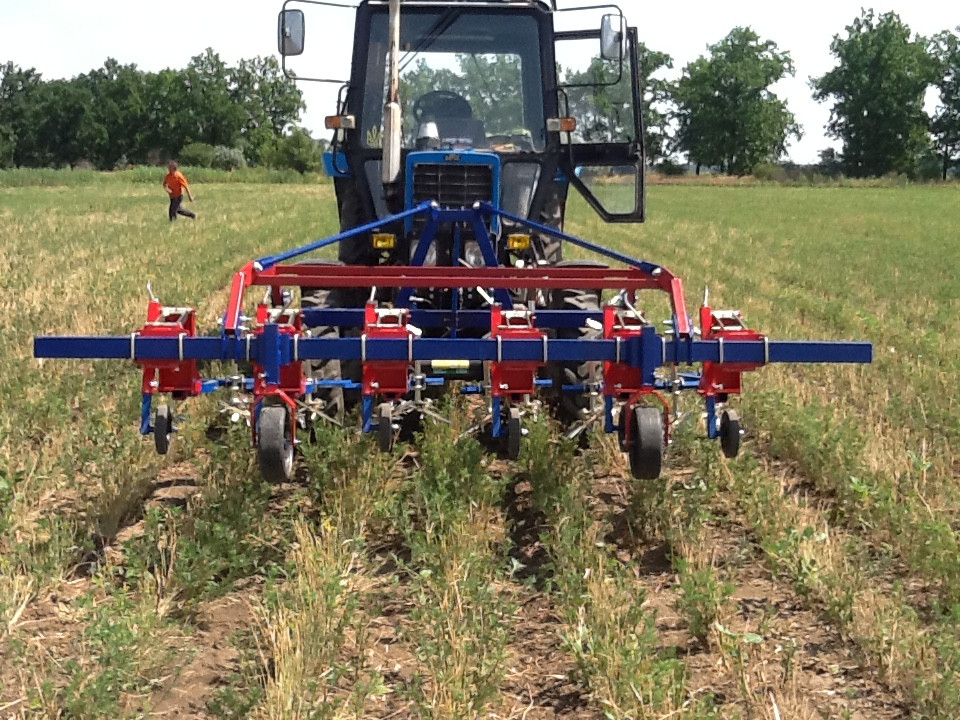
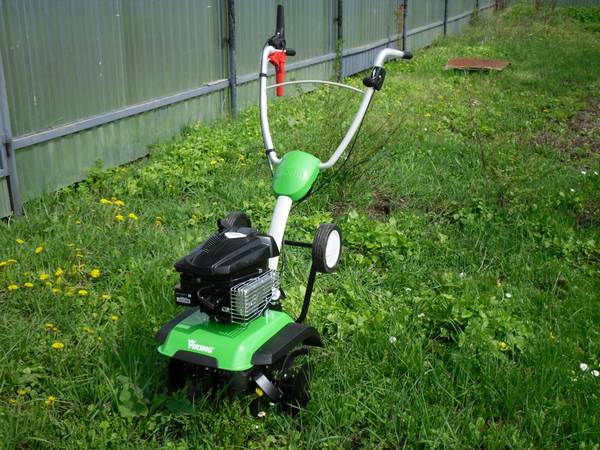
Front suspension weeding cultivator
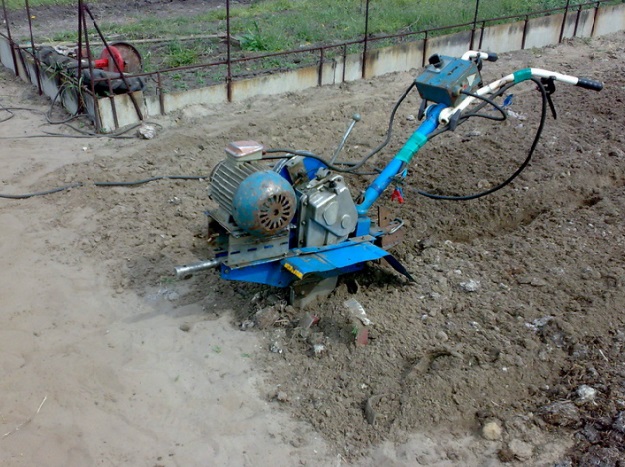
Distinctive features of a motor-cultivator are that the soil is cultivated at the expense of milling cutters. He must have an engine (gasoline two- or four-stroke, electric, diesel). Depending on the size of the cultivated area, light, medium and heavy cultivators are produced.
Now for most owners it is more convenient not to buy a gardening tool on the market, but to make a cultivator for a walk-behind tractor with their own hands. The main thing that is needed for this is a motor: electric or an internal combustion engine. ICE is the best solution when creating a cultivator. The device does not depend on the outlet, and if a powerful engine is at hand (more than 4 hp, then the cultivator has every chance of developing into a walk-behind tractor).
An electric cultivator is also created with your own hands, but it is good to use it only in small areas, where there will be no problems with how to stretch the cable. The electric motor is installed if there is a three-phase network, and the motor power should not be less than 2 kW.
In fact, the design and functionality of the device, which is assembled on its own, is not as significant as the type of motor, because first you need to choose it. The following information will help to suggest an idea or a solution about what and how to assemble a cultivator.
Homemade cultivator: what you need to build
Before you figure out how to make a homemade cultivator, you should find the drawings and find out what parts may come in handy. First of all, these are:
- ICE (you can take a moped or from a chainsaw) or a compressor motor.
- Reducer. It is irreplaceable and a must for collection. Due to it, the speed of shaft revolutions decreases, but the rotation force increases.
- If the car is planned to be self-propelled, then a pair of wheels will be required. If not self-propelled, then cutters.
- A frame made of any strong pipe or profile + handles that will be controlled.
- Sometimes a creeper is required. Attachments especially need it, but some people solve the problem of excessive speed by selecting wheels with a large diameter.

Homemade electric cultivator
If the necessary materials are available, the owners also make a creeper for a motor cultivator with their own hands, drawings and diagrams for both the entire structure and for each element are on the network, or they are made individually.
DIY cultivator: assembly instructions
To create a cultivator, you can use a chainsaw, a starter, a grinder or a washing machine.
From a chainsaw
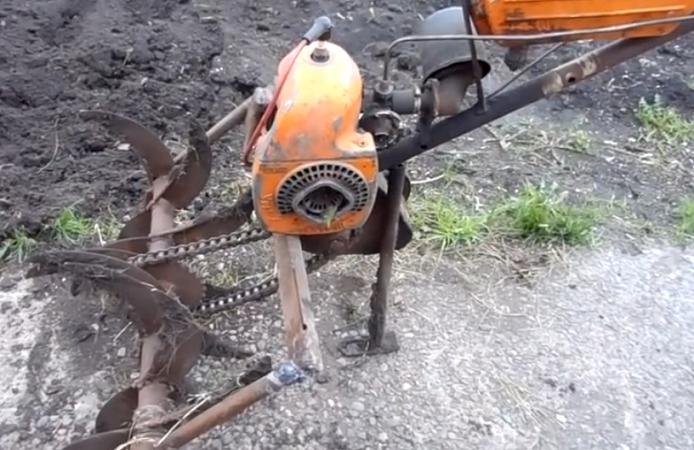
The method of making a cultivator from a Druzhba chainsaw with your own hands has already proven itself for a long time. The principle of creation is quite simple. As a result, the technique is lightweight, compact and reliable, with a very powerful engine. The speed is approximately 2.5 km / h and the power is 4 hp. with., which is quite pulling on a decent walk-behind tractor.
So, the process of assembling a cultivator from a chainsaw does not differ much from the general collection mechanism, but it has its own nuances:
- The main shaft is equipped with a collar flange. In the future, this will make it possible to attach bridge gearboxes without any problems.
- Asterisks (usually from "UAZ") and a double-row chain are taken and installed on the future mechanism. Thanks to them, the distance from the gear bridge to the ground becomes an order of magnitude greater. The timing sprockets, unlike others, increase the distance to the ground by as much as 15 cm.

Chainsaw cultivator
- Case-type bearings are attached to the main axle, and then a gearbox is already designed or purchased. It requires a standard centrifugal clutch.
- A steel pipe is taken, and with its help the structure is supplemented with cutters. When assembling the cultivator cutters, it is important that their cutting part is facing in the direction of the walk-behind tractor.
- After assembling the cutters, a load is attached to the frame, sufficient to maintain the center of gravity.
- Handles are made that are comfortable to work with and durable so that the device can be guided without problems.
- A cultivator made from a chainsaw must be tested on site in order to immediately determine if there are any faults. If there is, then they are eliminated, and then the mechanism is introduced into permanent use.
From starter
It will not be difficult to create such a cultivator if a starter from a car is stored in the home arsenal. If there is such a need, then the shaft is slightly shortened in the future. It is also advisable to replace the front cover, having previously made many small holes (up to 5 mm in diameter) in it for air intake from the attached fan. The prepared starter is combined into a design with cutters. Then the almost finished device is installed on the most common cultivator working platform and tested.
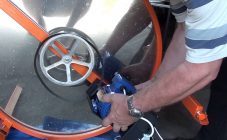
From the grinder
A home-made cultivator from a grinder does not have much power, but nevertheless does a good job of weeding the site. The grinder in such a device acts as an electric drive. Everything else is taken from old non-working cultivators.
It is necessary to weld the grinder's suspension unit to a frame made or taken from an old cultivator, and so that the product can be connected to electricity, they take an ordinary extension cord on a coil.
After the cultivating base is put together, you can try out the machine. The cutters of such an assembled device should produce 300 rpm.
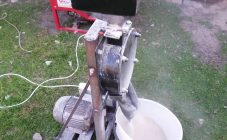
From the washing machine
Many owners have an old and unnecessary washing machine somewhere in the garage or in the shed, which is still capable of working, but is no longer relevant. Based on its engine, it is possible to make a small electric cultivator. So the old technique will find life and still serve for the economy.To create such a cultivator, you will need, in addition to the electric motor from the machine, the following parts: a two-wire wire, a gearbox, an ordinary wheel (diameter - 1.5 m), a metal corner (no more than 3 m in length), a toggle switch, springs from a car as knives, a launch button and a drum with a piece of tin.
Cultivator
When everything is found, you can start collecting directly. And the first stage is welding. This is followed by the preparation of the knives. For each knife, it is necessary to observe its own trajectory of movement, which does not intersect with any other.
For the motor itself, two windings are needed (starting and working). The starting winding is used only when the tool is started, but the worker must be connected to the network for the entire period of operation.
In principle, this is where all the key aspects of collecting the cultivator from the washing machine end. This data is enough to try to assemble the structure yourself.
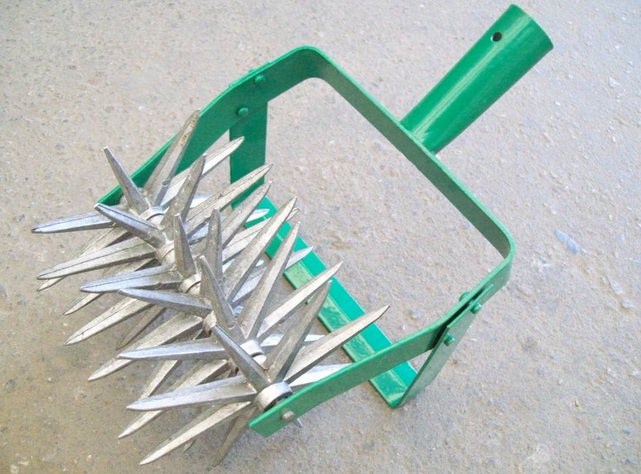
Making a hand cultivator with your own hands
Hand cultivators are even easier to build than others. A standard set of parts and tools for manufacturing includes: a metal tube, a frame and a bicycle wheel, metal blanks and steel strips, a grinder, a drill, a cultivator head.
Sequencing:
- The cultivator head is attached to the bicycle frame. The crossbar and handles are formed from pipes and bolted to the frame.
- Locknuts are taken, and with their help the wheel is attached to the frame (it is better that it is medium in size).
- The mechanism is ready, but the attachment on such a device can be changed to a plow and other equipment, which makes it multifunctional.

Hand cultivator
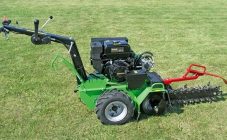
Making a cultivator with your own hands for a walk-behind tractor and a mini tractor
Earlier it was mentioned how to assemble a cultivator on a walk-behind tractor using the Druzhba chainsaw, but it is worth considering the general mechanism for constructing cultivators on walk-behind tractors and mini tractors. The description of the process is as follows:
- There are metal plates. Connecting holes are made in the center.
- Rectangular parts are attached to the square plate by means of bolts, that is, one cutter will be located on each side of the plate.
- After all the plates are connected, one more hole is additionally drilled in each one, corresponding to the prepared metal pipe. It is better to purchase one whole pipe and then divide it in two. So there will be no fears that the pipes will have different diameters. So, 2 parts of the pipe are drawn into the holes, as if "putting on" the cutters. After which the whole structure is either welded or bolted.
- At the end, parts of the harvested cultivator with cutters are bolted to the minitractor shaft through through holes.
- The mechanism is checked for serviceability and reliability of the fastening.
In general, every owner can make mechanical equipment for the garden in the form of a cultivator, and, as a rule, many already have most of the necessary parts in their home arsenal. From what is available, you can always choose the best option for yourself. The above methods for making cultivators are the most common and convenient, but far from all, since skillful owners come up with more and more of them. Thus, rotary devices are also made independently, and even the well-known cultivator "Loplos" with your own hands is also quite realistic to implement.