Content:
Self-made feeders may even surpass purchased ones. Materials of different quality and price are used: wood, plywood, veneers, cans, glass, metal and plastic cans. The bee feeder is placed in different places: outside, inside the hive, under the ceiling. Its location will also affect the design.
DIY plastic bottle feeder for bees
Plastic bottles are very convenient - they are cheap, affordable, and easy to clean, unlike wood. Feeders from them are made quickly and easily, they allow you to adjust the amount of food, they are easily installed on low hives. Select a 2 liter bottle.
Instructions for making a ceiling outdoor bottle feeder:
- Holes with a diameter of 1.2-1.5 mm are made with a heated nail in one wall of the bottle. Through them, the bees will take food. The more holes there are, the faster the syrup runs out. In the future, you can regulate the amount of feed consumed by covering up the extra holes with tape.
- Before fastening, tape all the holes with tape. This is necessary so that you can safely fill the bottle with syrup.
- A hole is made for the bottle in the ceiling of the hive. The size of the hole should be such that the container is firmly attached to the roof, while the bees have access to the holes.
The excess adhesive tape is removed, the bottle of syrup is placed in the prepared place.
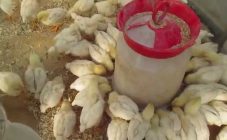
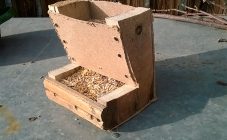
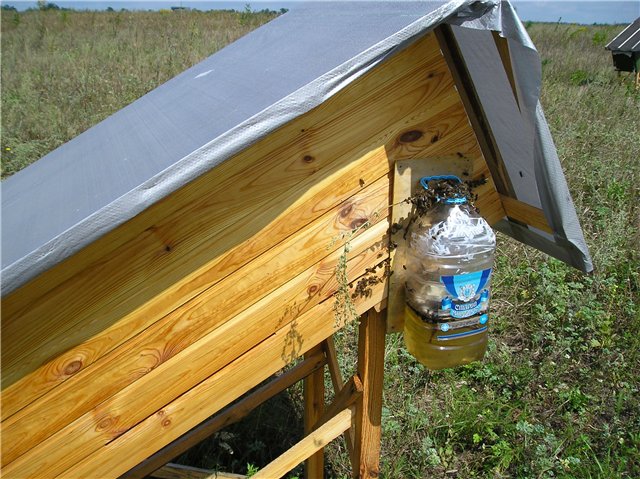
Outdoor bottle feeder:
- Holes are made in the caps of half-liter bottles from the outer side. 12 holes are located in a circle at a distance of 1-2 mm from the bottom.
- The cap is put on a bottle filled with syrup, without screwing it all the way so that the bees can get access to the food through the holes.
- The bottle is placed vertically in a special box with one side open.
The box is placed in any convenient place near the hive. You can make it open on both sides, equip it with a handle.
Bee feeder
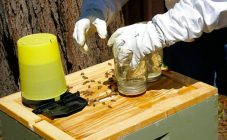
Homemade jar feeders for bees - blueprints
A do-it-yourself bee feeder from a tin can can be just as convenient. In such a container, heat is well retained, food does not freeze for a long time. It is easy to wash and boil. A low, wide jar of canned fruit will do.
Manufacturing instruction:
- Remove the lid from the jar, wash well, let it dry.
- Pour food into it.
- Fasten several layers of gauze or cotton fabric on top with an elastic band. First, it is worth checking how well the consistency of the syrup and the fabric is combined, whether the feed will penetrate the fabric freely, but not too quickly.
- The finished device is turned over with the cloth down and placed over the nest so that the bees can freely fly up and feed on the syrup.
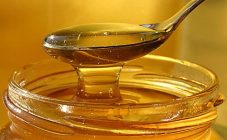
In what feeders should bees give syrup
All types of feeders are designed to provide additional food to the bees. Sugar syrup of various concentrations acts as feed. The best results are shown on average with 60% syrup.
Plastic bottle feeder
In which feeders should the syrup be fed to the bees? The designs are varied.All devices can be divided into two classes: hive and outdoor.
The inner hives are ceiling boxes, side frames, devices from plastic bags.
Outdoor - these are mounted, they are placed individually for each hive, or common - for all families at once.
Each species has its own advantages. Intrahive keep the food from freezing, but in many cases, to add food or replace the feeder with a clean one, you have to disturb the bees. Outdoor ones are devoid of this disadvantage, but they can attract wasps. Ceiling intrahive feeders are convenient. The food is inside and warmed by the heat inside the hive, close to the nest to fill them with a new portion of syrup, no need to disturb the nest.
Bee feeder intrahive
Intrahive side feeders are narrow plywood boxes with an insect passage. Placed inside the hive next to the frames. There are industrial plastic containers equipped with a raft. The basic homemade design is quite simple, the box is filled with syrup through a funnel, a raft is placed on the syrup so that the bees do not have the opportunity to drown in the sweet food. There are two protrusions on top of the feeder - for securing the structure near the nest.
Detailed instructions for making onvideo.
Ceiling bee feeder
A glass jar ceiling feeder for bees is very simple to make:
- Fold the cheesecloth in 8 layers.
- It is well moistened with cold water, squeezed and wrapped around the neck of the can, securing the fabric with an elastic band.
- Plywood or any other similar material is applied to the gauze layer.
- The jar is turned over, placed on the frames with the neck down, while removing the plywood. The bee colony gets easy access to feed.
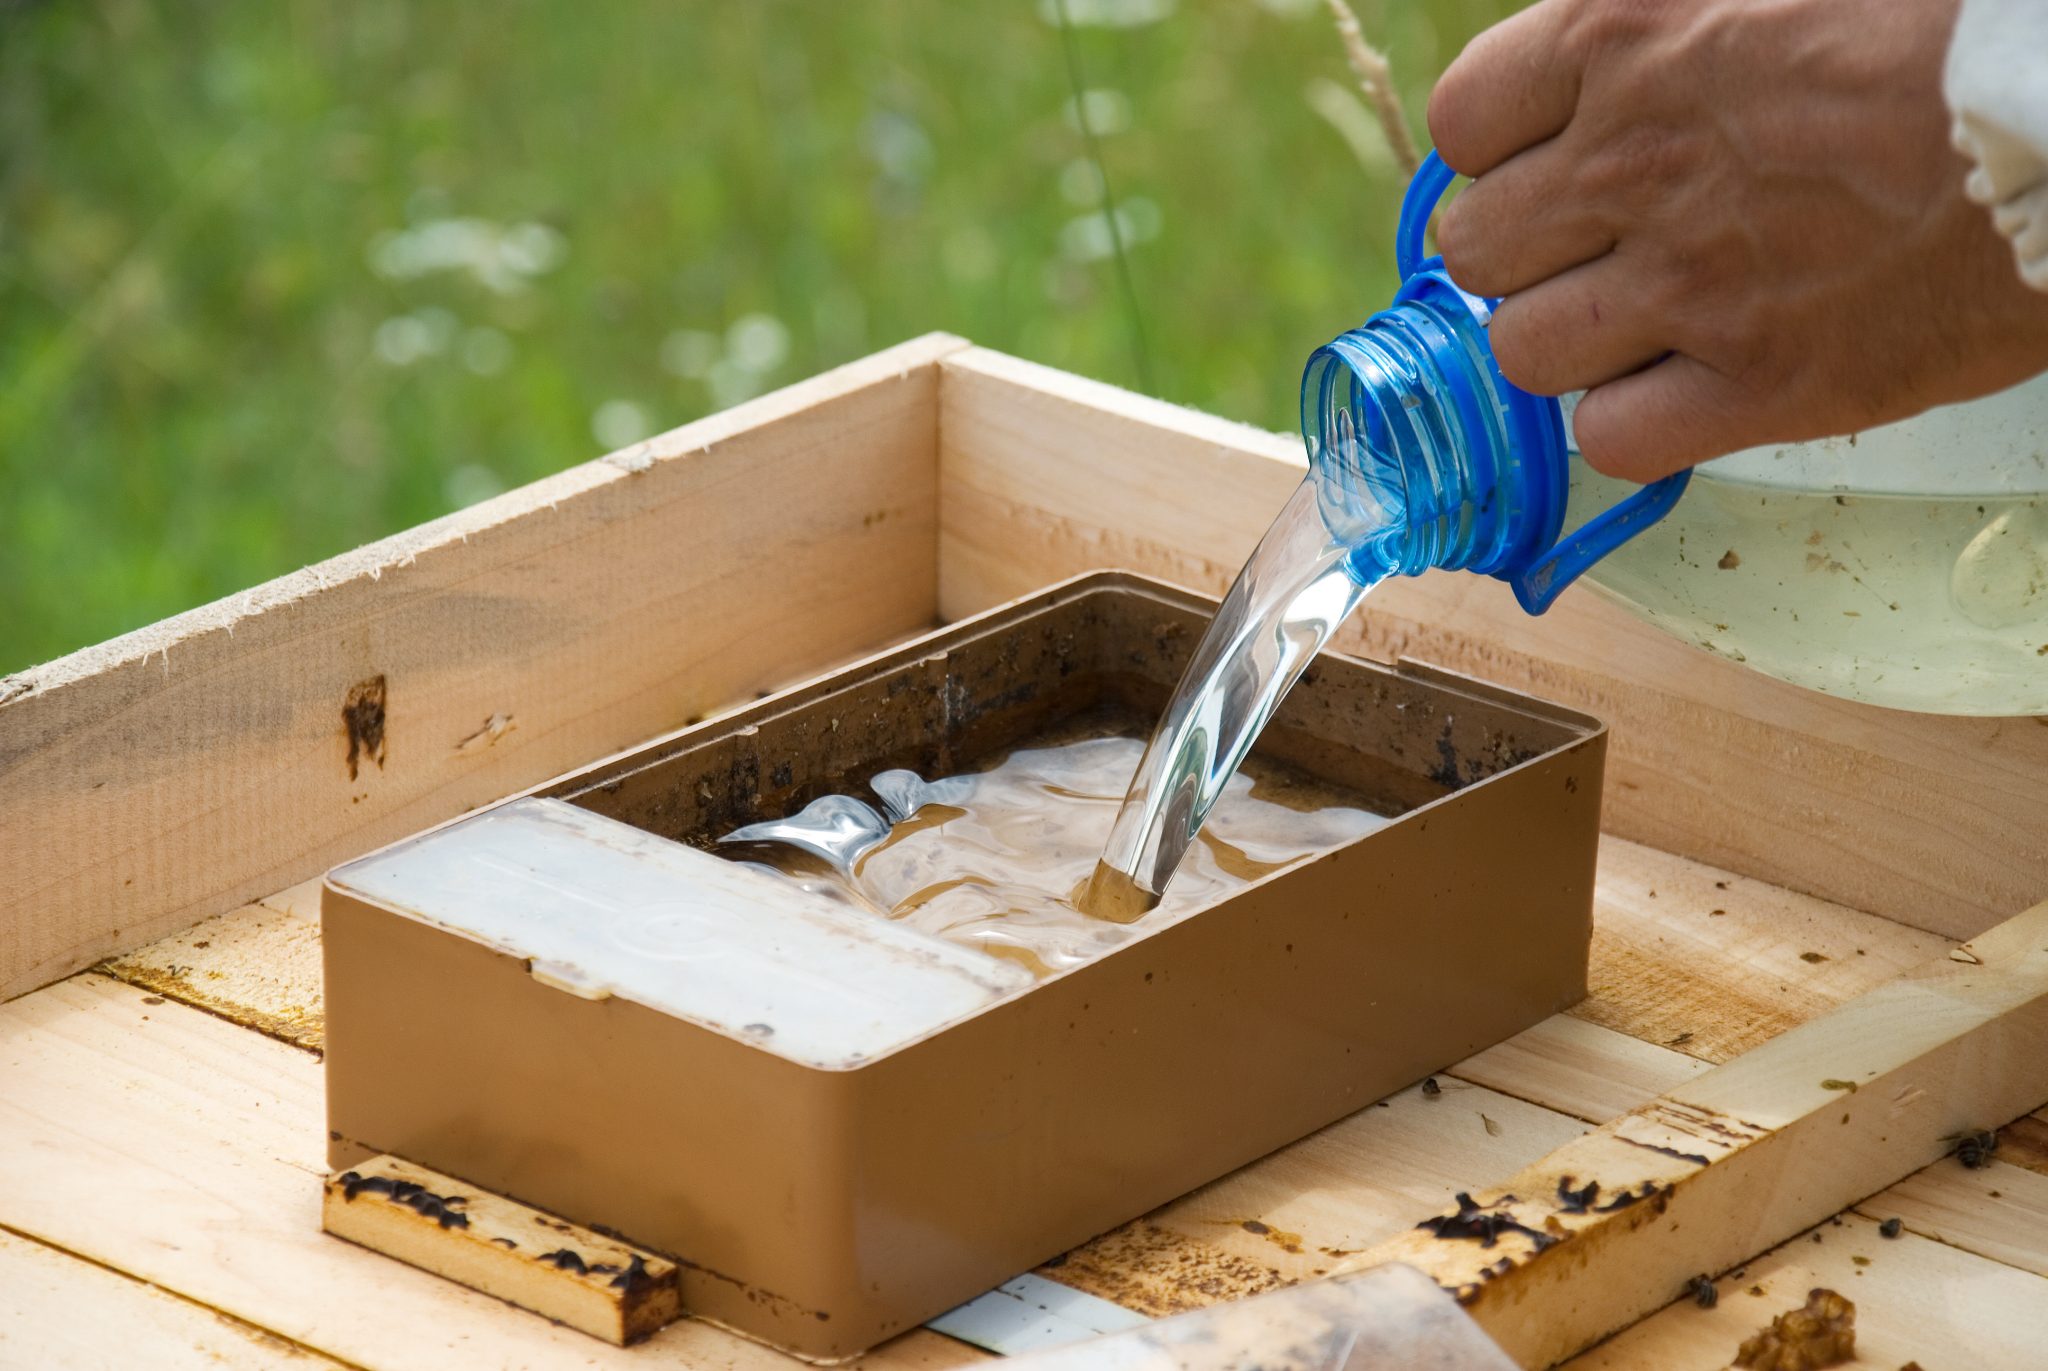
The ceiling feeder looks like a narrow box with a passage inside, a raft that protects bees from death in the syrup, a main compartment for filling with food and a sliding lid.
Such a structure is made of fiberboard or plywood (for the bottom) and wooden planks (side walls and ends).
The main compartment and the raft compartment are separated by a bar that allows the syrup to freely fill both parts, but prevents the bees from entering the place without the raft. In total, three compartments are needed in the box: a passage, a feeding place, a place for filling the syrup.
The raft is made of foam, veneer or plastic mosquito net, and other materials. The main thing is that there are holes in it for the bees to get food, but not so large that the insects drown in the syrup. There is no bottom in the place where the bees pass. The partition between the two compartments, the aisle and the raft, should be lower than the height of the box to contain the poured syrup, but give the bees access to the raft.
The cover is made of fiberboard and glass, is inserted into the grooves of the side walls, if necessary, it is extended. The aft compartment and the passageway are covered with glass so that insect observation can be carried out.
The whole structure is assembled with nails, screws, sealant. The joints are sealed with wax to avoid syrup leakage.
DIY feeder
The device is installed on the ceiling above the nest, before that one plank is removed so that the holes in the bottom and ceiling coincide. Fill the feeder through a funnel, cover from above and from the sides with a warming pillow so that the food does not freeze. The hive is covered with a roof. This design excludes contact between humans and bees, it is convenient to pour syrup into it, clean it up, wash it, and monitor the behavior of striped workers.
These are far from all possible do-it-yourself devices that will provide a swarm with feeding. Many beekeepers, having tested purchased feeders or other people's schemes, develop their own options based on them, suitable specifically for their apiary. With the growth of the economy, the feeding process is even automated, as, for example, Pierre Faure, a beekeeper from France, does. He feeds more than 1000 families of bees using a complex system of pumps and tanks.