Content:
Timely watering is the basis for good plant development and growth. The drip irrigation system helps owners of personal plots and gardens to ease their work and leave time for rest. If you need do-it-yourself drip irrigation for giving without cost, do it yourself in any way described in the article.
The essence of drip irrigation
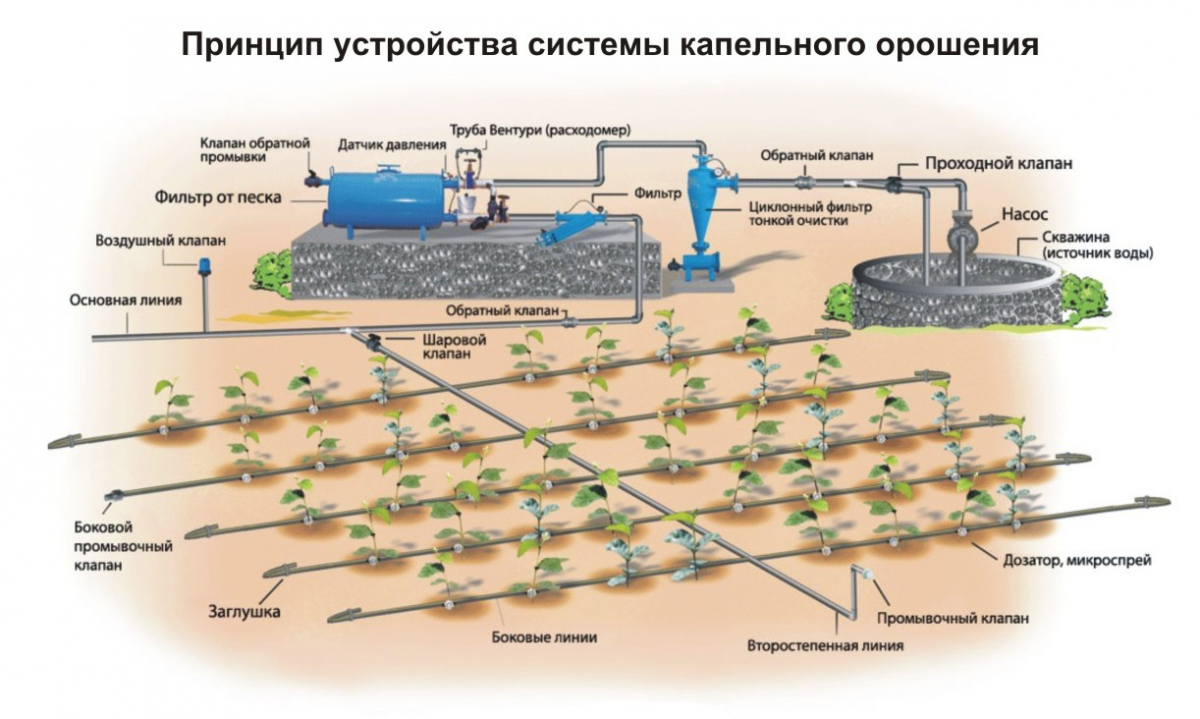
It is a pressurized distribution network that irrigates regularly according to the needs of the plantings. Efficient and economical technology allows to provide the grown crops not only with moisture, but also with fertilizers. The soil is moistened by capillary, water flows directly to the plant roots. This allows you to maintain the optimal water-physical characteristics of the soil. Loss of moisture due to deep infiltration and surface runoff is eliminated.
Forced water supply requires a pump or plumbing. The pressure must be up to 2 atmospheres, so a reducer is needed. In a gravitational system, the tank is placed at a height of 1.5 to 2 m above the ground.
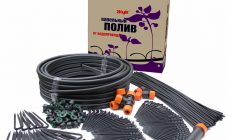
A ready-made system is purchased in a store, but craftsmen easily do drip irrigation with their own hands. Many varieties of homemade designs from scrap materials have been invented. It remains only to choose the most suitable model.
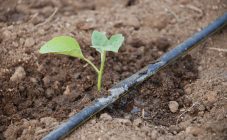
Drip irrigation
Drip irrigation from bottles
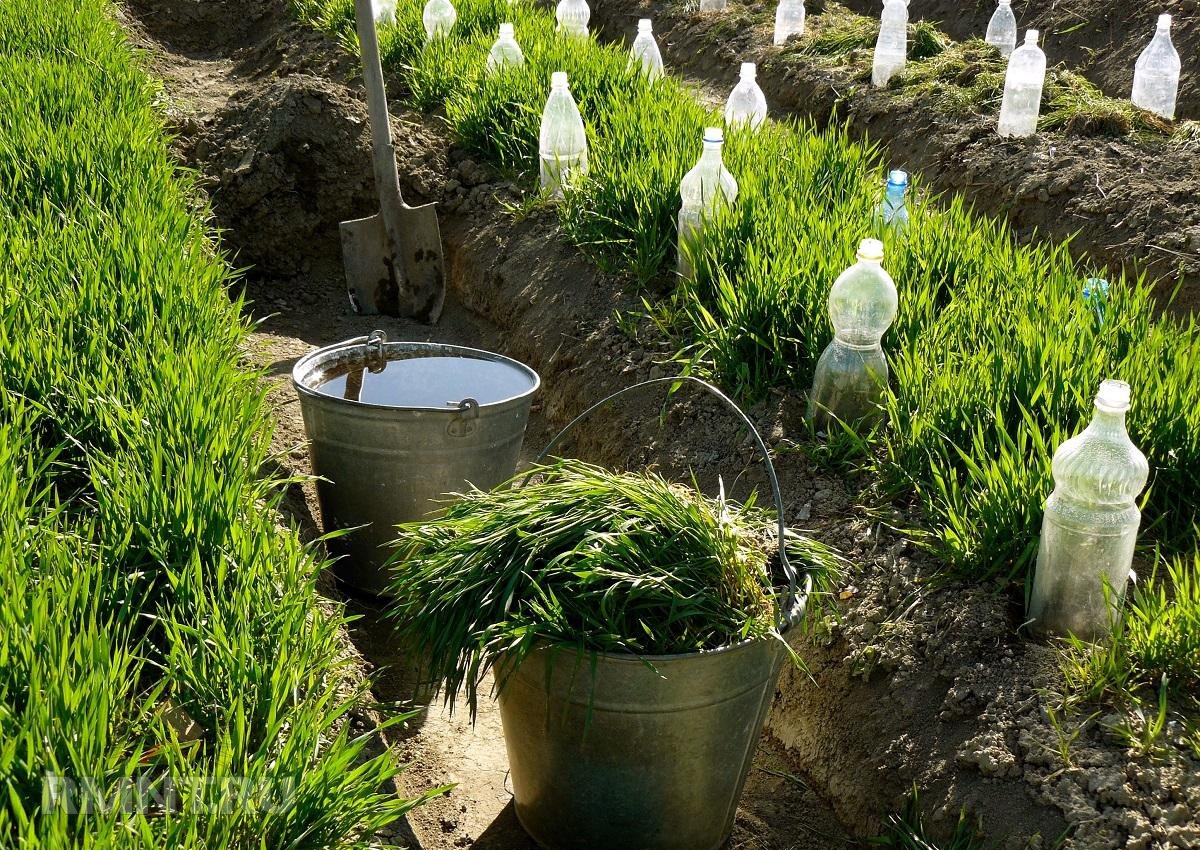
A do-it-yourself drip irrigation system is done in different ways. Craftsmen were able to adapt plastic bottles for this. This method is suitable for small areas and provides even watering for 2-4 days. The system can be organized in beds with eggplants, cucumbers, tomatoes, cabbage and peppers.
For root watering, bottles with a volume of 1.5-2 liters are needed. The bottom of each of them is cut off, the lid must be tightly closed. Holes are made on 2 sides of the bottle. Their number depends on the type of soil. If the soil is sandy, then 2 holes are enough, for clay soil - 4. A bottle filled with water is poured between 2 bushes of the cultivated culture, the lid down to a depth of about 18 cm. Through the holes, the water heated in the sun will evenly seep into the soil to the roots plants.
Plastic bottles with holes in the bottom or lid are suspended from a wire stretched from above. For plants that require a lot of moisture, five-liter bottles are used. They can also be used for feeding if the product is used in liquid form.
Medical drip irrigation
A homemade medical dropper system is mounted using materials:
- water tanks;
- droppers;
- drip irrigation hose (water pipe or rubber pipe);
- tees, connections;
- stubs.
A pipe system is created along the beds, tees are used for routing to other beds. Plugs are made at the ends of the water supply system. In the supply pipe, using a self-tapping screw or an awl, holes are made opposite each plant. A dropper is inserted into each of them with a plastic end. Water is supplied directly to the depth of the fertile layer.
Drip irrigation from bottles
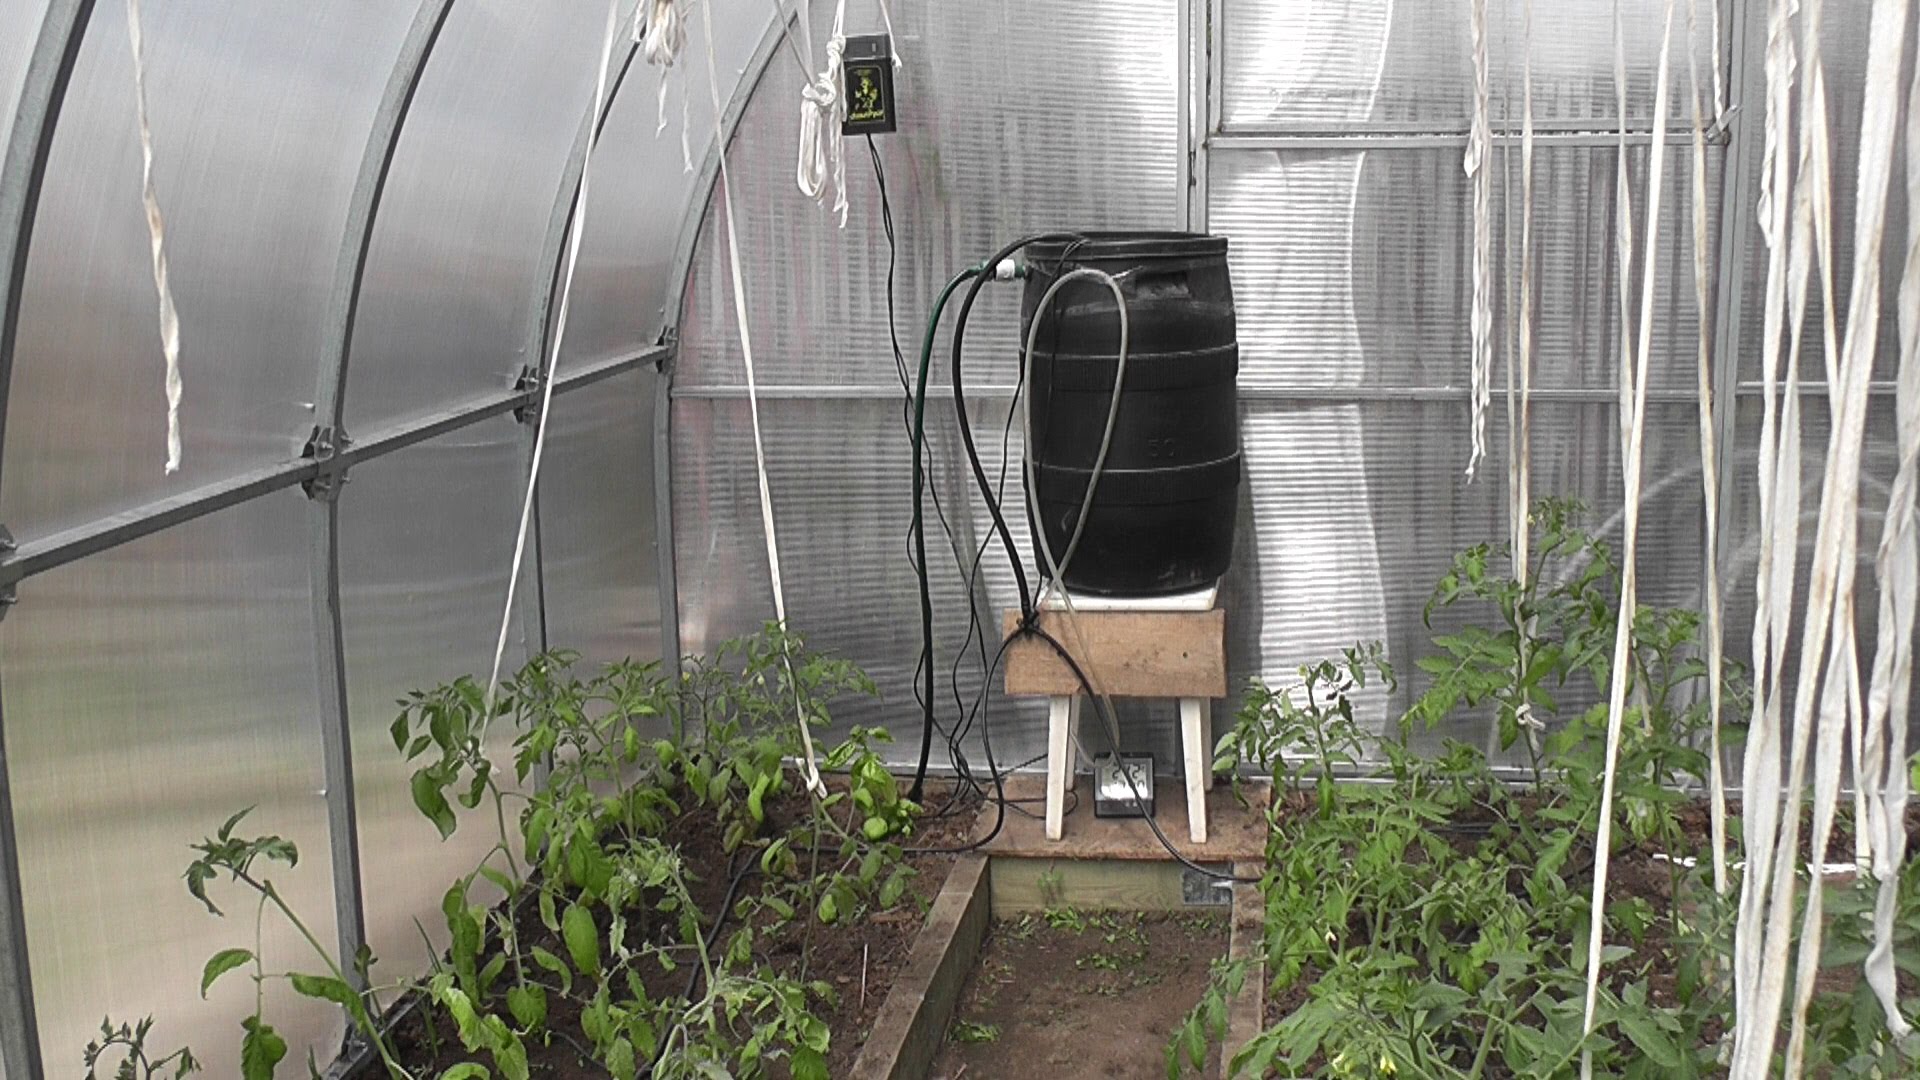
For the required pressure, a container with water is installed 2 m above the ground. It is better to use a plastic, opaque barrel. This will prevent the formation of rust and algal deposits. A water filter is also needed, through which the water supply is connected to the barrel.
Automatic drip irrigation
Automatic drip irrigation using a pump is carried out according to a scheme that allows you to turn on the pump at a certain time without human intervention.
The water supply source (cistern, tank, barrel, well, water supply pipe) should be located as close as possible to the irrigation system. This will save on materials for supplying water to the system. Site preparation and system modeling should be done prior to planting seeds.
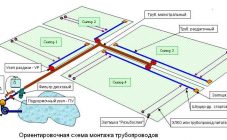
Calculation of the area of the irrigated area
A diagram of a plot or greenhouse, as well as the location of hoses, droppers, tubes, a source, must be drawn on paper. You will need information about the size of the greenhouse, the required amount of water for different types of plants. It is necessary to calculate the parameters of the distance between the beds, the footage of the pipes, the number of joints, the approximate number of droppers. It is recommended to mount the base of the structure in April, and then connect other elements of the device as crops are planted.
To model the structure, you will need the following purchases:
- hose (pvc, pp) or plastic pipes (pnd), irrigation tapes (Aquagol emitter tapes);
- pump;
- droppers;
- polypropylene tees;
- timer;
- controller to set a specific watering time;
- filters that purify water will protect the planting from rust, and the pump from breakage.
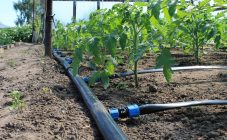
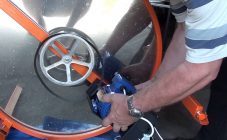
System installation
It is better to place the container 1 m above the ground so that there is a pressure of 0.1 bar. Then the water consumption will be only 1.2-1.3 liters per hour, which will allow leaving the system on a constant basis.
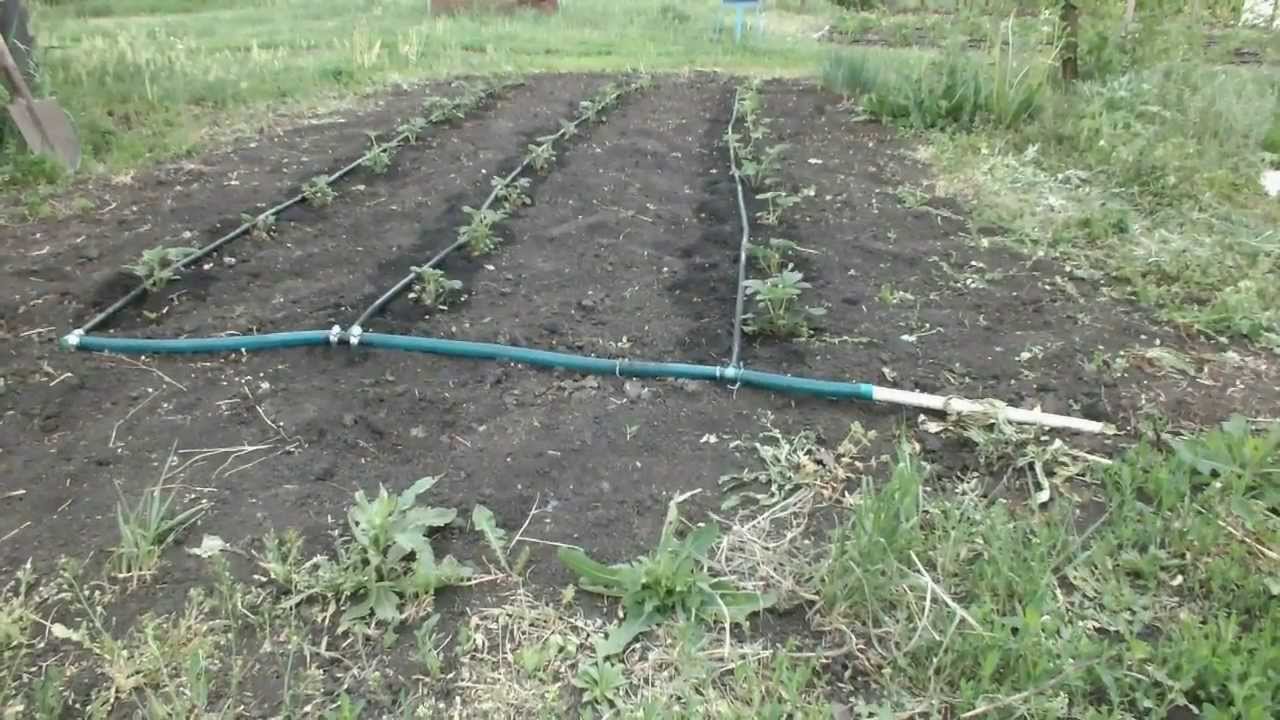
Further, in accordance with the scheme, trenches are made for pipes if it is planned to lay them in the upper layers of the soil. The greenhouse system is installed inside. Pipes are combined with joints according to the drawing. Tees are installed for wiring. The length of the pipes should correspond to the length of the beds; plugs should be installed at their ends. If irrigation tapes are used, they should be covered with mulch from direct sunlight.
Automatic drip irrigation
Holes are made in pipes or hoses 30-35 cm apart. The size of the holes should be slightly smaller than the diameter of the droppers so that they are inserted with force and do not fall out under water pressure. The single pipe system is a distribution line connected to the main pipe to the pump.
After even placement of droppers, all plugs are pulled out and the system is first started. Now you can adjust the pressure, water flow, operability of droppers, timer operation. The supply and shutdown of water should be carried out at a certain time, avoiding overruns and underwatering.
Filter
Gravel filters belong to the category of high-quality and inexpensive filters. It removes inorganic and organic impurities from water. The addition of sand allows for a high quality cleaning. A gravel filter can be made from 2 types of fractions located one above the other: large (up to 2.4 mm) and small (up to 0.8 mm). The water stream flowing through the crushed stone fractions is cleaned and enters the pipes for drip irrigation.
Method of calculation for drip irrigation
A do-it-yourself drip irrigation filter is also made from nylon from old stockings. You will need an unnecessary plastic container to which the connecting tubes are attached. A piece of nylon is placed inside the jar. The material allows water to pass freely while retaining dirt. There is a rule of a good filter - the mesh size should be 3 times smaller than the diameter of the holes in the droppers.
Drip irrigation calculation
For the regime of high-quality irrigation, the droppers are placed at a distance of 30 cm from each other. The soil gets wet in 1-2 hours, which is the optimal speed, since more watering will lead to waterlogging of the soil and an excess of water consumption. Consumption is from 15 to 30 liters of water per 1 square meter. The correct calculation of the total length of the system, its individual sectors and the volume of the storage tank will help create such a regime.
The volume of the tank is calculated by multiplying the area of the irrigated area by 30 liters, that is, by a single irrigation of 1 square meter of the area.
When organizing watering in a greenhouse with your own hands, the value of the tank volume is calculated according to the following principle:
- calculate the area of the greenhouse by multiplying its length and width;
- the resulting number is multiplied by 30 liters.
It is important to provide the system with a steady pressure. If the tank is installed at a height of 2 m, the pressure will reach 0.2 atmospheres. This figure corresponds to an irrigation of 50 m2.
Ensuring stable pressure also depends on the diameter of the main pipes and drip lines:
- pipe diameter - 16 mm, throughput - 600 l / h, irrigation area - 30 m2;
- pipe diameter - 25 mm, throughput - 1800 l / h, irrigation area - 100 m2;
- pipe diameter - 32 mm, throughput - 3 cubic meters, irrigation area - 5 acres;
For irrigation of fruit trees, bushes, drip lines are placed 0.5-1 m from the trunk. Drip line length - up to 100 m.
Advantages and disadvantages
The drip irrigation system has several advantages:
- used outdoors and in greenhouses;
- you can water garden crops, hedges, fruit trees and shrubs;
- leaves and stems of crops remain dry, as water is supplied to the roots;
- watering can be done at any time of the day;
- the presence of the operator during irrigation is not required, you just need to open the tap;
- loosening is required less often, since root watering does not compact the soil;
- fertilizers and top dressing are introduced directly under the root;
- the regularity and portioning of water supply avoids overflow and drying out of the soil;
- no need for high pressure, just 2-3 atmospheres is enough;
- there is a possibility of uniform moistening of complex relief with level drops;
- saving water, money, time and effort for the gardener.
Disadvantages:
- There is a high likelihood of clogging as the small holes quickly become clogged with dirt. Because of this, you may not notice that some of the plants do not receive water;
- The fragility of drip tubes and tapes. They are easily damaged by gardening.
The drip irrigation system has undeniable advantages over conventional irrigation. Self-assembled construction is just as effective as purchased.