Content:
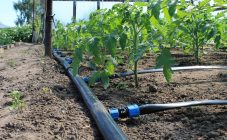
It is not possible to grow a rich harvest without watering. Saturating vegetables with moisture is a daily and painstaking job. To facilitate the growing process, you can do drip irrigation with your own hands. After installing a homemade device in the garden, you can not be afraid that cucumbers or tomatoes will wither.
Application of bottles
Such a "dropper" allows you to organize the timely watering of vegetation at the summer cottage. The procedure itself is carried out at the expense of a storage tank and directly water. The technique for using plastic bottles is simple, but certainly effective, as the water lends itself to each individual sprout. The irrigation material perfectly penetrates the soil and fills the root system of the plant with life-giving moisture.
Drip irrigation from plastic bottles
Experienced gardeners know that yield directly depends on both the quantity and quality of watering. Cucumbers need water at room temperature and in large volumes, so spot irrigation will be the best option for many summer residents throughout the summer, until the crop is fully ripe.
This plastic sprinkler can be purchased ready-made, but must be assembled separately and then installed. In order to save money, many summer residents make such an irrigation system on their own.
Self-made sprinklers do not require financial investments; ordinary plastic beer bottles or old barrels are used as material. It should be added that such systems can be used not only on vegetable crops, but also on indoor vegetation, therefore, in case of departure, home flowers will not die.
DIY drip irrigation making process
There are several ways how to make do-it-yourself drip irrigation from plastic bottles. This option for the life support of garden plantings is fully justified. Homemade gadgets help grow a rich harvest of cucumbers and tomatoes. It is worth considering each manufacturing method in more detail.
Drip irrigation
Cover up
This universal irrigation device is the most popular in Russian dachas, it is great for both a greenhouse and open beds.
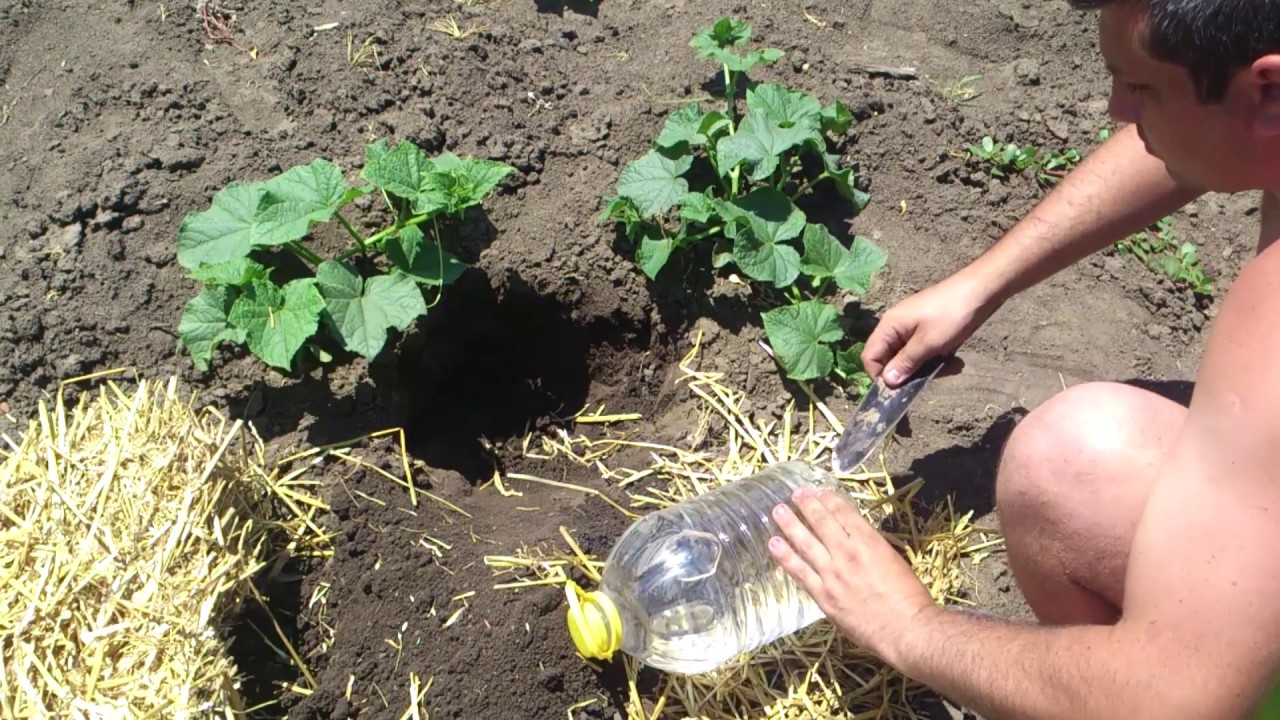
The step-by-step manufacturing scheme is as follows:
- take a liter beer bottle made of plastic and measure exactly 3 cm from its bottom. Then, using an awl, it is necessary to make holes in it, they should reach the point where the narrowing begins. The number of holes depends on the quality of the soil, but their number should be at least 10;
- a hole should be dug near the plant and a container should be placed in it, moreover, in such a way that the conical part protrudes above the ground;
- A plastic eggplant is wrapped with a cloth, filled with irrigation water and closed with a lid.
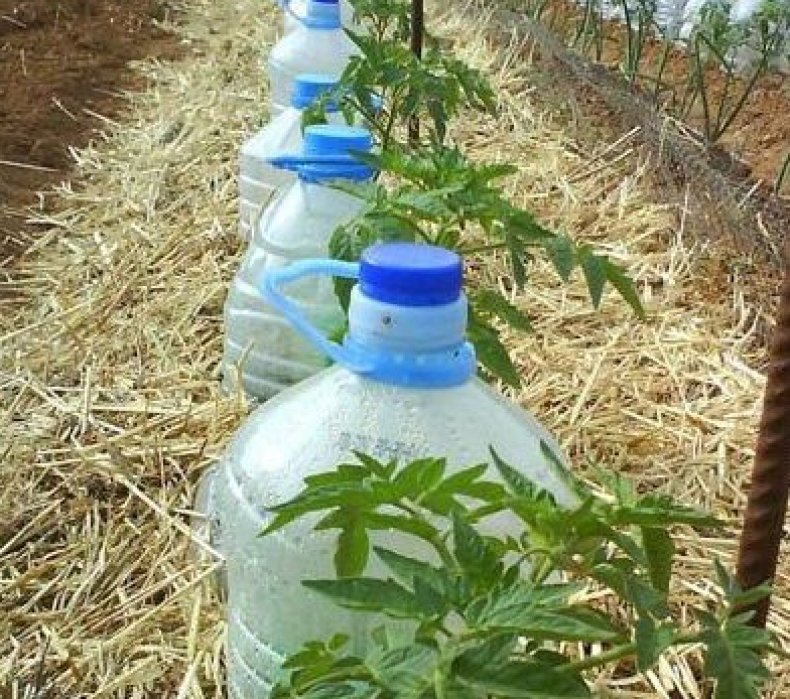
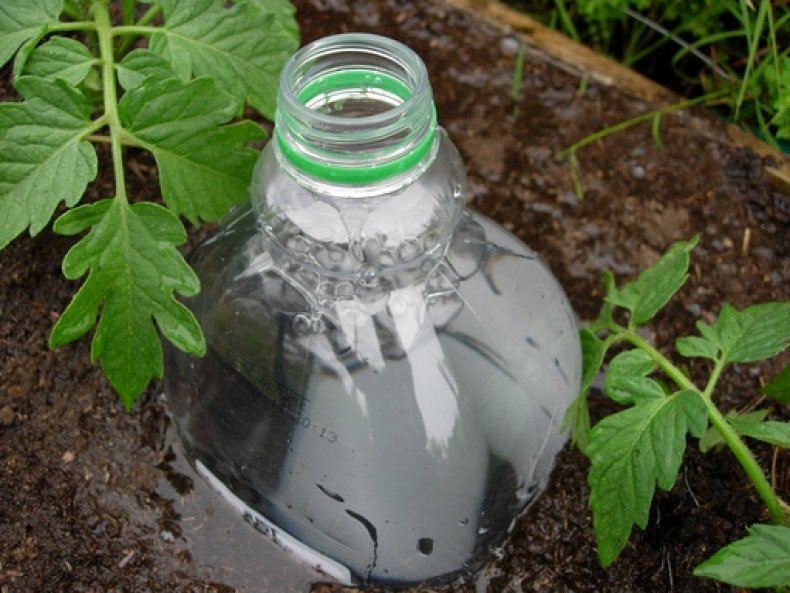
Root watering
To make a device that will irrigate the plant directly into the root system, you will need plastic bottles, the color does not matter in principle. You can use containers with a volume of 1.5 or 2 liters.
All further actions are performed according to the following scheme:
- a hole is made in the lid with a hot needle;
- a nylon fabric is pulled over the neck, and then the container is tightly closed with a lid;
- the bottom is cut off;
- a hole is prepared in which the bottle is installed, moreover, its cut part should be on top;
- fill the container with liquid.
The irrigation system is considered complete. Subsequently, you need to monitor the volume of water and add it if necessary. Such sprinklers can also be used when planting seeds, just pour seeds into the hole along with the bottle.
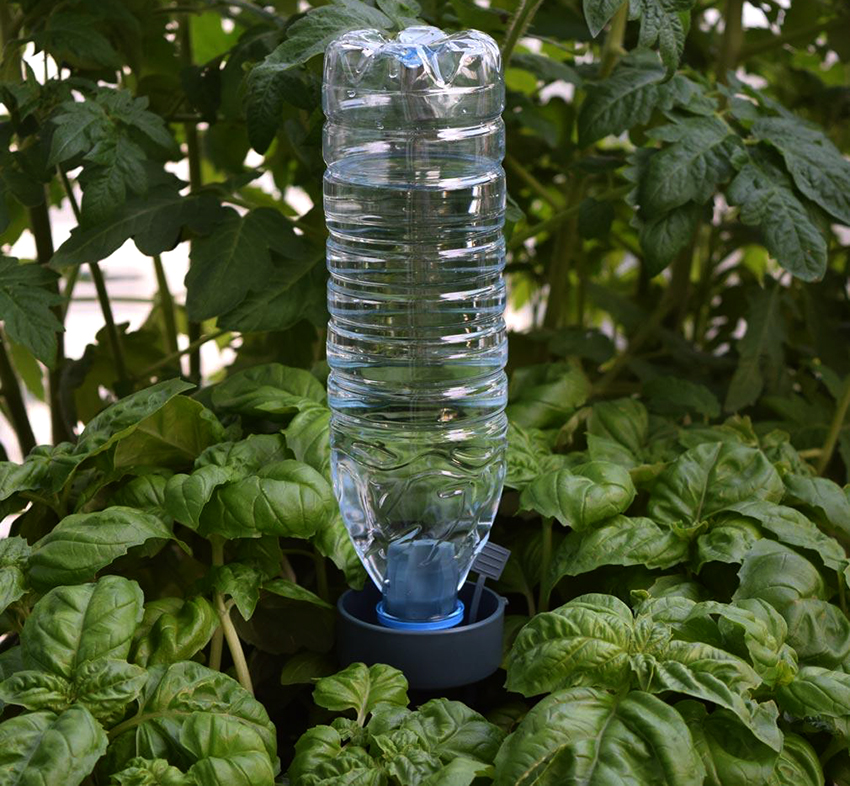
You can slightly upgrade your watering fixture and replace the covers with special nozzles available from your garden center. They are placed in the ground, closer to the root system. These sprinklers are more efficient, but they often overturn in strong winds.
DIY drip irrigation
Watering through the rod
To organize such watering, you need to prepare a plastic container, cocktail tubes or rods from handles. The latter must be thoroughly cleaned of ink and then rinsed. One end of the straw is clogged; this can be done with ordinary heat or with a toothpick. The other end is inserted into the neck of the prepared bottle and sealed. For this, electrical tape, plasticine or construction tape are perfect.
At the end of the tube, holes are made with a sewing needle, the more holes there are, the more intense the moisture will be. The bottom of the bottle is cut off, and then it is set in the ground with the neck down, water is added and you can start irrigating the vegetable crop.
If desired, you can thread a straw into the side of the container, then it does not have to be cut off, so the reservoir, if necessary, can be moved around the summer cottage. One more rod can be mounted into the device from the opposite side, then the vessel can be placed between the beds and it will moisten two bushes at once.
Drip irrigation
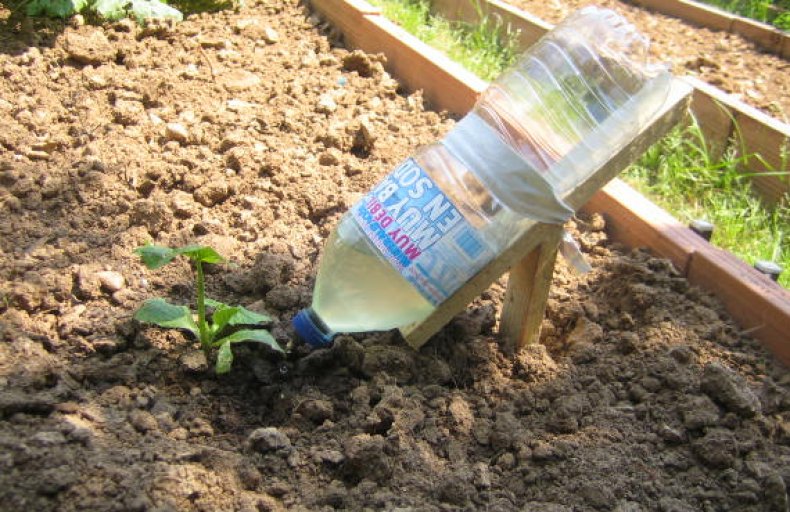
Suspended structure
Hinged drip irrigation systems are most often used in greenhouses. To make such a device, you need to prepare:
- plastic bottle;
- awl or thin carnation;
- sharp knife;
- rope.
To use a suspended sprinkler in an open area, you will need a support on which they can be fixed; ordinary pegs are suitable for this.
The bottom of the prepared container is cut off, this part is not thrown away, it will act as a lid. On both sides of the cut point, measure 2 cm and make holes into which the rope is passed, with the help of it the sprinkler will be suspended. A small hole is also made in the lid, from which water will flow. After the structure is completely assembled, you need to fix it on a peg or other suitable support, but in such a way that it is located strictly above the vegetable bush.
The main advantages of such a sprinkler are ease of installation and the ability to adjust the intensity of irrigation activities.
Advantages and disadvantages
Before making and installing sprinklers, you need to consider all the pros and cons of a homemade drip irrigation system from bottles. The main advantages of such devices include the following factors:
- significant savings in water, when using a watering can or a hose, a much larger volume is consumed;

Drip irrigation
- autonomy, the device can not be touched for several days, and not be afraid that the vegetation will dry out;
- versatility, sprinklers can be used in any soil, used in greenhouse or at home;
- available material;
- ease of manufacture and subsequent care;
- moisture enters the plant in a targeted and targeted manner;
- the top layer of the earth is not washed out.
In addition, it should be noted that homemade watering structures facilitate human labor. This is due to the fact that such watering makes the soil softer, the weeds begin to grow worse, so it becomes much easier to care for the vegetables.
- There are other significant disadvantages of do-it-yourself drip designs, these include:
- the system cannot be applied over a large area, since this will require a lot of bottles, and in this case the dacha will not have an attractive appearance;
- plants receive a limited amount of water;
- difficult use on heavy soil, due to poor soil, the eggplants become clogged and become unusable;
- in addition, some moisture-loving crops, such as cucumbers, in too hot weather will not have enough of the fluid provided by the sprinklers. Therefore, in any case, they will have to be watered additionally.
These self-made installations can be upgraded to make them all the more efficient. The manufacturing process itself does not take much time, it is enough to devote a couple of hours to the installation work. But the result, in the form of a rich harvest of healthy and tasty vegetables, will delight every gardener.