Content:
Tomatoes are very picky plants that require careful maintenance and good climatic conditions. For a good harvest, this vegetable requires a greenhouse, frequent watering and feeding. For example, such varieties as Samara, Honey Drop, Labrador are only greenhouse varieties and require a certain microclimate for a good harvest. And this requires a quality greenhouse.
Although tomatoes are warm and light-loving, before planting them in a greenhouse, you need to grow the seedlings, harden them and teach them to the sun.
Greenhouse for tomatoes
Hardening is carried out using open vents, and then taking the seedlings out into the fresh air in a temporary greenhouse or on a balcony, but at the same time, everything must be kept exactly at the temperature.
Before fully moving the grown tomatoes into the greenhouse, you need to reduce the amount of watering.
Greenhouse options for tomatoes
There are several types of homemade tomato greenhouses popular among the people. Each structure gives the plants warmth, light and the right climate for good development, growth and harvest. To completely fulfill all the necessary greenhouse functions, you can combine several structures into one.
Types of construction for a greenhouse:
- Film on the ground. The simplest design, but unreliable and not performing all the functions of a greenhouse.
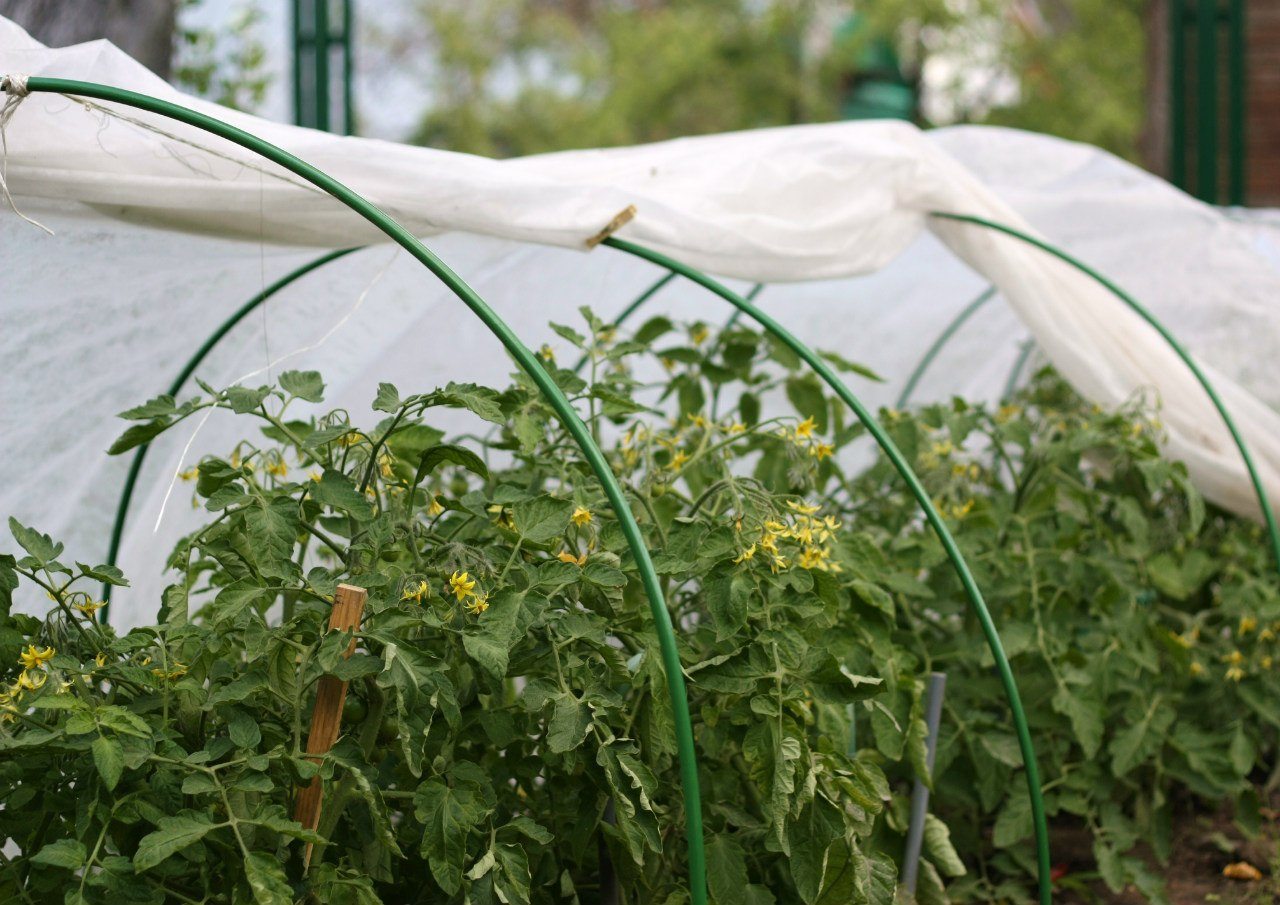
- Film arch-shaped tunnel greenhouse. The film is stretched over metal rods bent into an arch. A simple, convenient and inexpensive greenhouse for tomatoes.
- The greenhouse is a house. Old window frames with glass are knocked down in the shape of a house. Multifunctional, not expensive option.
- The greenhouse is a butterfly. Instead of glazed window frames, wooden boards and film are taken for construction. An excellent option for a mini-greenhouse for tomatoes. Due to the fact that it opens from the top, it is convenient for weeding and watering.
- The greenhouse is a bulk house. In terms of the shape of the building, it does not differ from a butterfly greenhouse, but the soil inside is in a wooden box with fertilizer.
- Homemade polycarbonate greenhouse. Construction of polycarbonate sheets mounted on arcs (metal, polyurethane) or boards.
How to make a greenhouse with your own hands
In order to save a greenhouse for tomatoes, you can do it yourself. The main thing is to take into account all the nuances, choose the right material and place for it. How to make a tomato nursery right?
First you need to decide on the type of structure and calculate its dimensions (sufficient height, width, diameter and length of pipes or boards, amount of material).
A simple hotbed with your own hands
Film arch-shaped tunnel greenhouse
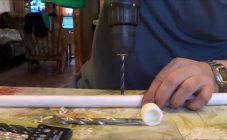
To make an ordinary tunnel greenhouse you will need:
- 6-meter metal rods or thin flexible polypropylene pipes.
- Box boards.
- Film.
The wooden box is installed on the ground at the desired length and width, knocked down with nails or twisted with screws. Along it from the outside, pins are stuck to put on the frame pipes, or metal rods are simply stuck with a distance of 60-80 cm between them and covered with a film that is bent under the box or sprinkled with earth.
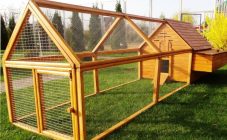
Greenhouse - house
In order to assemble such a structure, you will still need strong old windows so that when they are opened they do not fall on a crop or a person. Frames are put side by side and knocked down with nails or screws, but be careful, otherwise glass may fall off. The top in the form of a roof should open, so you need to make a wooden frame on which the opening frames will be fixed with hinges.
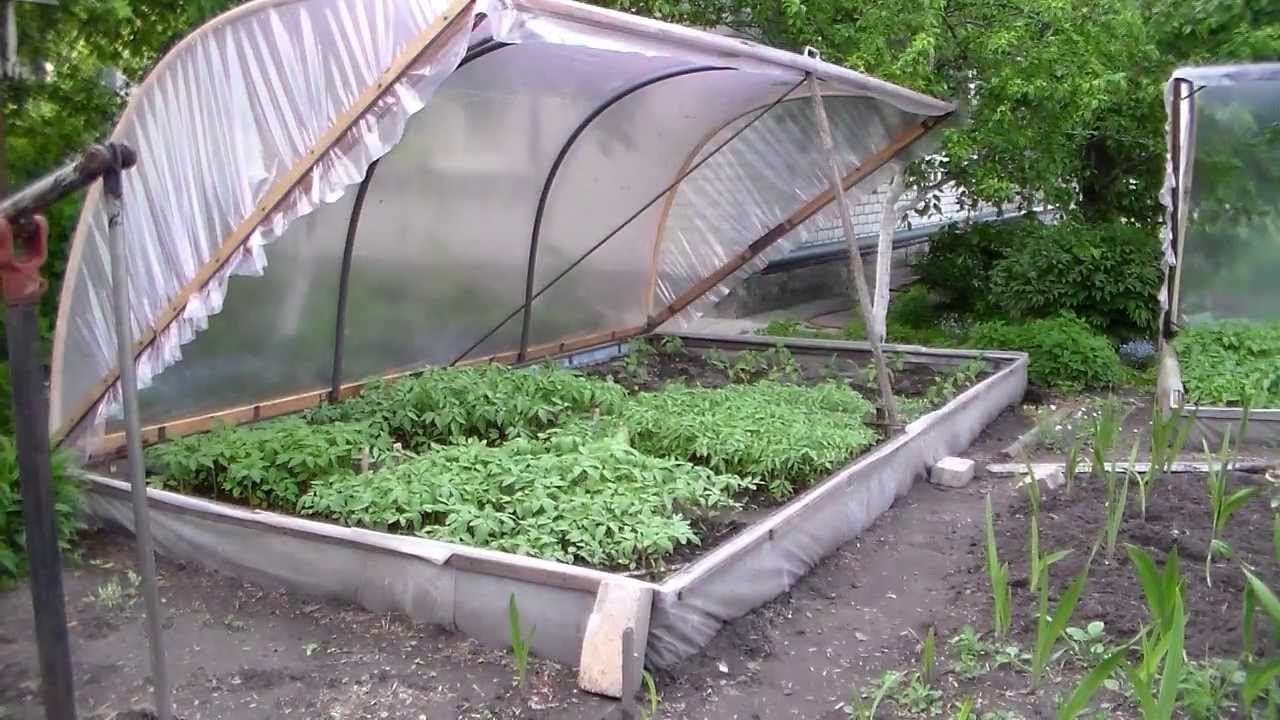
Greenhouse - butterfly
The frame is the same in shape as in the greenhouse-house, but the materials are different. You will need boards and film. A box of wood is assembled, covered with foil. The upper shutters have to open, so they are fixed with hinges to the frame board in the center. In order for them to be fixed in the open state, most often summer residents use an additional rail, which they prop up the open sash and fix it on the ground.
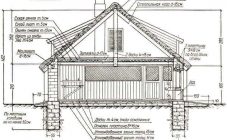
Greenhouse bulk house
The design of the greenhouse itself does not differ from an ordinary house, but a film or a frame from the windows is attached not to the ground, but to a high insulated ridge. This ridge is built of planks, like a box, and inside it is earth with humus and sawdust, laid out in layers.
Manure is placed in a box with the first layer of 30 cm, after which sawdust goes in a thin layer (5-10 cm), followed by a fertile soil with a layer of 20 cm. Due to the layers, the height of the wooden box will be 60-70 cm, the width can be made whatever, but at the same time take into account the distance between the bushes, the convenience of watering and weeding.
How to make a polycarbonate greenhouse for tomatoes with your own hands
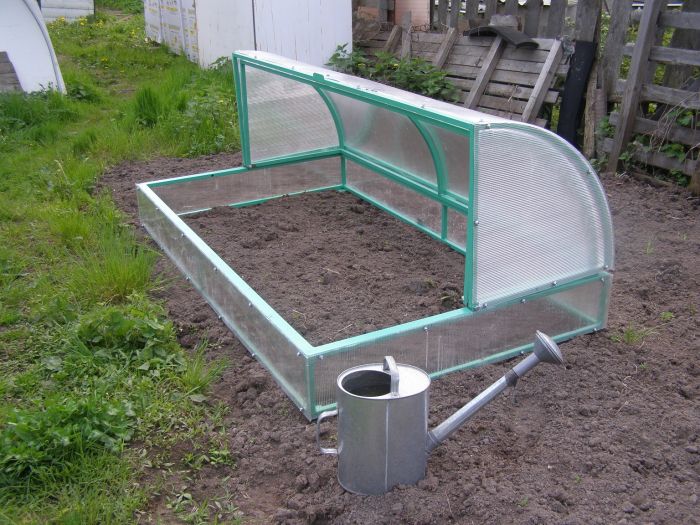
Polycarbonate greenhouse
A greenhouse will turn out without extra costs, no worse than a factory model.
To do this, you will need to buy sheets of polycarbonate and metal or plastic arcs, but the best way to save money is to replace them with wooden posts that can be found on the farm.
A foundation is required for a polycarbonate greenhouse! This is the first stage of building such a greenhouse yourself.
The simplest and most budgetary foundation will be made of timber. On a flat, rammed earth, fasten a box made of a bar with a section of 50 by 50 mm (more can be) and install it on supports in the corners and in the center (these are bricks or blocks of the same height). Cover the box with linseed oil for protection.
The brick foundation will last longer, but it will take longer to install. For such a foundation, a cement pad and brick will be required, the amount depends on the size of the box. Brickwork can be in one row or several rows, depending on the volume of the greenhouse. Basically, brick laying is performed in 2-3 rows, and such a foundation can withstand any volume and weight.
To build a frame, it is best to purchase a metal pipe or polypropylene pipes measuring 20 by 40 by 2 mm and a profile for racks (42 or 50). Between the pipes of the sheathing there is a distance of 50 cm for the strength of the frame.
First, a profile for the racks and joints of polycarbonate sheets is mounted, along which metal pipes are already bent and fixed, giving the greenhouse a rounded or any other shape. After that, polycarbonate sheets are attached to the finished frame, which bend only across, since the sheet bent along the length will burst.
It is desirable to mount the sheets on the end profile (on top of the frame), but if they are short, installation is also possible on the edge on the side. There should be no gaps between the sheets to prevent rainwater or draft from entering the greenhouse.
It is very easy to make a nursery for a tomato when an additional scheme is offered when purchasing the material.
Pros and cons of homemade greenhouse
Disadvantages of such designs:
- take a lot of time and effort;
- due to the fact that the materials used are not new, they sometimes have to be replaced with purchased ones;
- not a very solid construction if there is no experience in assembly.
As a result, everything exactly has to be spent on material and to devote a lot of time to construction, but this is all exactly more economical than ordering a ready-made greenhouse and paying for its installation.
The most economical option is an insulated box with manure, a frame made of film and rods or boards. The material can easily be found in household bins. The design is not very expensive in terms of time and effort, but it will last only one season.