Content:
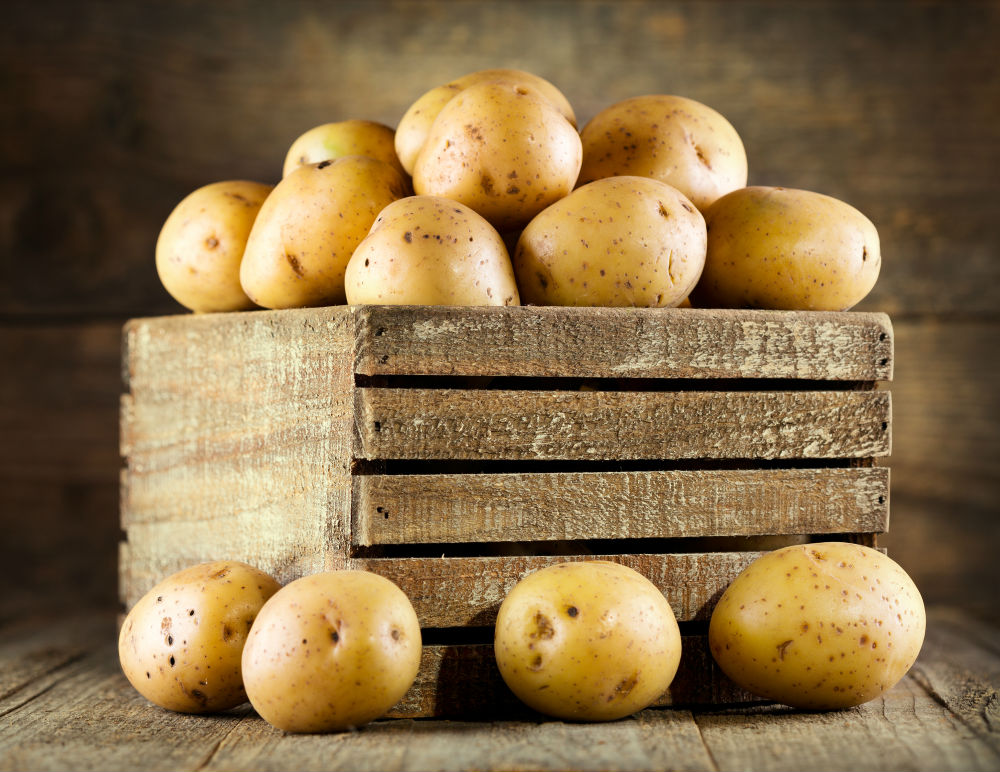
Potatoes are the most common vegetable on our table. Its use is not limited to first and second courses. It is used in fillings and desserts, starch is made from it, etc.
Description
The potato belongs to the tuberous plants of the Solanaceae family. The stem is bare, can reach a height of up to 1 m.
The intermittently pinnate leaf has a dark green color.
Flowers are of three types: white, purple, and pink. The fruits are poisonous and have a rounded shape.
In cooking, plant tubers are used that grow at the ends of underground shoots or stolons.
The fruits and vegetative parts of the plant contain a poisonous substance - solanine. Its purpose is to protect the bush from bacterial damage and damage by some types of insects.
Three types of reproduction are used in agricultural farming:
- parts or whole tubers;
- layering through seedlings;
- seeds.
Seedling potatoes
Seed planting has come into use in recent years, as gardeners have gained access to varietal seeds. This method allows you to get a clean potato seed stock.
The most common way is with tubers. However, not all regions can use this option. If the summer is very hot or, conversely, very cold, then potato seedlings will help to obtain a good harvest. If you plant a vegetable in this way in an arid region, the plant will have time to take root before moisture evaporates from the soil. And in cold regions, this method will reduce the time of plant development in the open field.
Growing potatoes through seedlings is also used in order to get an early harvest of potatoes, for example, in this way you can get potatoes in the Moscow region already in July.
Consider how to grow early potatoes through seedlings yourself.
Seedling potatoes
Planting seedlings
To prepare seedlings, you must first prepare the tubers for planting.
Stage 1. Tuber preparation
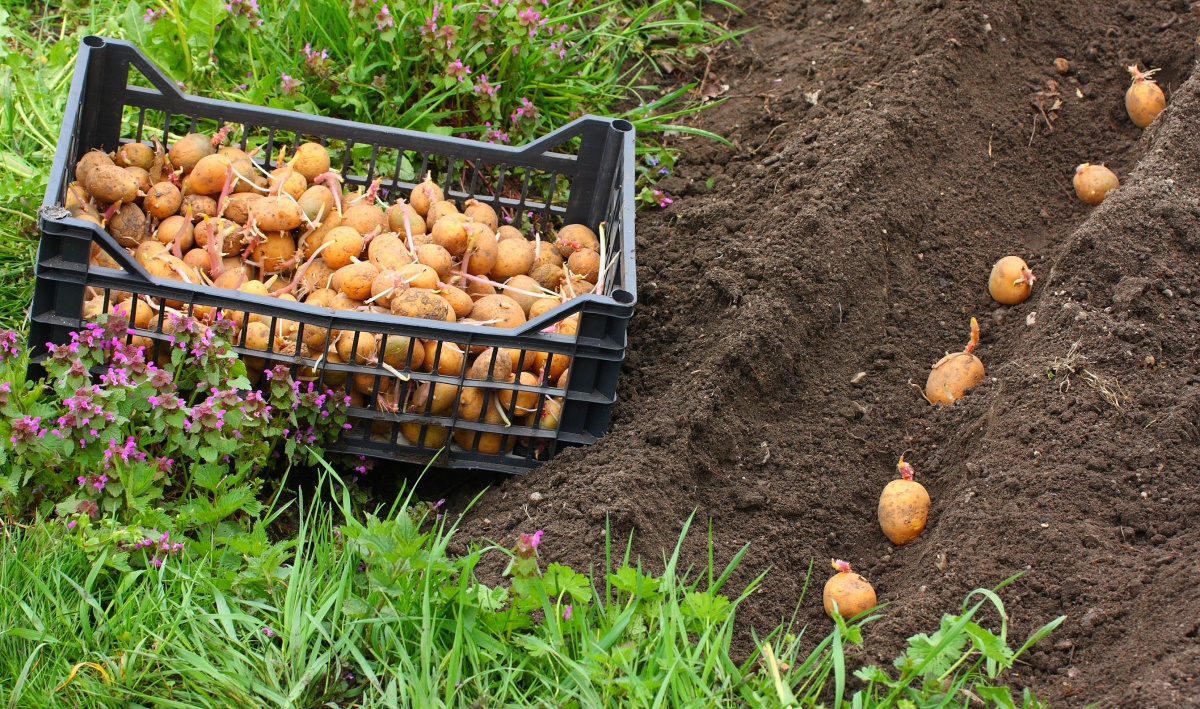
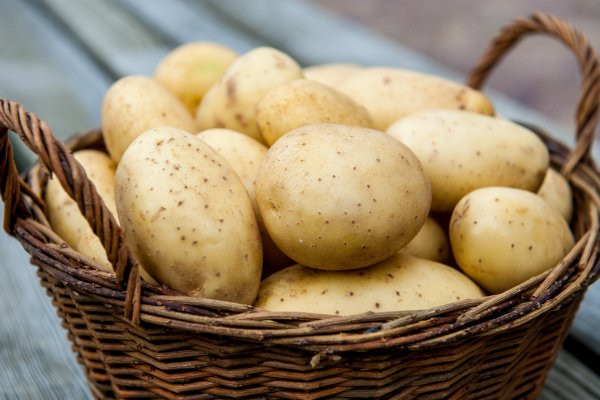
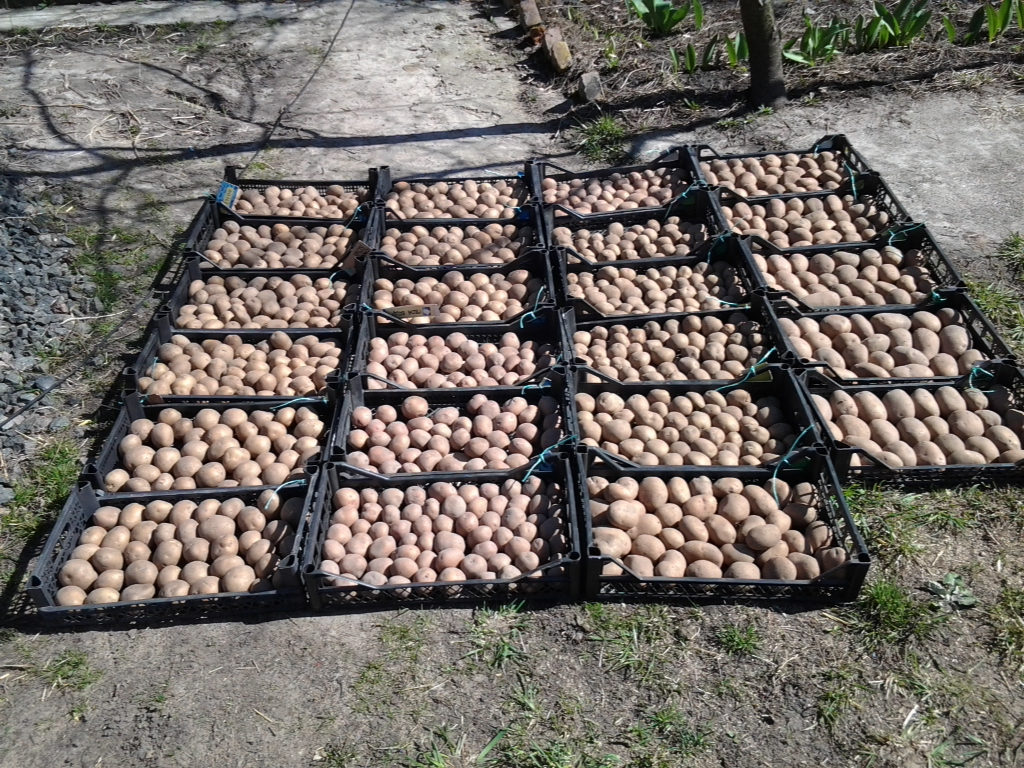
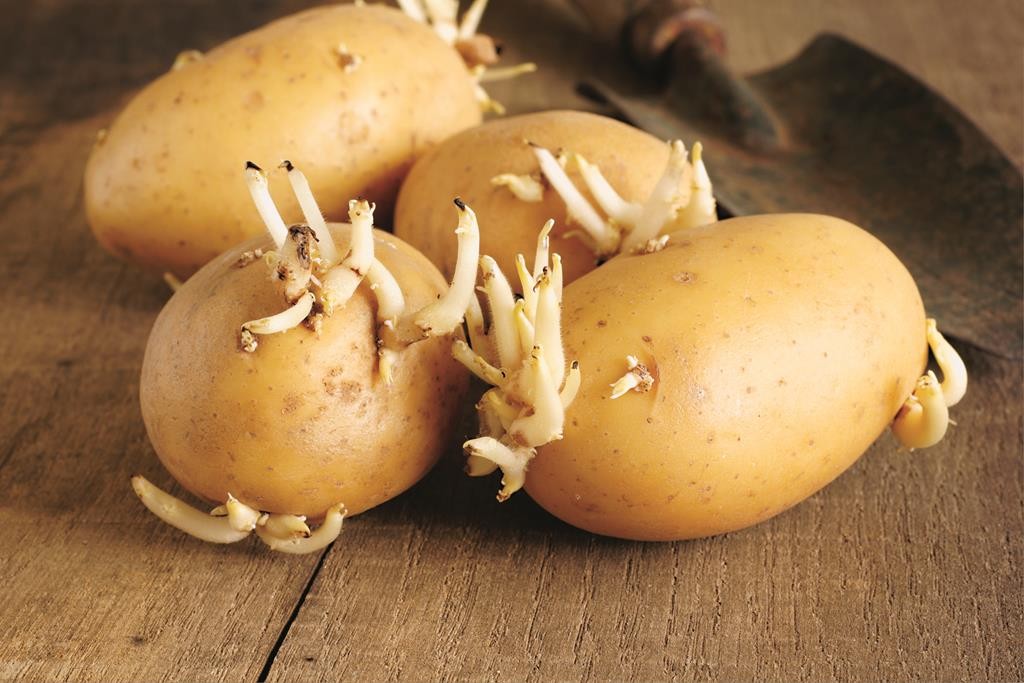
First you need to buy or select (if there are homemade potatoes) healthy, even medium-sized tubers with a large number of eyes and put them on germination. Potatoes are germinated from mid-March to April.
Tubers are laid out in one layer in a bright cool room, placed on the floor or in boxes.
If there is not enough light, the sprouts will be thin and very elongated. This is not the best planting option. The sprouts should be small, green and strong, so that it would be difficult to pick the peephole from the tuber.
Sprouted tubers
Also, thanks to the light, solanine is produced in the tuber, with the help of which the tuber intended for planting will have good immunity against various diseases and rodents.
Additionally, before planting for disinfection, potatoes can be treated with a weak solution of potassium permanganate.
Germination is carried out within 20-40 days, depending on the conditions of germination and the condition of the tubers.
Stage 2. Preparing the planting pots
First, we prepare the soil. To prepare the soil for 2 buckets of earth, take 1 bucket of sand and humus or manure.
To this mixture is added 1 liter of ash and 20 g of superphosphate.
You can also use soil consisting of garden soil, peat and sand.
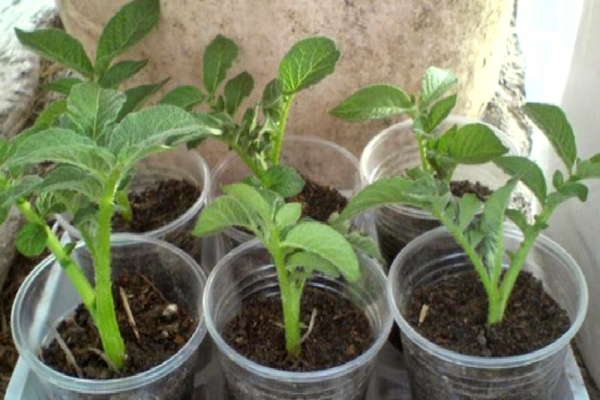
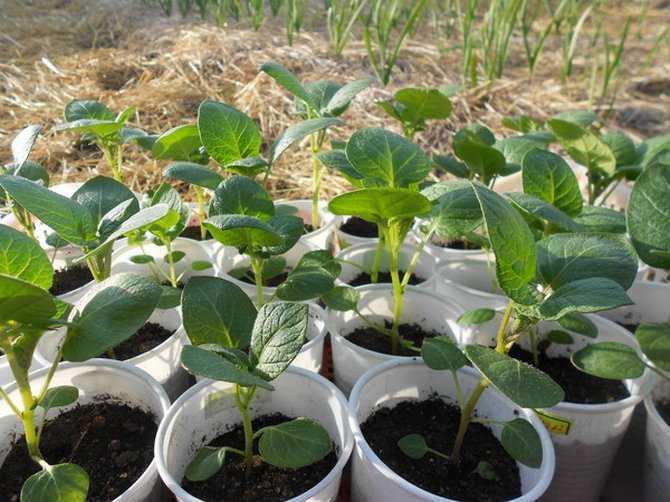
To grow seedlings, we use 75x75 mm peat pots, flower pots, plastic bottles with a cut-off neck or boxes. Next, fill them 2/3 with the prepared earthen mixture.
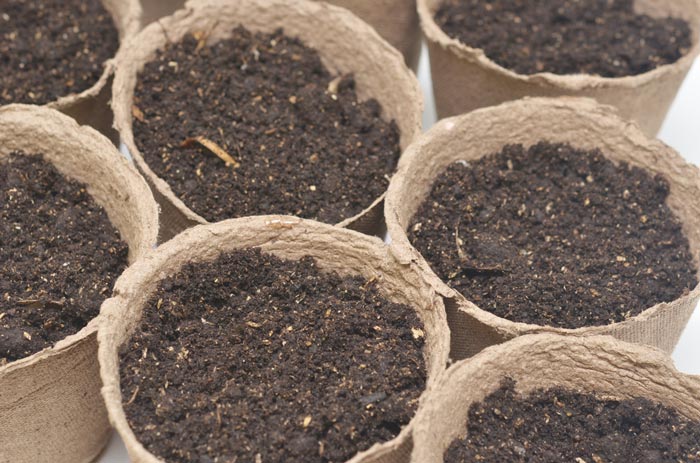
Peat pots
Stage 3. Planting potatoes in a container
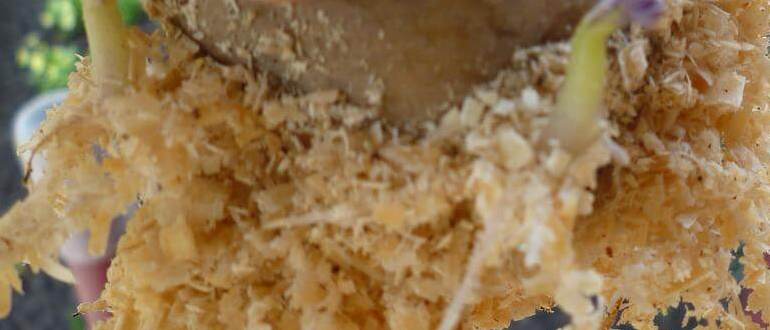
In each pot you need to plant a sprouted potato and sprinkle it with earth, sand or sawdust on top. You can use not a whole tuber, but a potato eye.
To prepare such seed, you need to cut the potatoes into 10mm x 10mm x 10mm cubes, which contain 1 eye each. Slices need to dry a little before planting.
Then, in the same way as tubers, the eyes are planted in prepared containers.
If the seedlings need to grow in boxes, then the tubers are laid in the ground at a distance of about 3 cm.
It is advisable to spill the tubers after planting with a solution of sodium humate (1 tablespoon per 5 liters of water).
In order for the seedlings to develop normally, it is necessary that the humidity is 80-85%. Therefore, the landings are covered with plastic wrap. The film is designed to retain moisture and create a certain microclimate in pots. It is not removed until the first green leaves appear.
Cover with foil
After a few days, the first shoot appears. After the seedlings have risen 2-3 cm, it is time to feed. To prepare the fertilizer, you need to take 2-3 tbsp. nitroammophoska and dilute in 10 liters of water.
In the first 10 days, it is necessary to maintain the temperature in the range of 18-20 ° C. To do this, you can install boxes with seedlings in an apartment or in a house under a battery.
This is necessary so that the eyes wake up and sprouts appear. Then the temperature is reduced so that the sprout turns out to be strong and does not have the opportunity to stretch.
If the sprout begins to stretch, then the seedlings need to be taken out to a cooler and brighter place.
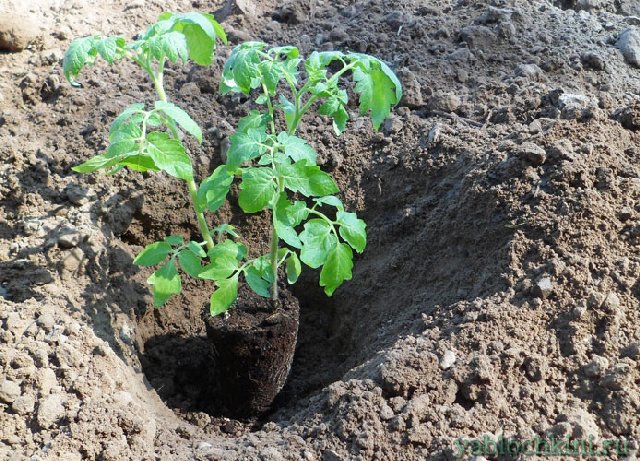
Stage 4. Planting seedlings in the ground
Around mid-May, the seedling can be planted in the garden. By this time, planting pits or ditches should be ready, depending on how you prefer to grow your potatoes. Distance between holes - 30-45 cm, between rows - 0.5 m.
Landing in the ground
An open, illuminated place should be chosen for the site. If the groundwater comes close to the surface, then it is best to plant the seedlings on the ridges. Also, potatoes do not like to grow on acidic soils. If you have just such a site, then in this case, in the fall, the land needs to be deacidified by adding lime or dolomite flour. Their amount is determined by how acidic the soil is.
To grow early potatoes, you need to pour 1 liter of humus or rotted manure into the hole, 2 tbsp. ash, 1 tsp. nitroammophoska and 1 tsp. superphosphate. After fertilization, they must be mixed with the ground. For later potatoes, the amount of fertilizer can be increased slightly. Now, germ material can be planted in the prepared earthen mixture.
It is possible to plant seedlings in a garden bed when they have grown to a height of about 10-15 cm.
The tuber should be covered with soil, approximately 8-10 cm thick, depending on the height of the seedlings. So that the spring frosts do not affect the landing, it is protected from above with a covering material.
Growing potatoes
In order to increase the yield, you need to spud the bushes several times (at least three) per season.
An important condition for obtaining a good harvest is timely feeding of plants, so we need to feed our plantings several times per season. The first feeding is performed before the first hilling. To prepare the working solution, take 0.5 liters of mullein or 1 tsp. urea, dissolve them in 10 liters of water and pour 1 liter under the bush. Two weeks later, a second feeding is carried out.
Weeding and watering are also required. Potatoes are watered at least 2 times per season.If the summer is dry, then watering is performed more often.
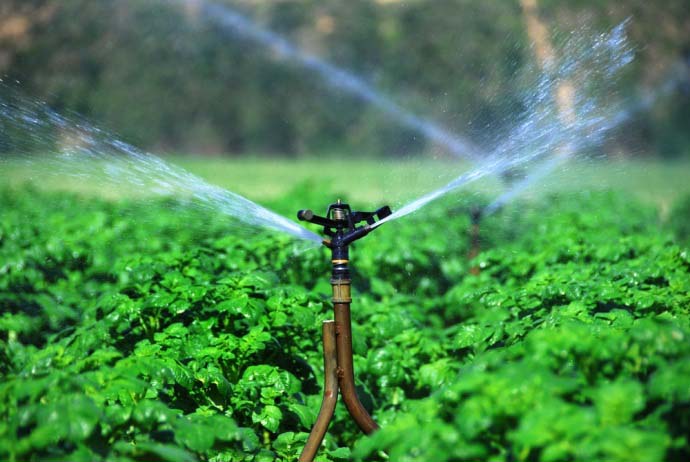
During dry periods, watering should be abundant.
Diseases and pests of potatoes
When growing potatoes using seedlings, plantings can be damaged by various fungal, infectious diseases, as well as insects and microorganisms.
Fungal diseases
Late blight
One of the most dangerous diseases is late blight, which affects both potatoes and tomatoes. Belongs to the category of fungal diseases. Symptom - the appearance of brown spots on the leaves. In tubers, the affected areas are denser than others and have a brown color.
Favorable conditions for its development:
- high humidity;
- sudden changes in temperature.
It spreads through contaminated soil.
Preventive measures:
- you can not take seed from infected plants;
- do not allow the cultivation of potatoes in the same place or after tomatoes;
- do not plant tomatoes and potatoes nearby;
- infected plants should be burned and in no case composted;
- spray with 1% Bordeaux liquid.
Cancer
Potato pests
The Colorado potato beetle is one of the most common pests on potato bushes. Not only the beetles themselves are dangerous for planting, but also the larvae, which destroy the plantings at great speed.
Another dangerous pest is the click beetle and its wireworm larva. In the area infested with wireworm, the tubers are pierced with small black holes, which spoils the number and appearance of the potatoes.
With the help of seedlings, you can get a quick and high yield of potatoes, even in cold or, conversely, very hot summers.