Content:
The benefits of eating melon fruits are beyond doubt, and the taste of its fruits leaves no one indifferent. That is why many gardeners are trying to grow this plant on their plots. Only in central Russia such a procedure is by no means simple, and not all varieties are suitable for it. Melon seedlings are pre-grown to speed up the harvest time and allow it to mature. There are certain subtleties and nuances in this matter.
Melon cultivation at home
The key to the success of melon growers is the correct choice of melon varieties. Here you need to proceed from the conditions and in which region the cultivation will be carried out. The middle lane, the Moscow region and the Moscow region suggest the choice of a variety with the shortest ripening period, because the late ones simply do not have time to ripen in cold summer conditions.
The following options are perfect:
- Titovka;
- Assol;
- Roxolana;
- Altai;
- Delano;
- Scythian gold;
- Collective farmer, etc.
As you can see, time-tested varieties are still used, which have not lost their popularity. Although the breeders work tirelessly and annually bring the latest developments to the attention of consumers.
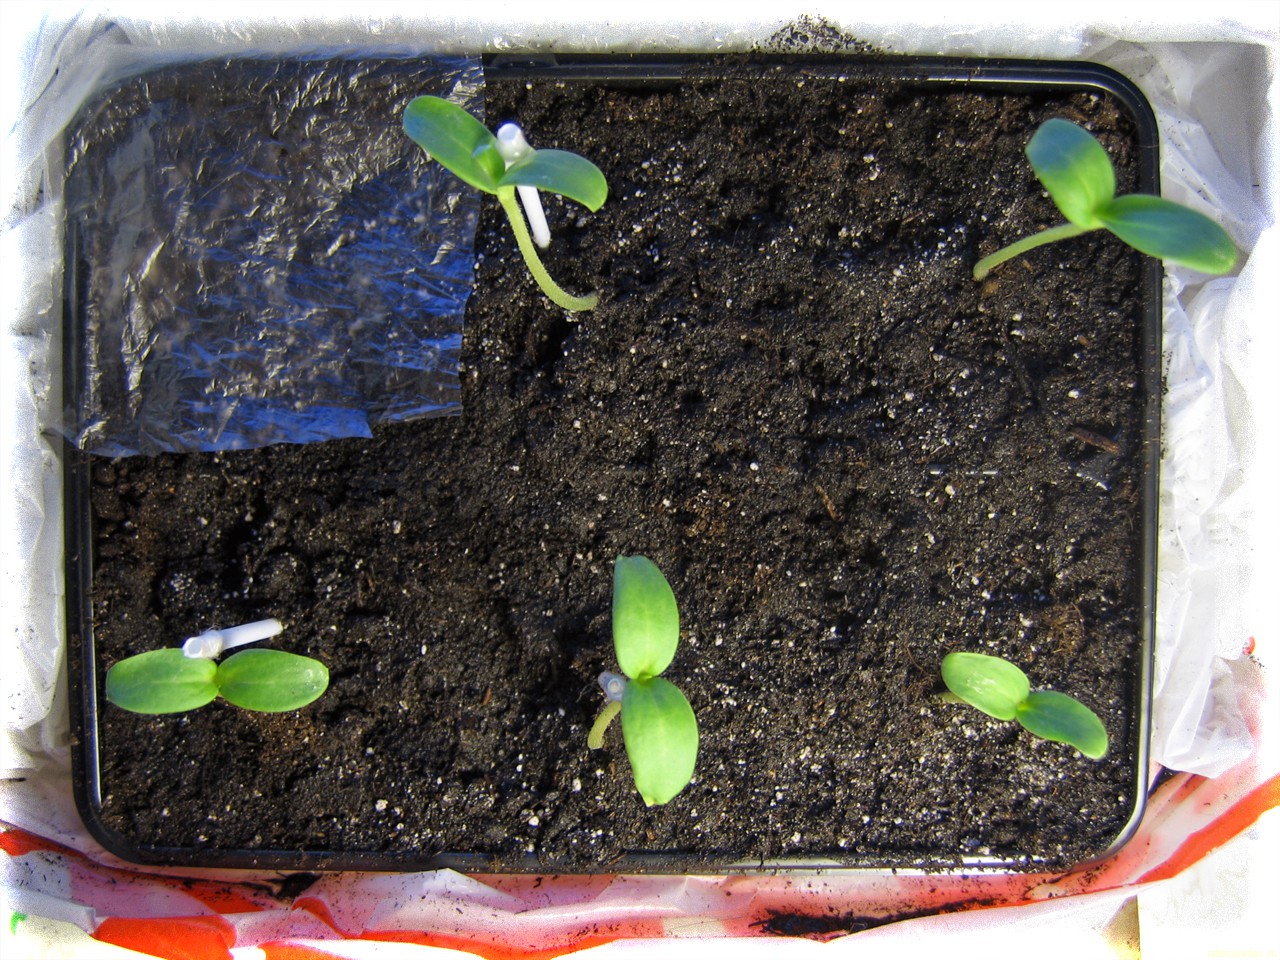
Melon cultivation at home
If there is an opportunity and desire to wait, then you can try to grow melons with an average ripening period.
The best varieties, according to reviews of gardeners, are recognized:
- Primal;
- Moon;
- Rainbow;
- Torpedo;
- Assate;
- North Star, etc.
In a heifer, you can experiment with growing late varieties, the best of which are:
- Pineapple;
- Ethiopian;
- Princess Mary;
- Emerald;
- Gulyabi, etc.
Most modern varieties are hybrids, so it is not worth trying to collect seeds from them for subsequent cultivation.
Preparing seeds for planting
To achieve the best result, seeds are selected for planting two or even three years ago. Subsequently, a plant grows from them, giving female inflorescences and capable of forming fruits. Seed suitable for planting is identified by immersion in salt water. You can prepare it at the rate of 5 g per 100 ml of water. table salt. Non-viable seeds will float to the surface, the rest will fall to the bottom. They are subsequently washed and allowed to dry.
Gardeners believe that it is possible to stimulate the formation of female flowers by properly carrying out pre-sowing treatment. The seed must be warmed up at a temperature slightly higher than + 50C for a couple of hours, and then placed for half an hour in a weak solution of potassium permanganate.
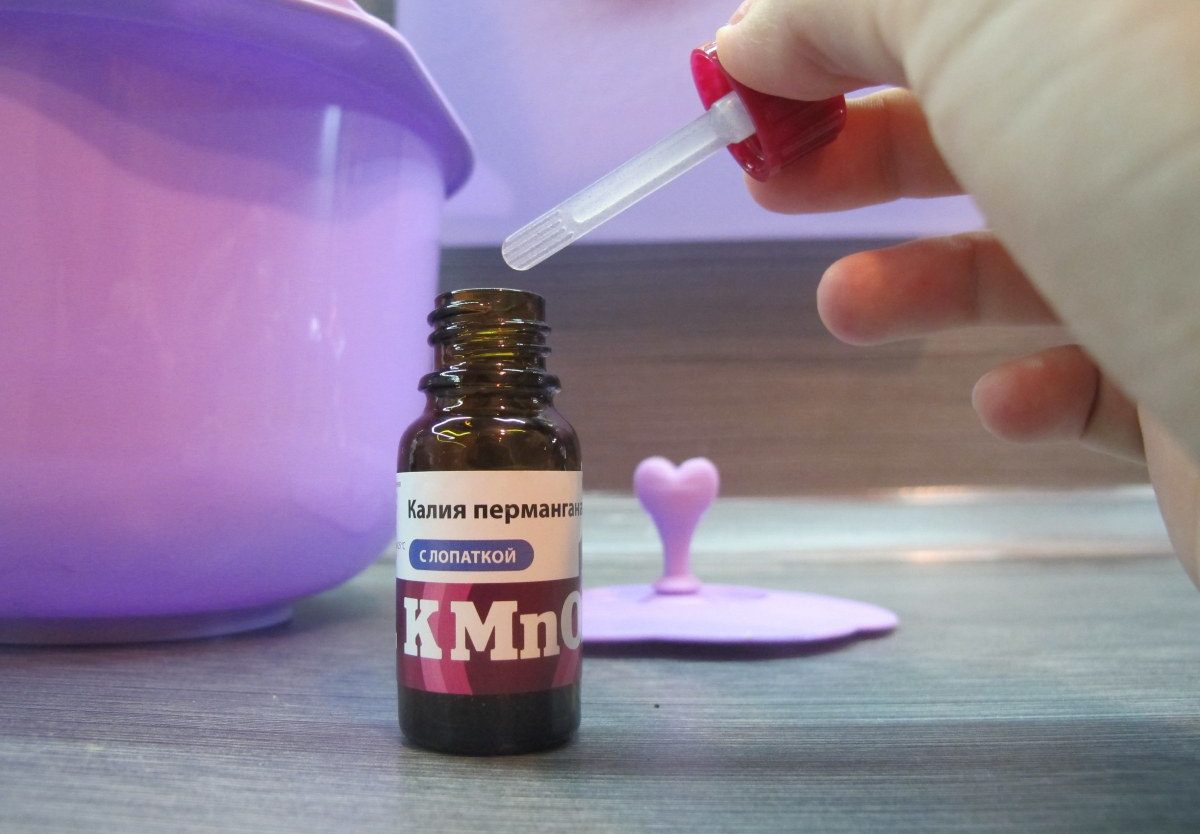
Potassium permanganate solution.
For the first shoot to appear very quickly, it is recommended to soak the melon seeds in advance. A damp cloth is used for this, in which the seed is wrapped, placed in a plastic bag and sent to a warm place. Sometimes wet heated sand is used for the same purposes. For novice summer residents who do not have much experience in working with seeds, a special hydrogel was developed, which greatly simplifies the cultivation of seedlings.
Before planting in the ground, home seeds are recommended to be enriched with useful microelements in order to increase their chance of survival. To this end, they are placed overnight in a solution prepared from a glass of water and 5 grams. wood ash. In the morning, you can remove the seed from the solution and dry it a little.
This should be done as follows. Fold the seeds into a damp cloth and place them on the bottom shelf of the refrigerator for a day. Then take them out, transfer them to a warm room and keep them there for a day, and then move them back to the refrigerator. At the same time, the fabric is periodically moistened. You can also resort to another method. For 5 hours, place the seed in a bowl with ice and snow. The correct approach to pretreatment significantly improves the survival rate of melons in different climates.
Before planting seeds in the ground, you need to determine exactly the timing. After all, each region has its own microclimate, and the seedlings must reach a certain age by the time they are planted in open ground. For professional farmers, the lunar calendar and its recommendations are of great importance in choosing the optimal planting dates. In the middle lane, melons are planted for seedlings in late March or early April, in colder regions (the Urals and Siberia) - closer to the end of April. By the time of planting, the plants should be one month old.
If there is a greenhouse for the cultivation of melons, or sowing is planned directly to the garden, then this should be done not earlier than the beginning of May. It is best to sow seeds in open ground only by mid-May, and even then in a hot southern climate.
The step-by-step instructions for planting melons are as follows:
- Pour the soil mixture into a glass;
- Make a groove in the soil, pour a little warm water over it;
- Place the seeds in the groove;
- Sprinkle with soil and cover with warm water;
- Cover the cups with foil and send them to a warm room before the first shoots appear.
Melons should never be dived. Otherwise, some of the seedlings will simply die. Sowing seeds is carried out in a separate bowl with a diameter of about 10 cm.
A nutritious soil mixture is prepared in a 1: 1: 1 ratio from the following components:
- peat;
- humus;
- sod land.

Peat
It is advisable to add a little superphosphate and wood ash, as well as urea. Melon prefers slightly alkaline or neutral soil for cultivation, therefore, for cultivating melon seedlings, you can use a nutrient soil mixture of lowland peat, sawdust and humus in proportions of 3: 1: 0.5. Initially, you need to sow 2-3 seeds per pot, so that later you can choose the strongest seedling, and remove the weak ones. The planting depth is selected up to 5 cm. A little more than half of the earth is taken into the cups, so that later it would be convenient to water the plants and add soil to them as needed. It is not necessary to deepen the seeds too much, since it will be difficult for them to germinate. Planting is best done in pre-moistened soil.
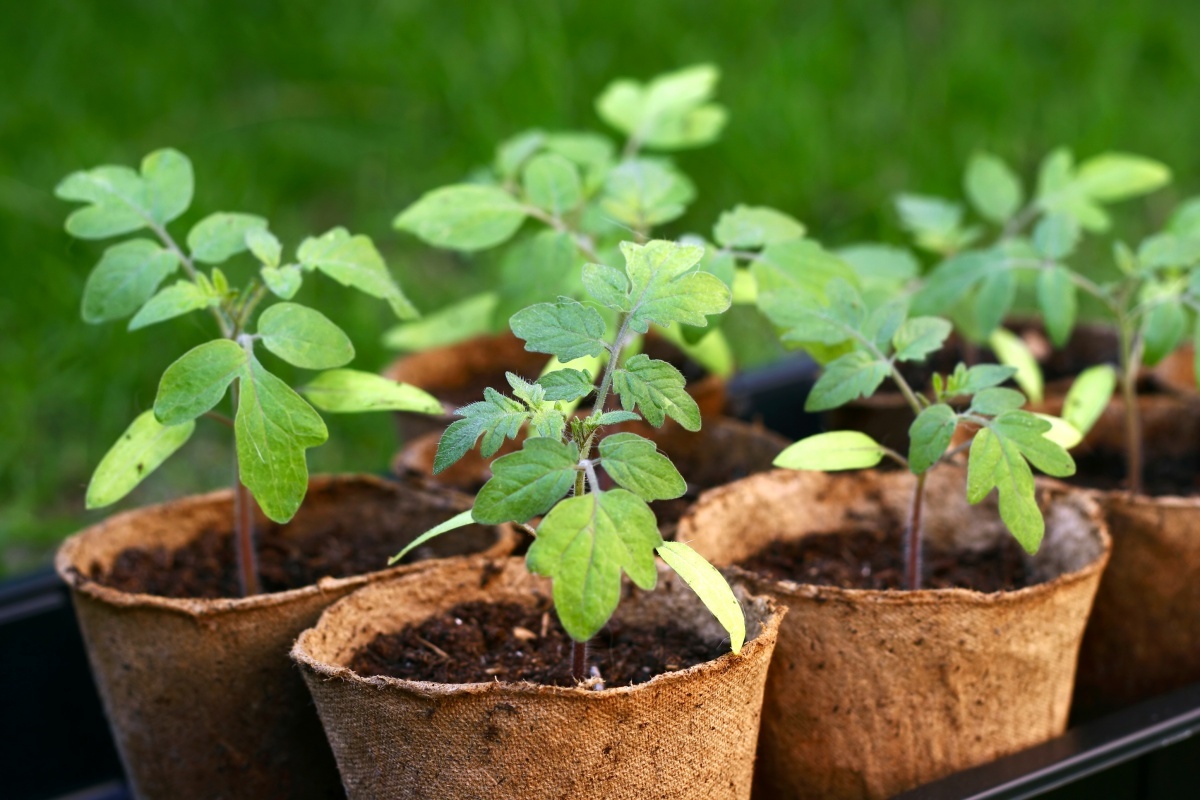
Planting any melon for seedlings is a laborious process. Immediately after the emergence of shoots, the strongest shoots are selected, the rest are removed. The pots are placed in a well-lit place, the lack of light is compensated for by phytolamps or LED lamps. As soon as it gets warm enough, you can move your home melon nursery to the balcony. In this case, in no case should direct sunlight be allowed to hit the plants. You can install fabric roller blinds or aluminum blinds to protect landings.
From year to year, gardeners gain experience in growing melons in various climatic conditions. As practice shows, plants should be watered up to 3 times a week, but this should not be abused.Irrigation should be carried out gradually so that the soil is saturated evenly. For this, settled water, warmed up to room temperature, is used.
Melon seedlings require feeding during the period of active growth. Within a week after the emergence of seedlings, organic matter can be added. Used for this mullein, diluted with water in a ratio of 1:10. After a couple of weeks, the seedlings that begin to gain vitality again need fertilization. Only this time ammonium, superphosphate and potassium sulfate are added to the mullein.
If several strong shoots have sprung up in one pot, you can try to plant them. This must be done very carefully. In general, it is not recommended to plant melons, because after such a procedure they get sick for a long time. But if time allows, and you are reluctant to lose a good seedling, then you can always take the risk.
The beds for transplanting melon seedlings should be started in the fall. Shallow digging is carried out, holes are made on the bayonet of a shovel, into which humus is introduced and left until spring. With the onset of heat, nitrogen-phosphorus-potassium fertilizers are thrown in.
A week before the expected planting in open ground, young melons begin to harden. They are gradually taken out into the open air, each day increasing the time spent there. As soon as 3-4 true leaves are formed on the stems, they are moved to the beds or to the greenhouse. They do this as carefully as possible. The planting scheme is respected 140x100 cm. So that the planting at first does not suffer from the scorching rays of the sun, a temporary mini-greenhouse is built for them, using any covering material for this.
What to do if the seedlings of melons are stretched
Pulling melon plantings can occur for several reasons. First, they don't have enough lighting and just gravitate towards the window. Secondly, the room temperature is too high. Melons can also create shadows for each other, or cloudy weather has been observed outside for a long time. In any case, if the seedlings began to stretch, then the problem must be quickly resolved. She will not only look bad, but can die in a short time.
What to do if the seedlings of melons are stretched
The first step is to normalize the lighting by installing phytolamps. Daylight hours should be from 12 to 17 hours. If the seedlings have time to stretch out enough, then it is worth pouring earth into the pots. The air temperature in the room must be maintained at + 18C. Every day, plantings are turned to the sun on the other side. Such a regime should contribute to the normalization of growth processes, and soon the seedlings of melons will begin to develop normally.
Causes of Drying and Yellowing of Leaves in Melons
It happens that melons begin to turn yellow, and then the leaves begin to fall off. Why does this happen, and what caused such an unpleasant phenomenon?
There may be several reasons:
- lack of moisture;
- root damage;
- lack of mineral salts;
- lack of light.
Melon needs watering once a week. A powerful root system extending deep into the soil allows the plant to extract moisture in the deep layers of the soil. It is advisable that during irrigation water does not fall on foliage and flowers. It is best to use the drip irrigation method.
If melons grow close to each other, their roots can be injured. As a result, the foliage turns yellow and falls off, and the plant itself has an unhealthy appearance. The recommended planting patterns must be followed exactly. In the case of a lack of mineral salts in the soil, the plantings are immediately fed with complex mineral fertilizers.
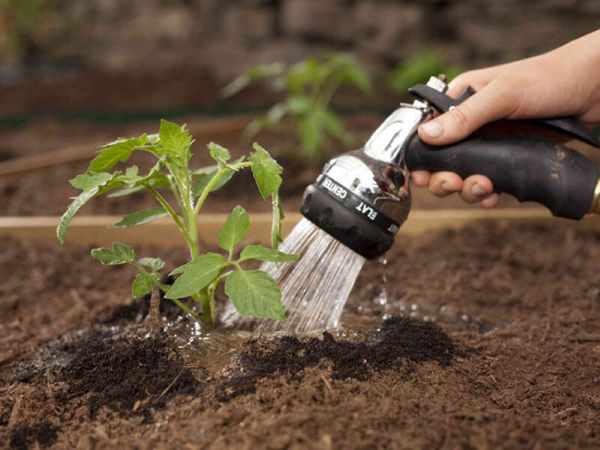
Melon seedlings need watering
In sunny and dry weather, established for a long time, the leaves of melons can also turn yellow. Plants should be rescued immediately by covering the melon shoot with dry grass. As soon as the weather conditions change, the landings can be opened.
Tips and tricks for growing seedlings
Growing melons on your site is not only fun, but also useful. After all, this is the only way to be sure that the fruits were not fed with chemicals harmful to health and will not harm health. Like any melon crop, melons have some tricks in growing. Experienced gardeners have gained invaluable experience in growing these plants, which can later be used by young followers.
Due to unfavorable weather conditions or other reasons, melons bloom profusely, but they do not form ovaries. In this case, you can make them artificial pollination, touching the stamens of one flower to the pistil of another. Also on the market there are now preparations of the "Ovary" type intended for pollination of plants. The procedures are best carried out in the morning at a temperature of 20C.
The middle stem, located above the 6th leaf, should be pinched in order to accelerate the growth of lateral shoots, on which female flowers will form. This rule does not apply to hybrids in which lateral shoots are pinched after 3 leaves, and the central one does not touch at all.
You can grow a good melon!
There is one more important condition for obtaining an excellent harvest. As soon as the bush forms 5 fruits, the tops and side shoots are pinched, and all excess ovaries are removed. In this case, the melons will grow large, juicy and tasty, and the plant will not waste its vitality.
Melon care consists not only in regular watering and feeding, but also in the timely fight against weeds, weeding, and loosening the soil. Also, for the entire growing season, you should try to make about 6-7 dressings. The first - immediately after the appearance of the third leaf, using urea, the second - after planting the seedlings on the garden, the third - after the appearance of the sixth leaf, using manure diluted with water.
Subsequently, the melons are fed with a vermicompost solution once every 1-2 weeks. To avoid potassium deficiency, from which all melons and gourds can suffer, it is necessary to carry out regular feeding with a solution of azofoska (1 tablespoon per bucket of water). Pour 0.5 liters of solution under each bush. It is recommended to combine these actions with weekly irrigation and carry them out until the first female-type flower appears. However, you don't need to be zealous with fertilizers either. Experienced gardeners say that it is better not to feed the plants than to overfeed.
Healthy and tasty melons can be grown on their own plot in almost any region. The main thing is to choose the right variety and skillfully grow seedlings. Breeders annually present to consumers interesting novelties adapted for growing in unfavorable climatic conditions. Even a novice gardener is able to harvest this melon crop, while guaranteeing its quality and safety for health.