Content:
How to make the ridges correctly and plant potatoes in them manually, a description of the technology, depth, sowing method, the pros and cons of this method of planting potatoes, advice from experienced summer residents and gardeners in Russia are presented in this article.
Several rows of potatoes are grown on each garden plot, and gardeners often try new methods. One of the ways that increases the yield of a crop is by forming ridges. A particularly successful experience if it is applied on heavy soils and in cold regions with frequent natural precipitation.
Culture information
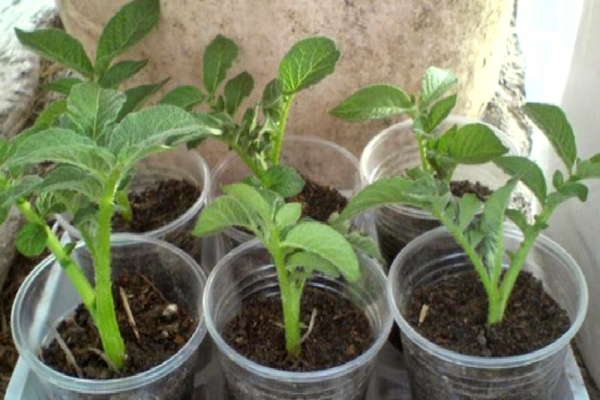
They begin to prepare potatoes for planting in the first spring month. They buy new varieties in specialized stores or take tubers prepared last summer with green on the peel. The planting material is taken out of the basement in a month so that healthy light sprouts form on it. All tubers are sorted out and only those where there are no lesions and foci of disease are left. They are laid out in boxes in 2-3 layers and left in a bright and warm room. Already germinated tubers are planted when the ground temperature rises to 7-8 oC, and the air warms up to 14-15 oC. So the culture in the garden develops faster.
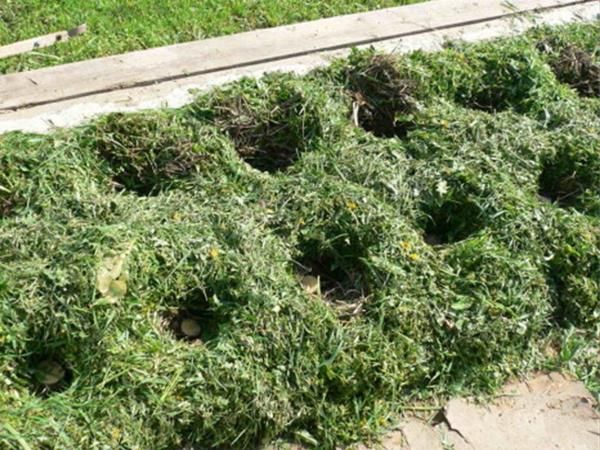
Potato planting combs
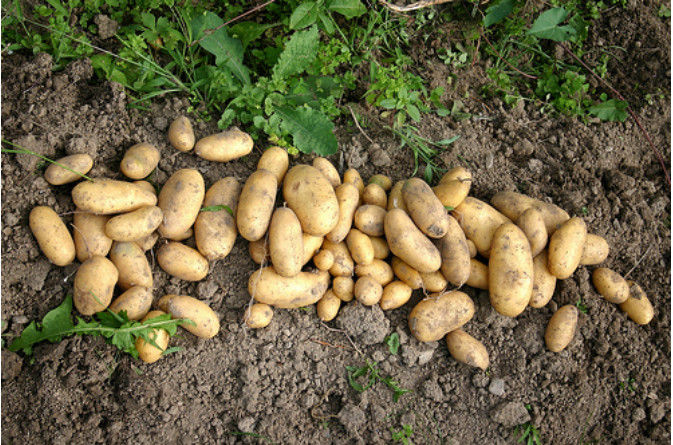
For potatoes, they choose an area where nightshades did not grow in the previous year, but carrots, beets, beans, peas or cereals grew. Early potatoes are planted first, followed by mid-season and late varieties. Shoots should be protected from recurrent frosts, spudding them as soon as the first shoots appeared. Obligatory care - removing weeds, weeding, hilling, watering and protection from diseases and pests, guarantees a bountiful harvest at the end of the growing season. Depending on the variety, the tubers ripen at different times - from 60 to 110 days.
Advantages and disadvantages of the method
The advantages of this method are recognized by gardeners, whose plots are located in areas where it often rains, relatively short summers and heavy soils.
Advantages:
- Increasing yields by creating favorable conditions for the development of tubers, including better access of solar heat to the potato nest;
- The ability to start harvesting potatoes a week or two earlier due to the shift in planting dates, since the top layer warms up in spring faster than the soil thickness up to 6-8 cm;
- Plant roots develop faster, since oxygen access to them is facilitated;
- Frequent rains only slightly compact the soil in the embankment, simply contributing to the growth of tubers, but does not cause the spread of putrefactive diseases;
- Facilitation of manual labor - a shallow depth of loosening of the site in the spring, fewer hilling, easy planting and harvesting of potatoes.
Planting potatoes in the ridges requires a lot of work
Planting potatoes in ridges is a really productive method, but only under the agreed conditions. The method pays off little if it is used by gardeners from southern regions, where there is not enough natural precipitation and a light soil structure.
Disadvantages:
- The need for frequent abundant watering, since the soil dries quickly;
- Sandy and sandy soils settle under the wind and hot sun, lose fertility, require frequent fertilization;
- The root system and tubers can be exposed due to natural erosion.
How to make combs for planting potatoes: instructions
Ridge planting has proven to be an excellent way to obtain good tuber harvest.
The area for potatoes is plowed in the fall, applying the required amount of fertilizers:
- 10 kg of manure, humus or compost per 1 sq. m;
- 60-70 g of superphosphate.
In the spring, the soil is cultivated with a cultivator to become even and loose. Ridges are easier to form from soft soil.
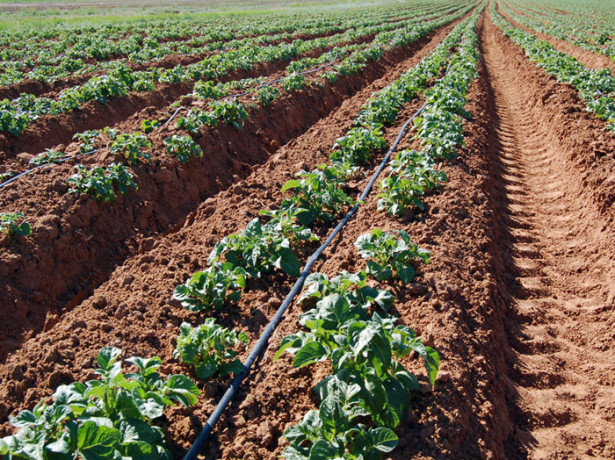
Planting potatoes in combs
Mineral complex fertilizers or individual substances are immediately applied:
- 20 g of potassium sulfate or 200 g of wood ash;
- 30 g of superphosphate per 1 sq. m;
- as an option, 40 g of nitrophoska and 20 g of ammonium nitrate.
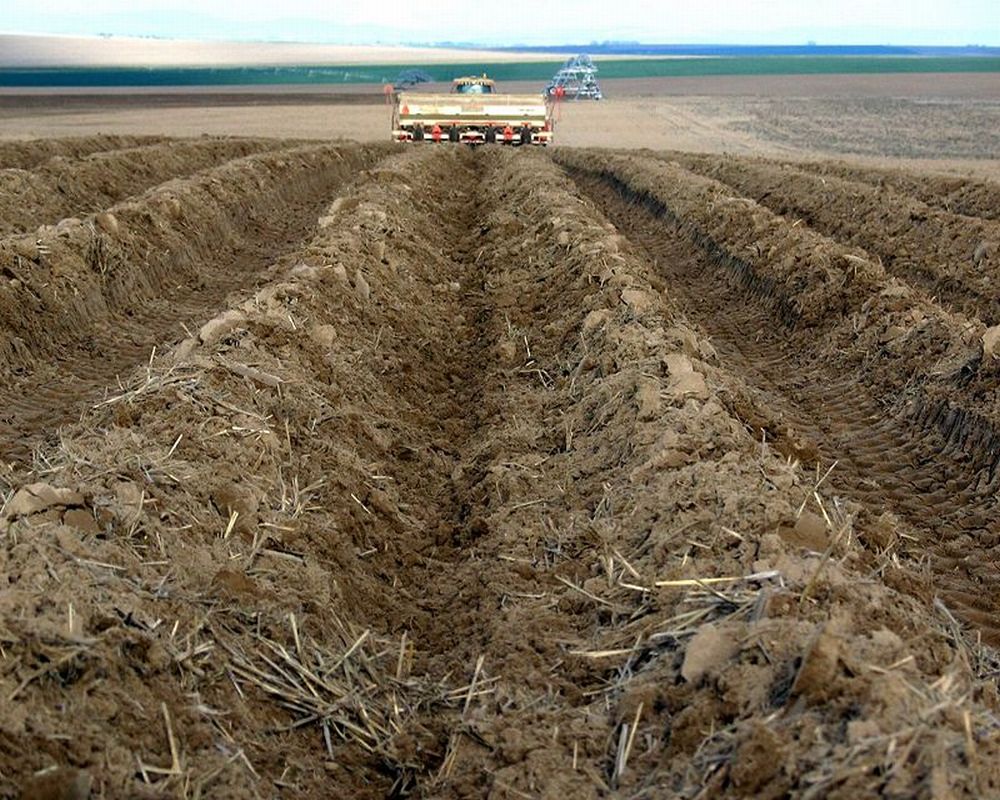
With the establishment of a suitable temperature for planting potatoes, they begin to make ridges. They are created with a hoe, a manual hiller or walk-behind tractor is used.
If no technique is used on the site, choosing the method of planting potatoes in the ridges manually, the earth is dug with a shovel to a depth of only 1/3 of a bayonet. Then the beds are leveled, large clods of soil are broken.
Instructions:
- Rows oriented in the north-south direction are marked with an extended twine at a distance of 70-75 cm;
- Having retreated from the twine 30-35 cm, they draw a furrow, a future path;
- Then the combs are cut with glanders or shovels. The earth is not dug out of the paths, the embankment is formed from the upper soil layer, which has already warmed up;
- A crest is formed in the form of a trapezoid, where the narrow side is the top, its size is up to 15 cm;
- The height of the embankment is 20-31 cm;
- The surface of the ridge is not even; where a potato bush grows in summer, there is a small depression relative to the plane of the embankment.
Many gardeners have purchased mini-equipment, which greatly facilitates planting and caring for a potato plot. With the help of a cultivator cutter, they easily loosen the soil, and using a hiller plow, you can quickly make ridges, as well as correct them in the summer.
About the method of planting in ridges
The method of planting in ridges significantly increases the yield of potatoes on clay soils, which retain moisture for a long time. Caked soil prevents the free development of the young tuber ovary. The prerequisites for the emergence and spread of late blight are also created. The loose soil in the embankment provides good conditions for the development and growth of tubers.
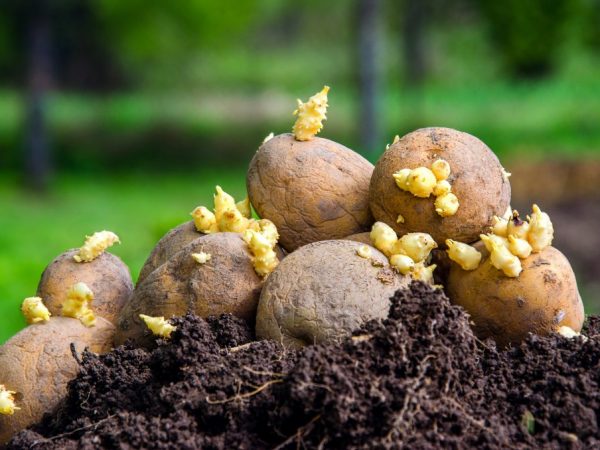
Tuber preparation
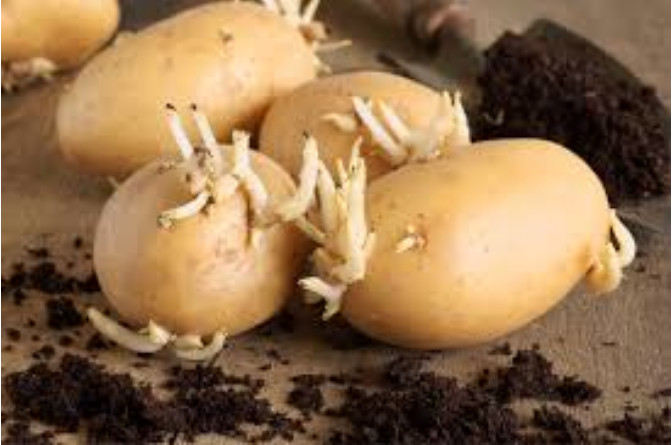
Tuber preparation
The sprouted tubers are ready for planting. The sprouts should not be allowed to stretch out if the weather is still cold. In this case, the temperature in the room with the planting potatoes is reduced. Before planting the tubers, they are treated with growth stimulants as desired and sprayed with approved fungicides and insecticides.
Landing algorithm
To grow the expectedly high yield of potatoes in the ridges, pay attention to the correct planting:
- light seedlings of seed tubers - up to 5 mm;
- planted to a depth of 4-8 cm;
- the holes can be easily made by hand, moving part of the soil, then also covering the tuber with soft soil;
- the distance between potato nests is 30-35 cm.
There are two technologies for the ridge method of growing potatoes: classic and Dutch. Accordingly, the first, the planting material is laid out along the line marked with a string on the soil surface after 30 cm, then the embankment is raked over the tubers. According to the Dutch tradition, the tubers must first be planted in the ridges very densely, one next to the other, and left to germinate. When 5-6 eyes appear, the potatoes are dug up and revised again, rejecting those that have not sprouted and with noticed damage. The double planting is used for careful selection of seed material and consistently high yield.
Culture care
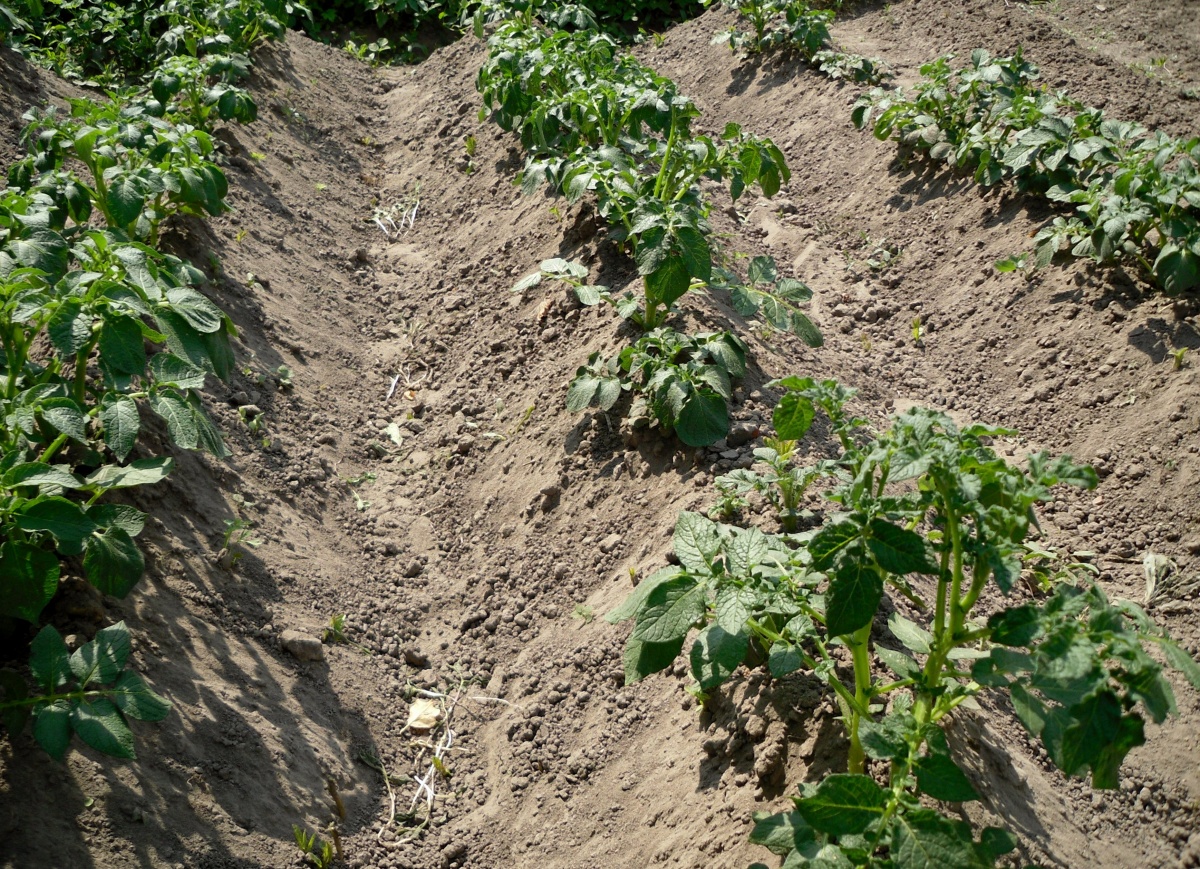
After 15-17 days, the first shoots appear on the ridges. To make them stronger and not suffer from recurrent frosts, they carry out the first hilling, raising the embankment to 30 cm. Before that, the aisles are loosened, removing weeds. Over time, the land settles, the soil is periodically scooped up so that the shape of the embankment is maintained, and the growing tubers do not protrude outward. The procedure is carried out with a hoe or mechanically, with a hiller of a walk-behind tractor.
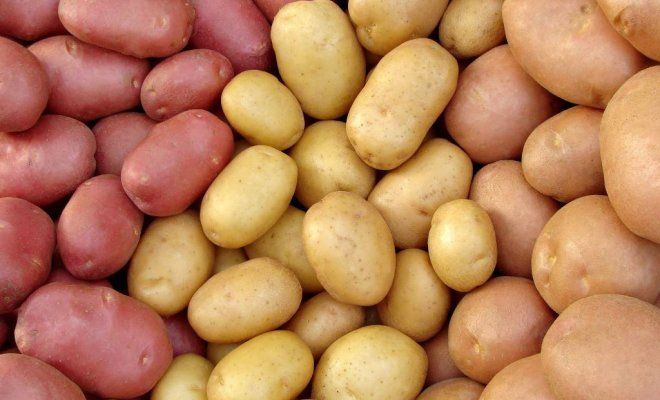
Potato yield
If necessary, the potatoes are watered, especially if there is no rain in the bud formation phase and after flowering, when the ovaries are formed.
Even when fertilizing in autumn and spring, potatoes need summer dressing:
- thin, weak shoots are fed with mullein or chicken droppings, preparing solutions, respectively, 1:10 and 1:20;
- 2 g of ammonium nitrate is poured under each bush;
- during the budding period, fertilize with a mixture of 40 g of superphosphate and 200 ml of mullein, dissolved in 10 liters of water: 500 ml per bush;
- they are also fed with infusion of 50 g of wood ash and 5 g of potassium sulfate per 1 running meter;
- when the potatoes are already blooming, foliar feeding is carried out, insisting for 2 days one tablespoon of superphosphate in a bucket of water: 1 liter is consumed per hundred square meters.
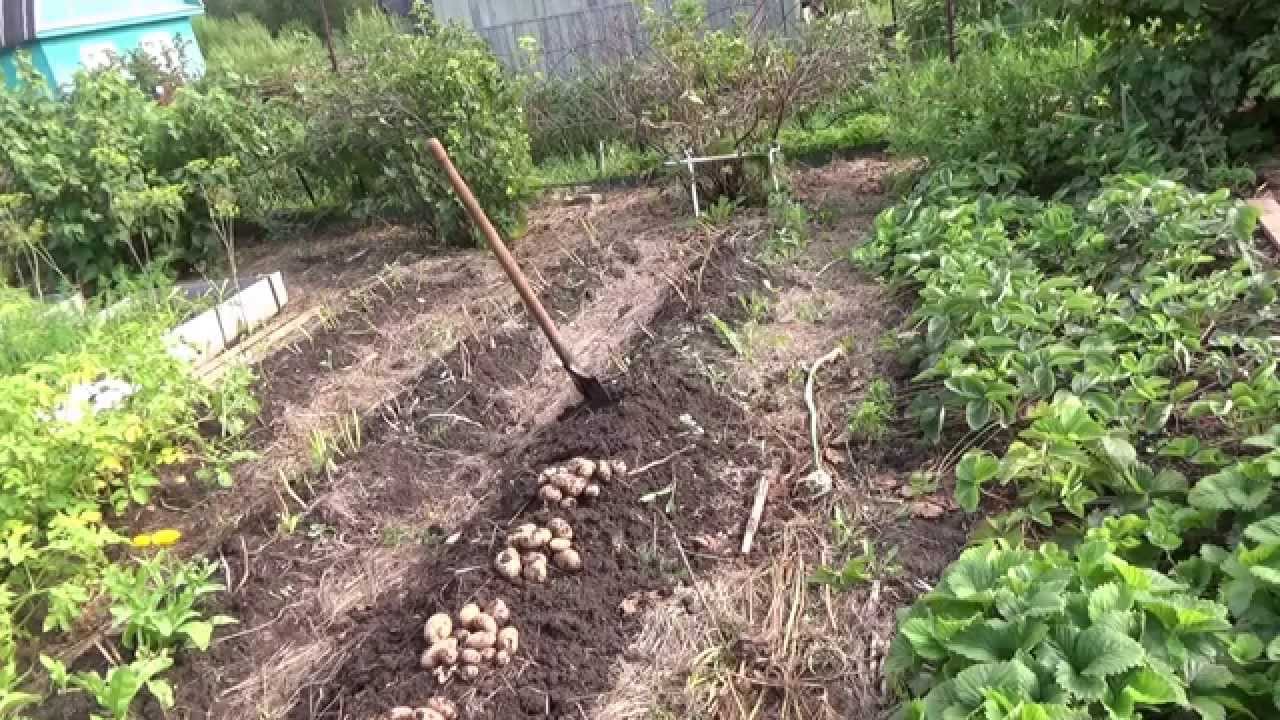
Adhering to modern technologies, 7-10 days before harvesting, the green potato tops are mowed. For tubers, this serves as a signal to build up the peel to increase shelf life.
The comb method of planting potatoes is effective, you just need to adhere to the recommendations of experienced gardeners, where it is better to use it. The culture will mature earlier and yield more harvest. Competent care will also play a role.