Content:
Today, it is almost impossible to breed chickens at home without an incubator. Many chicken breeds have partially or completely lost their incubation instinct. Therefore, sooner or later, every amateur poultry breeder will face the question of artificial breeding of chicken offspring. The purpose of this article is to acquaint the reader with the incubators of domestic production of the Nesushka trademark.
What is a Laying Incubator
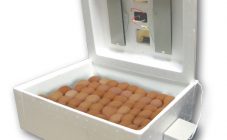
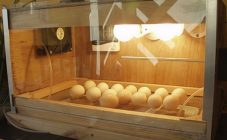
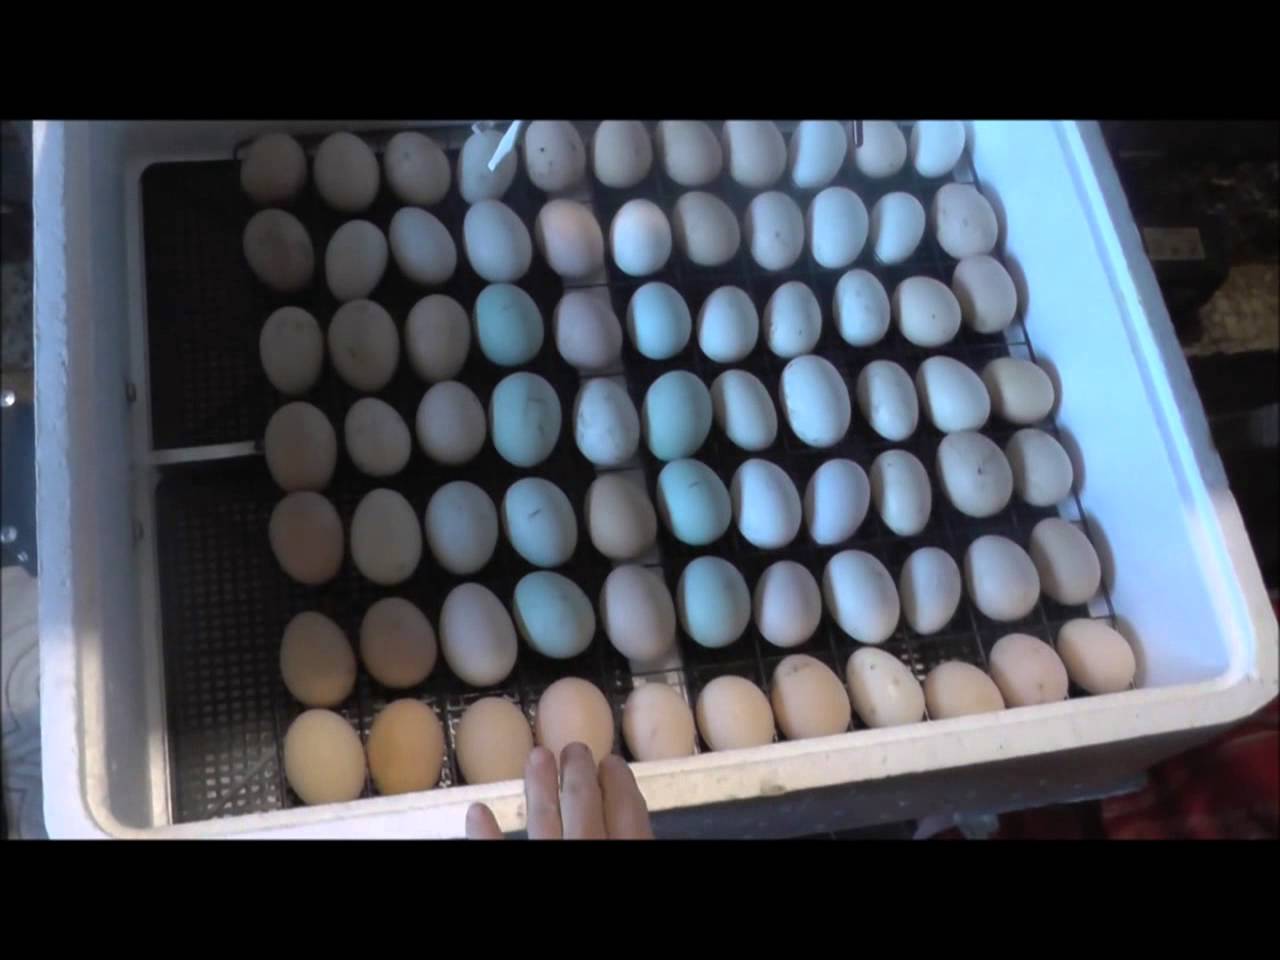
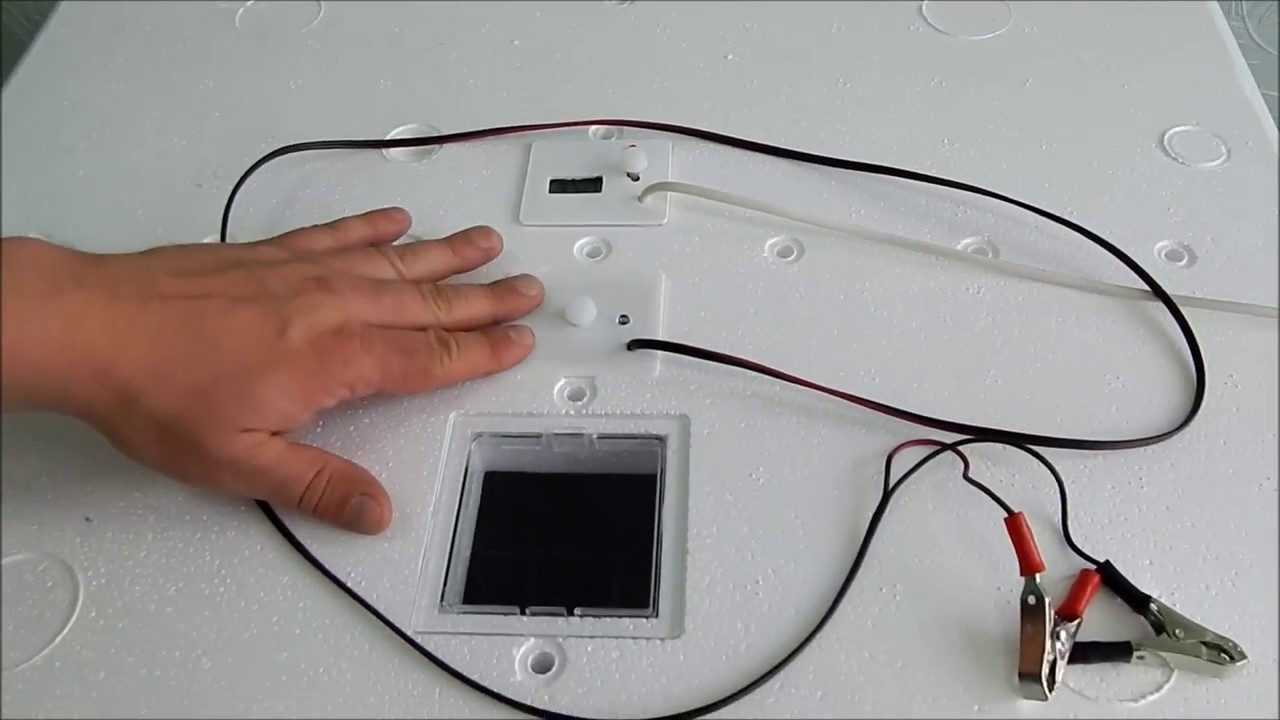
This is a rectangular case made of dense polystyrene foam. Inside the case, there are honeycomb egg trays with a turning mechanism (or without it, depending on the model). There are recesses in the bottom - water trays. From above, the body is tightly closed by a cover made of the same material, in which one or two viewing windows are cut out and a temperature controller relay is mounted. Heating elements are attached to the inside of the lid.
The factory name of the device is a household incubator BI1 (or BI2). The main parameter of any incubator is the capacity of incubated eggs. It is customary to measure this indicator by the number of chicken eggs, although duck, goose, and even quail eggs can be incubated. The BI1 model is represented by two types of incubators - for 36 and 63 chicken eggs. The first incubator can hold 24 duck / goose / turkey eggs or 84 quail eggs. In the second 40 and 143 respectively. The BI2 incubator also has two varieties - for 77 and 104 chicken eggs. If desired, ducklings, goslings and quails can be raised in them, as in smaller brothers.
Incubator Layer Bi2
Technical characteristics of the household incubator BI1 BI2 Laying hen
General characteristics for all models of incubators Laying hens:
- Powered by 220V.
- Power consumption 30-60 W depending on the model.
- The operating range of the thermostat is + 33 ° C + 43 ° C.
- Incandescent lamps or heating elements act as a heating element.
Incubators for 36 and 63 eggs are intended exclusively for domestic use. There is no need to talk about any farm, and even more so industrial use. Therefore, in the simplest configurations, nothing but an analog temperature controller is supplied in the kit.
Such a device is suitable only for young people in a zoo corner. The correct solution would be to purchase an incubator that comes with:
- Digital thermostat, because its error does not exceed ± 0.2 ° C. The analog one has ± 1 ° С and such an error can very often cause the death of embryos.
- Hygrometer. Allows you to control the humidity in the incubator, which also increases the percentage of chicks hatched. This device only monitors and does not regulate the humidity level in the incubation chamber.
- The mechanism of automatic turning of eggs after a specified period of time. It is necessary to turn the eggs regularly, otherwise the embryo can stick to the inner film of the egg. In this case, the chick will not develop or hatch.
- Additional output for connecting 12V autonomous power supply. A very useful option, especially where power outages occur.
In this configuration, the BI1 household incubator will cost only 30 percent more than the stock one. But this money is more than paid off during the operation of the device.
BI2 incubators for 77 and 104 eggs are technically more equipped devices. Although they remain formally household, they can already be found in small farms as spare. And for novice farmers, BI2 is often the first incubator. Here, a digital thermostat, for example, is not installed optionally, but as a basic one. There is even a complete set in the line of models - "BI2 incubator is 100% automatic".
However, the manufacturer also has budgetary configurations BI2: incubators without auto-rotation and without a hygrometer.
Unfortunately, household incubators BI1 and BI2 are not equipped with fans and there is no automatic water supply to regulate humidity in the incubation chamber. For daily airing of eggs, you just need to remove the lid for a certain time, and to maintain the required humidity, manually add water to the trays at the bottom of the case.
The range of domestic inexpensive household incubators is not limited to Laying incubators. For example, the Blitz-norm incubator is a very worthy competitor. Its body is also made of extruded polystyrene foam with a transparent plastic cover on top. Inside the incubator, at the bottom, there are two water trays and a tray for 72 chicken eggs is installed on the rotary mechanism. The control unit is mounted on the side panel outside the setter box. The device is equipped with:
- a digital thermostat with a temperature adjustment range of + 35 ° C ... + 40 ° C and an error of no more than 0.1 ° C;
- hygrometer;
- mechanism for automatic rotation of the egg tray;
- fan;
- an additional output for connecting an independent power supply 12V;
- an information display with a digital temperature display, a graphic display of the humidity level, light indicators of the operation of the heating element and the mechanism for turning the tray;
- sound alarm.
The disadvantages of the Blitz-norm model include a rather noticeable noise from the operation of the tray turning mechanism and a constantly running fan, as well as the not very convenient design of adding water to the baths
Operation of the household incubator BI1, BI2
If the device is new, with packaging, the rotary mechanism must be installed in it and the control unit must be correctly connected. This should not cause any difficulties; moreover, the brochure “Household incubator BI1 BI2 Layer Instruction” is included with the incubator. This guide provides step-by-step guidelines and diagrams for building an incubator.
Before laying eggs, you need to carefully check the electronics for correct operation:
- Pour water into the trays. The water temperature should be around 38 ° C.
- Turn on the incubator and set the desired temperature. It is advisable to put a second thermometer inside so that you can compare the readings and determine the clarity of the thermal relay. After a while, the inner space of the incubator will heat up to the desired temperature and the thermostat should turn off the heating elements. In this case, a click should be heard and the indicator light on the display should go out.
- Let the incubator idle for at least three hours. During this time, it is necessary to monitor the operation of the thermostat (the heating elements should periodically turn on and off, the temperature on the display should fluctuate within the permissible range). If the incubator is with automatic tray rotation, you need to pay attention to turning the drive on and off.
If during the test run no irregularities in the operation of the incubator were detected, you can start laying eggs for incubation. In the case when there are not many eggs, they must be laid sideways.If this is the operation of a BI1 household incubator without a rotary mechanism, it is highly desirable to put a mark on each egg on one side with a pencil (for example, a cross) - this way it will be more convenient to control which eggs are already turned over and which are not.
Incubators BI2 with electric drive
In BI2 incubators with an electric drive, eggs can be placed vertically, with a blunt end up, for greater capacity. After placing the eggs on the tray, close the lid tightly and turn on the incubator. If everything is done correctly and adjusted, adjusted and set, very soon the temperature in the incubation chamber will return to normal and from that moment it can be considered that the incubation process has begun.
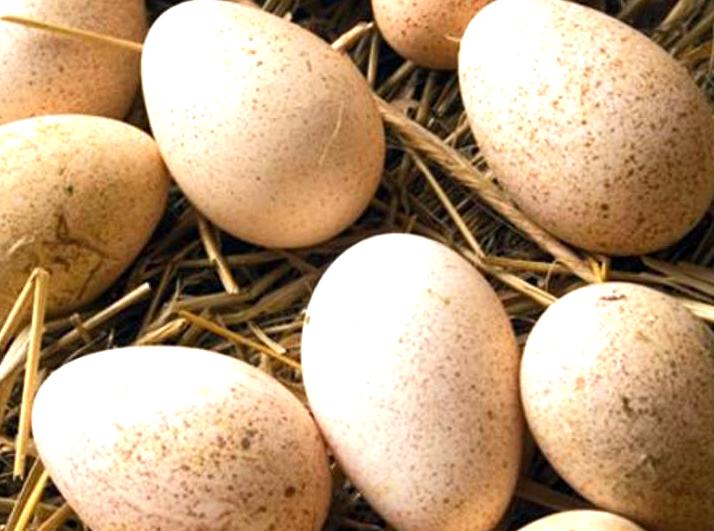
It is necessary to select eggs for incubation from healthy birds from one and a half years old. The egg should be medium in size, regular in shape, without growths and cracks in the shell. By the way, the shelf life of eggs directly affects the percentage of hatching of chicks:
| Storage time (days) | 5 | 10 | 15 | 20 | 25 |
|---|---|---|---|---|---|
| % output | 90 | 80 | 70 | 25 | 15 |
The temperature in the incubator is monitored by a thermostat, the eggs are turned over by the mechanism or by the poultry farmer himself. But what about the humidity, if, for example, a hygrometer is not installed in the BI1 or BI2 incubator? Then a so-called wet bulb thermometer is used. To do this, take an ordinary glass thermometer, one end of which is placed in a bath of water in an incubator. The difference between the readings of the dry and wet bulb thermometer can be used to calculate the humidity in the incubation chamber.
The instructions attached to the incubators for Laying hens give clear recommendations on how to increase the humidity to the required value in an incubator for chicken eggs. The table below shows the main characteristics of temperature and humidity during the incubation of chicken eggs in household incubators Laying hens:
| Incubation days | Pace. in an incubator ° С | Pace. wet term. ° C | Humidity% | Egg flip | Airing (cooling) |
|---|---|---|---|---|---|
| 01.07.2018 | 38 | 32 | 60 | Every hour | no |
| 01.08.2014 | 37.8 | 29 | 50-55 | 6 times a day | 2-3 times a day for 5-10 minutes. |
| 15-18 | 37.5 | 32 | 70-75 | 6 times a day | 2-3 times a day for 10-15 minutes |
| 19-21 | 37 | 32 | 80 | no | no |
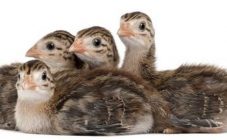
After all the chicks hatch and are transplanted into the growth cabinet, the BI1 (BI2) household incubator must be thoroughly cleaned of organic residues and then disinfected.
Faults and repairs of household incubators BI1 (BI2) Laying hen
The incubator manufacturer Laying hens has a 24-month warranty on its products. During this period, failed devices must be replaced at the expense of the manufacturer. In general, the mechanical units in the incubator are quite reliable and almost never break down. If the automation or thermostat fails, it is better to replace these parts entirely - fortunately, they are not in short supply and are inexpensive.
Separately, it must be said about the case itself. Still, it is made of polystyrene, albeit very dense. Therefore, you need to handle it carefully. Of course, damage to the case in the form of dents, cracks and broken pieces does not apply to warranty cases, the manufacturer will not change the old collapsed incubator case to a new one for free.
Summing up, the Laying incubator has the following advantages:
- Due to the material, it is quite light;
- For the same reason, the price for it is very democratic;
- The device is reliable and, when used carefully, is durable;
- All components, in the event of a breakdown, can be easily replaced by yourself, so repair costs are significantly reduced;
- A very wide range of models with a large selection of additional options, which allows you to almost completely automate the chick hatching process.
Note.The disadvantages of the BI1 (BI2) incubator, oddly enough, can be attributed to the same material from which the body is made. Expanded polystyrene is very fragile and easily damaged.In addition, it is quite porous and harmful bacteria and mold multiply in it very quickly, especially if the incubator body is not disinfected.
In general, the incubator Layer BI1 is quite suitable as the first incubator for a novice amateur poultry breeder. And the BI2 incubator with a digital thermostat and automatic egg turning has every chance to become a favorite assistant and experienced poultry farmer!