Content:
Gardeners often wonder if it is possible to transplant hosts in the summer to another place. This question is the topic of this article.
Hosta is a perennial plant, it can grow in one place for more than two decades. But the bushes need updating, replanting and dividing rhizomes. Separation is necessary in order to thin out the roots, as they thicken very strongly.
Is it possible to transplant hosts in the summer
Usually the plant is moved to other sites in late spring or early fall. In the summer, such procedures can also be performed.
Can I transplant to the host in July? Such actions are possible. You just need to prepare: buy seedlings with a clod of earth. Only under such conditions is there a chance that the plant will take root. Also, many are wondering: is it possible to transplant the host in August. The process of moving a plant around the site at this time is no different from others.
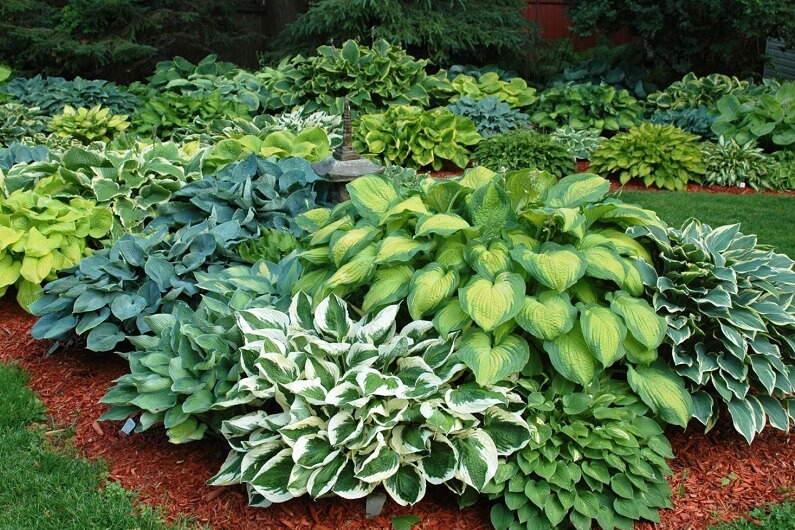
Hosta
With some effort, the hosta can handle the separation and summer transfer well.
Features:
- Before planting, it is necessary to water the roots of the plant abundantly.
- Pour humus into the hole and water it.
- Use a sharp object to pry off the hosta bush with roots and leaves. Divide the sprouts. Treat the sections with fungicides or brilliant green.
- After processing, divide into parts.
- You need to take a stalk with 2-3 shoots. Can be planted directly into the hole.
- If you take a single sprout, you will have to wait a long time until it grows. You need to carefully monitor the condition of the plant.
- The leaves must be almost completely removed so that less moisture evaporates and the root system grows better.
- Keep the ground moist.
- Saplings need to be shaded from the hot sun.
- Immediately you need to think about a permanent place for the landing of the hosts, since it will grow strongly, and it will live for many years.
- To carry out a transplant in cloudy cold weather or in the evening.
Transplant hosts
Step-by-step transplant instructions
To start a transplant, you need to find a suitable site for this.
Site preparation
You need to decide in advance where the host will be planted. Two weeks before the procedure, you need to dig a planting hole. The holes are made so deep that, when planting, the plant looks out a little from the ground. So, in the spring, it is convenient to observe the development of the hosts.
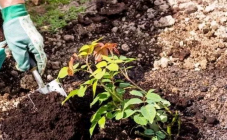
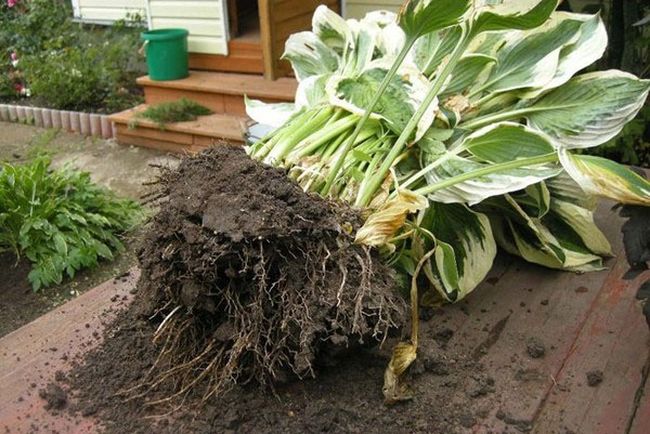
Extracting a bush
Moisten the soil under the bush two hours before transplanting. Dig in the flower around the perimeter with a shovel. This will facilitate further work. It is not necessary to approach the roots very much, but it is also undesirable to retreat far. Large hosts can be very heavy and difficult to move. Also, the roots of the hosta grow widely and deeply, it can be very difficult to pull them out. Next, you need to remove the bush from the ground.To do this, you can use a pitchfork or other garden tool. Sometimes one gardener cannot cope with the extraction of hosts, he needs the help of a partner. Two people, pulling a pitchfork under the roots, pull the hosta out of the ground.
You can use a garden fork (a special device with three teeth and a handle, about 30-40 cm high) to carefully remove the roots from the earthen ball. They are also cleaned in another way. You can lift the flower by the stem and hit the ground a few times.
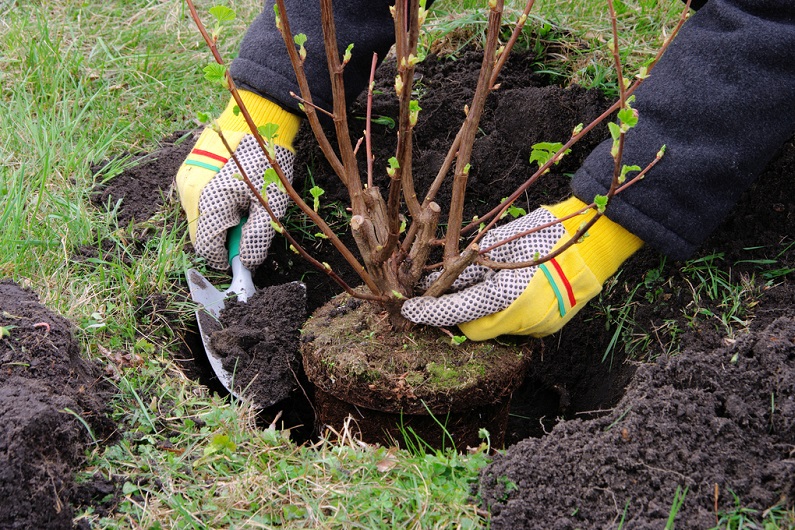
Splitting a bush
To get several from one bush, you need to divide the hostu into three or four seedlings with your hands or with a sharp knife. It is necessary to try to minimize damage to the roots, carefully untangle the roots with a garden fork.
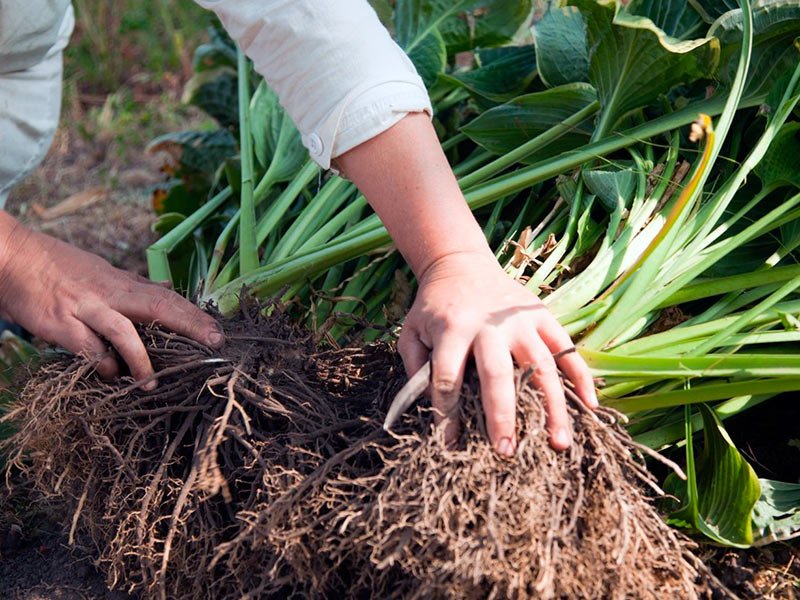
Splitting a bush
Part of the leaves must be removed from the top of the seedlings, this will reduce the evaporation of moisture, the plant will not waste energy on it. The rooting process will be faster.
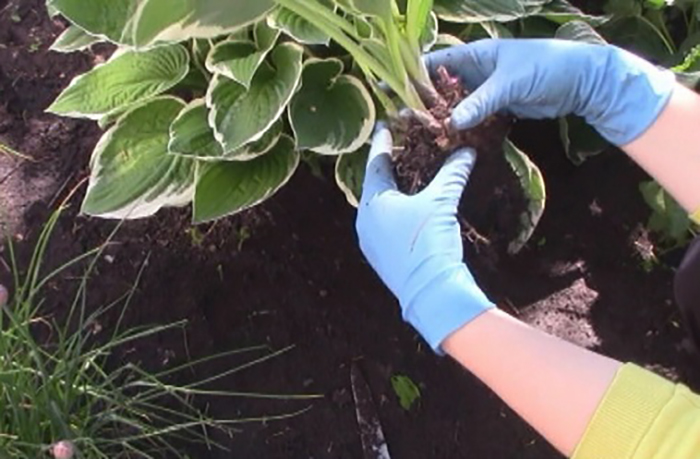
Checking roots for diseases
Once the roots have cleared, the plant is checked for possible problems. Thoroughly examine the entire host and root system. Rotten, dry, too long shoots are removed and pruned. Disinfection is carried out with a special fungicide. This will be a preventive measure in the event of possible diseases of the hosta roots.
Disembarkation
Bushes are planted in a prepared planting hole, according to the size of the root system. Deepen the plant 3 centimeters below ground level. The roots are evenly straightened. It is necessary that the processes of the hosta are visible on the surface of the earth. Cover the plant with earth and press it a little.
Disembarkation hosts
After transplant
The plant is watered abundantly. This allows the root system to adapt more quickly to a new location. In the future, the land around the hosta needs to be mulched. For this, dry peat or another material suitable for this procedure is suitable, so weeds will grow less, it will be easier to care for the host.
After transplanting, the host does not gain volume for a long time, about a year.
In the third year, new bushes will reach the size corresponding to this variety.

Watering hosts
Tips & Tricks
Experienced flower growers and summer residents advise:
- It is better not to transplant the host where another variety grew. This can lead to the occurrence of diseases, and also affect the survival time of the bush.
- Young flower arrows need to be broken out for the first few years. This will help the bush to acquire the correct shape, and it will also grow beautiful leaves. After all, hosts are mainly grown for decorative purposes, their foliage is especially appreciated. Separate different varieties: Royal Standard, Fragrant Bouquet, Aphrodite, Summer Fragrance, on the contrary, give bloom. Buds are not removed from these crops.
- In order not to heat the root collar of the culture, it is necessary not to mulch miniature and dwarf hosta varieties with humus or compost. In shaded areas, suitable for these purposes: stones, gravel, pebbles, but not in the open sun. Heated stones can burn the leaves of dwarf varieties. Pine bark and peat are not recommended as mulch, as they make the soil acidic. Mulch can attract slugs, which are very fond of eating hosta. To get rid of the pest, eggshells or shell chips are added to the mulch.
Even a beginner can transplant a host to another place, since the plant is unpretentious and does not require special care rules.