Content:
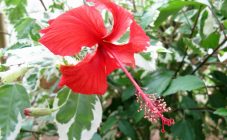
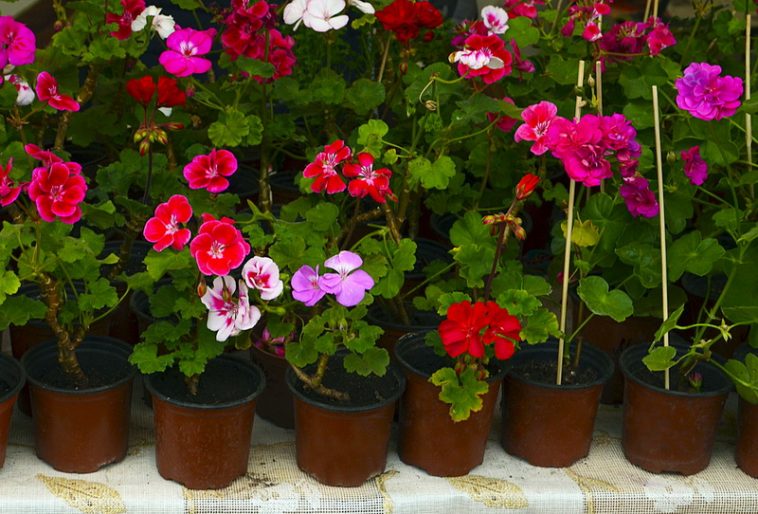
Pelargonium is well known to almost any experienced florist, caring for it is quite simple, the variety of species and forms impresses even sophisticated connoisseurs. The most popular types of pelargoniums for growing in central Russia:
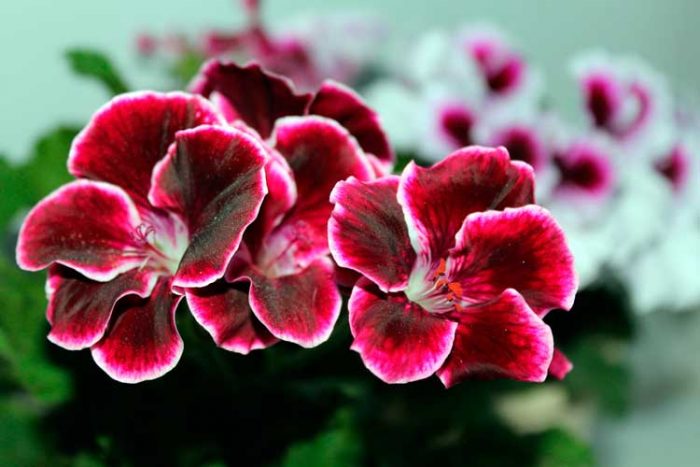
- Royal pelargonium grandiflorum;
- Terry pelargonium (Shelk Moira, Bold Carmine, Mimi varieties);
- More rare, but very graceful tulip geranium.
The decorativeness of the plant and the abundance of its flowering depend on how to care for pelargonium. Pelargonium (or home geranium) is a hardy and unpretentious flower. At the same time, it is still necessary to comply with some rules:
- The plant loves a warm and well-lit place;
- For comfortable development, it is necessary to monitor the humidity of the air and soil, as well as provide ventilation;
- In winter, the flower is in a state of rest and does not need fertilization;
- At the same time, in winter, the plant suffers from a lack of light and needs additional lighting. If the leaves become faded and dry, then additional lighting must be created;
- You can avoid burns on the leaves by shading at noon;
- The watering regime must be changed, depending on the season of the year.
How to care for pelargonium
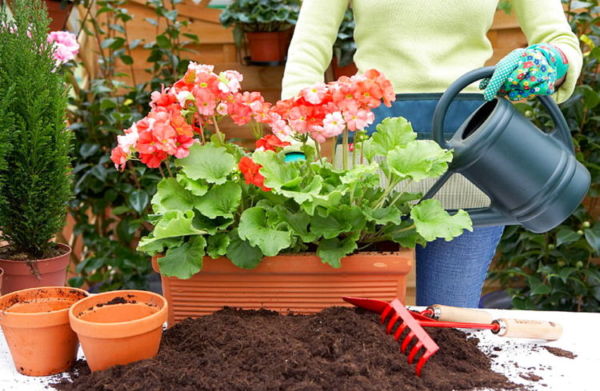
Planting pelargonium
Before planting, you need to carefully prepare the soil for pelargonium, the composition of which should include peat and river sand. The substrate should be light. The acidity should be medium or neutral. It is not recommended to add organic compounds, as they reduce immunity against fungal diseases. Adding a small amount of humus is acceptable.
For planting, you need to choose an open area in the garden where the soil warms up well. It is favorable to place the garden bed in a light openwork shade. In such conditions, pelargonium will bloom profusely throughout the season.
Planting pelargonium
Previously in the spring, the soil must be dug to a depth of 0.3 m. If the soil is tired or infertile, then the preparation should be started in the fall. Dig up and loosen the bed, add a complex top dressing and a little humus.
Pelargonium is planted in open ground with seedlings grown in a pot at home. The distance between the planting holes in the flower bed and the row spacing is 0.2 m. For large varieties, the distance can be doubled.
If the seedlings are stretched out, then immediately after planting they need to be pinched. This will allow the plant to quickly take root in a new place.
Planting and growing geraniums at home
Growing from seeds
In order not to be mistaken with the choice, you need to know what the seeds of pelargonium look like.
If you have patience and knowledge, then pelargonium from seeds may appear on the windowsill, cultivation will be successful if certain conditions are met:
- Breeding by seeds is possible in greenhouse conditions. They are created using a tray covered with film or glass.Airing is necessary periodically;
- Before sowing, the seeds are soaked in warm water for 3 hours;
- 7 cm thick soil is laid in the sowing container, lumps are broken and slightly crushed;
- The surface is irrigated from a sprayer and left at a temperature of + 20 ... + 23˚C for a day;
- The seeds are spread into the soil with a distance of 2 cm and slightly sunk into the ground. The flat side should be underneath. Sprinkle the seeds a little with earth;
- Lightly moisten the top layer through a spray bottle and cover with glass or foil;
- The box should be in a warm, well-lit place until shoots emerge. As the top layer dries up, the soil is slightly moistened;
- The optimum temperature for seed germination is + 18… + 24 ˚C. If the conditions are met, the sprouts will hatch within 2 weeks.
Pelargonium at home
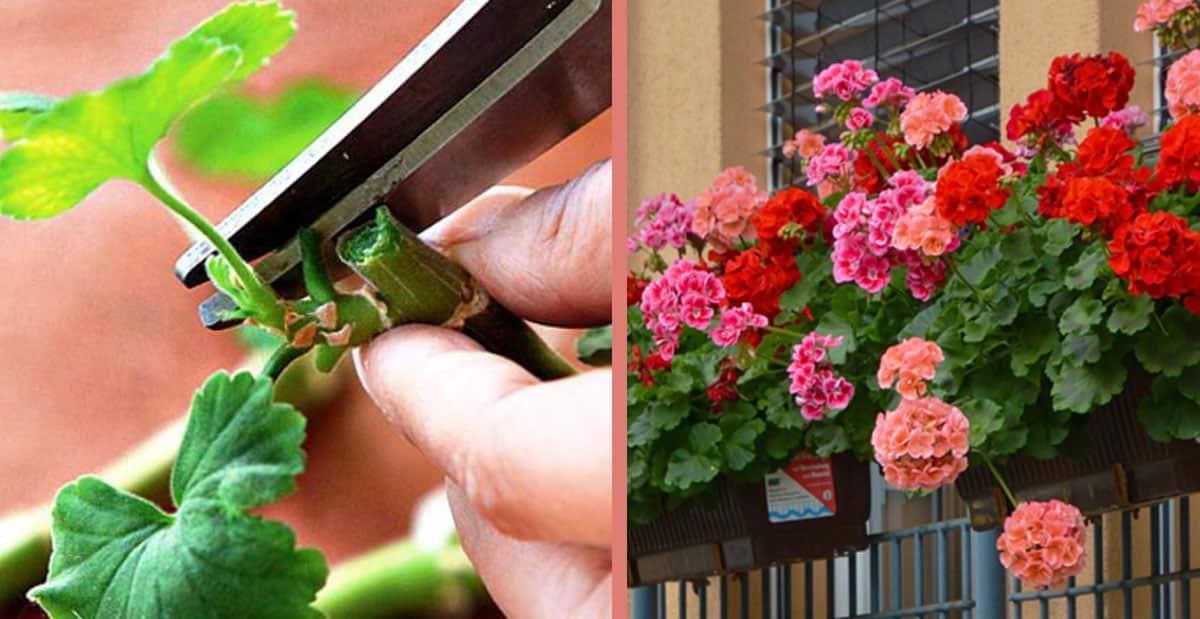
Propagation by cuttings
Pelargonium cuttings are a very simple breeding method. The optimal time for the procedure is from early spring to mid-summer. Since it is possible to root pelargonium with cuttings from any material, they usually take the branches left after formative pruning in spring or when shortening the stems in summer. The length of the cutting should be 5-10 cm, it is not necessary to remove the leaves. Then 2 incisions are made under and above the kidney. After the pelargonium has been prepared, propagation by cuttings is done by growing the root system in an opaque container filled with 5 cm of water. The water must be changed every two days. You need to cut the plant on the window. With good lighting and a comfortable temperature, the roots will appear in 1.5-2 weeks.
Pelargonium can also be propagated by cuttings in special peat tablets. Rooting occurs quite quickly, since the tablets are saturated with trace elements. The tablet must be poured with water and allowed time to swell. In the center, you need to make a depression and place a stalk with roots there. Then the structure is exposed on the windowsill.
Pelargonium pruning
Pelargonium pruning
The quality of flowering and the appearance of the bush primarily depends on whether the pruning of pelargonium is carried out correctly. Thanks to this procedure, you can solve several problems:
- Since pelargonium can be propagated by branches left over from pruning, this is a good way to collect quality material;
- Lush abundant flowering directly depends on the quality of the pruning;
- Creating the correct shape and maintaining a decorative appearance;
- Stimulates the growth of lateral shoots and new buds.
How to properly prune pelargonium to preserve and enhance the beauty of the flower:
- For trimming, you need to take only a sharp tool with a thin blade, for example, a stationery knife;
- Scissors are not suitable for this procedure, because they pinch the branches and break the tissue;
- The cut is done exclusively on the external kidney;
- The cut site is disinfected with coal;
- To speed up the growth of green mass, after pruning, it is recommended to fertilize the bush with nitrogen;
- Formative pruning is done at the end of flowering in the fall. You can safely remove the length of all branches by a third;
- To stimulate growth, light pruning is carried out in the last days of February or early March. Removal must be done carefully and deliberately. Only weak and overgrown branches can be cut, leaving 3 buds.
Home care for pelargonium
Top dressing
How to feed pelargonium for abundant flowering? Pharmacy iodine gives a violent flowering after 2-3 top dressing.The soil is moistened in advance and a solution of iodine is made (1 drop per 1 liter of water, 1 drop of hydrogen peroxide can also be added here). It is recommended to use 50 ml of ready-made solution for 1 bush. It must be poured strictly along the edge of the container, avoiding contact with the plant. Top dressing should be done once a month, from May to September. An overdose is extremely harmful to the plant - iodine can burn the roots.
You can buy vitamins B6, B12 in liquid form at the pharmacy. They are recommended for use in June to stimulate flowering. 1 ampoule is dissolved in 2 liters of water. With this solution, you can do full watering every 20 days.
Organic matter often destroys the plant, however, it is worth adding it periodically. Once every three years, you can feed the bush with a very weak solution of rotted bird droppings. It is forbidden to apply fresh fertilizer. Mullein and dung are also not recommended. These fertilizers are too active and aggressive for pelargonium. Most often, pelargonium has enough mineral dressings, it blooms quite well without fertilizers. Therefore, organic matter should be treated with great care and used as a last resort.
Growing geraniums at home
How to pinch pelargonium
- The pinching is carried out with a sharp sterile instrument. Hands should also be clean, you can work with gloves;
- If the pinching is done by hand, then you do not need to pull the plant;
- Before the procedure, you need to inspect the plant and find the growth point. It is she who needs to be pinched so that the trunk does not stretch. If the tip is young and soft, then pinch it with your fingers, if - lignified - with a sharp blade;
- After the procedure, the plant is immediately exposed to a sunny place;
- All branches that thicken the bush, that is, those that grow inward, are subject to removal. Too thick crown impairs air exchange and provokes the development of diseases;
- If the distance between the leaves is too large, the bush looks bare, then the pinch is done over the leaf;
- If the pinching is done for sanitary purposes, then pinch the diseased branch together with the healthy area (4 cm);
- The place of pinching must be rubbed with coal;
- To prevent the plant from weakening, the pinching is done in several stages, giving time to recover.
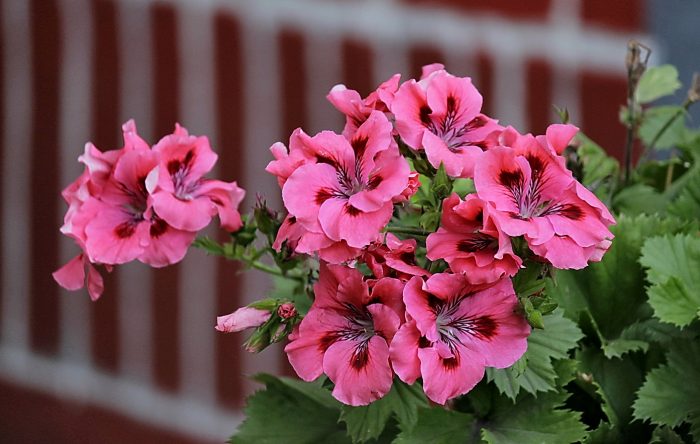
Pelargonium species
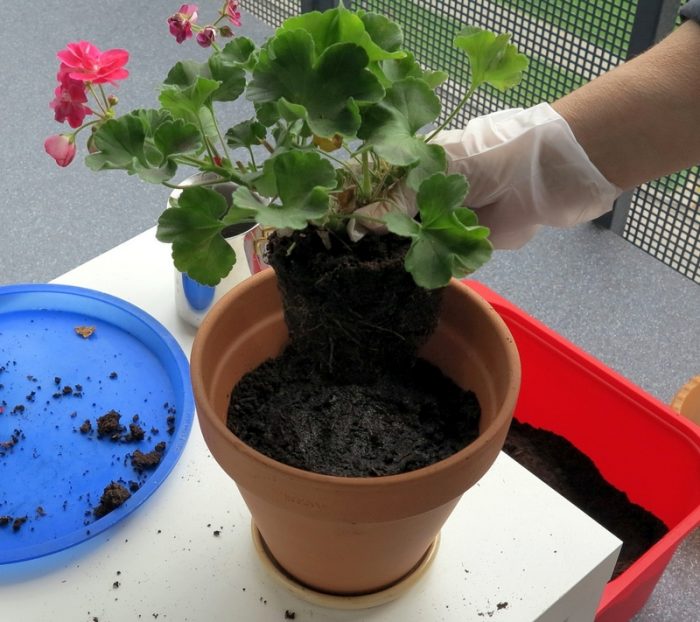
Pelargonium transplant rules
Many people think that pelargonium does not need a transplant, but this opinion is wrong. For example, garden flowers at the end of autumn are always transplanted into a pot and taken indoors, since pelargonium does not tolerate winter temperatures. This is very easy to do. The flower is dug up together with an earthen clod, the soil is not shaken off and immediately placed in a pot. This allows the flower to be moved with minimal stress.
In outdoor and domestic settings, the main reason for transplanting is the bay. Pelargonium does not tolerate excessive moisture. The root system rots. In this case, you cannot wait for a suitable period (autumn), you need to immediately prepare a new substrate, remove the flower from the previous growing place, dry the roots and immediately plant in new soil.
Another reason for transplanting is the overgrowth of the root system. In this case, not only the transfer of the bush is possible, but also its division (in this way, the bushes can easily multiply). This procedure is usually done in the spring.
The transplant should be done in light, drained soil. If natural drainage is not enough, then expanded clay should be poured onto the bottom of the pot or hole. Then the flower is carefully removed and set exactly in its new place. The voids formed at the edges are covered with soil and crushed. Watering after transplanting is possible only after 4 days.
Pelargonium Care Tips
Tips from experienced florists
- If the leaves turn yellow and wither, and a fungus also appears, then this is a sure sign of excess moisture. Therefore, the advice is to leave the soil dry rather than water it again. Pelargonium can easily endure drought, overflow can kill it.
- Pelargonium does not like spraying, this makes it easier to care for it.
- At home, you need to put a flower on the south window, on the site - choose the warmest sunny place.Pelargonium comes from Africa and loves warmth and light very much.
- The temperature should not be allowed to drop below +12 ˚C, otherwise it will stop blooming.
- Pelargonium loves milk. If you periodically water the bush with a solution of milk and water in a ratio of 1: 7, then the trunk and leaves will strengthen.
- If the leaves turn pink, don't worry, this is normal. You can call it a kind of tan.
- The first time after transplantation, the leaves of the pelargonium may crumble, the trunk may remain completely naked. Don't worry, this is a normal response to stress. After acclimatization in a new place, the plant will grow foliage again.
- So that in the middle of the season, pelargonium begins to bloom even more abundantly, it is imperative to remove dry and faded inflorescences.
- If the indoor flower does not bloom, then the reason may be in an oversized pot. Pelargonium does not need a lot of space and soil, it grows well, even when the roots have filled the entire volume of the pot. Therefore, during planting, you need to take a small pot with a diameter of about 10 cm.
- For the active growth of peduncles and abundant flowering, it is recommended to plant several ornamental bushes nearby or in one box.
- The wintering of geraniums must be cool (the temperature of the content is not higher than +12 ˚C). This will greatly affect the flowering of the next season. In addition, in winter, the flower does not need to be fed, it should be watered no more than 1 time in 10-15 days.
Experienced gardeners know how simple and convenient pelargonium is, the care and reproduction of this plant does not cause much trouble. It is necessary to give this plant a little care and attention, and it will respond with abundant flowering and a lush attractive crown. In this case, it doesn't matter where the flower grows: in a pot or in a flower bed, the basics of care are the same.