Content:
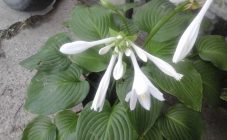
Hosta is a representative of the genus of perennial herbaceous plants that belong to the Asparagus family. They are dense bushes formed by basal leaves. The flowers resemble lilies.
This plant is very fond of many gardeners, summer residents, as it is unpretentious and has an enviable stable decorative effect. When inexperienced owners of plots see this plant, they ask themselves a question regarding breeding: "how do hosta plants reproduce?"
This article discusses how the hosta reproduces, the methods available for this, and also what its seeds are.
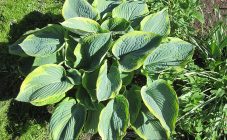
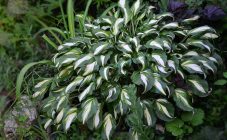
Hosta
Reproduction methods
The host plant reproduces, like all representatives of the Asparagus family, in 3 options:
- Seeds.
- Rosettes of leaves.
- Cuttings.
Reproduction of hosts by seeds
An obvious plus of this method is getting healthy, more hardy, weather-resistant plants. Most often it is used by breeders. Gardeners need to be patient, as seed propagation is a lengthy process.
Sowing seeds for seedlings is carried out in early April.
Hosta seeds
The seeds of the host plant look like oblong dark brown "raisins" in length of 0.5-1 cm. They are located in yellow capsules in place of faded flowers.
How to collect
The plant becomes mature 7-8 weeks after pollination. This happens around the end of summer, beginning of autumn. It is important not to miss the moment when the boxes turn brown, dry and open. This is a signal that it is time to stock up on material.
The collection lasts until the capsule is completely dry, the beginning of decay, no more than 3-5 days.
The collected seeds are dried at a temperature of 300-350 degrees Celsius until the maximum evaporation of moisture (the drying process takes about 5-10 minutes), cleaned of lionfish and placed in the refrigerator for 1 month.
How to store
Store in small bags of 30-50 pcs. in a dry, dark place, protected from children. Temperature - 10 to 40 degrees Celsius.
Shelf life is 2 years.
Seed preparation
Due to poor germination of seeds (seedlings give no more than 70%), they are pre-treated with growth stimulants: they are kept in solutions of epin, zircon.
Tank preparation
The ideal place for growing seedlings is a plastic pot with many holes in the bottom. Containers for growing are carefully processed: they are spilled with boiling water, then treated with alcohol.
The soil must also be sterile. It is best to purchase a store-bought primer. If you take home soil, then you must add potassium permanganate crystals, perlite, peat.
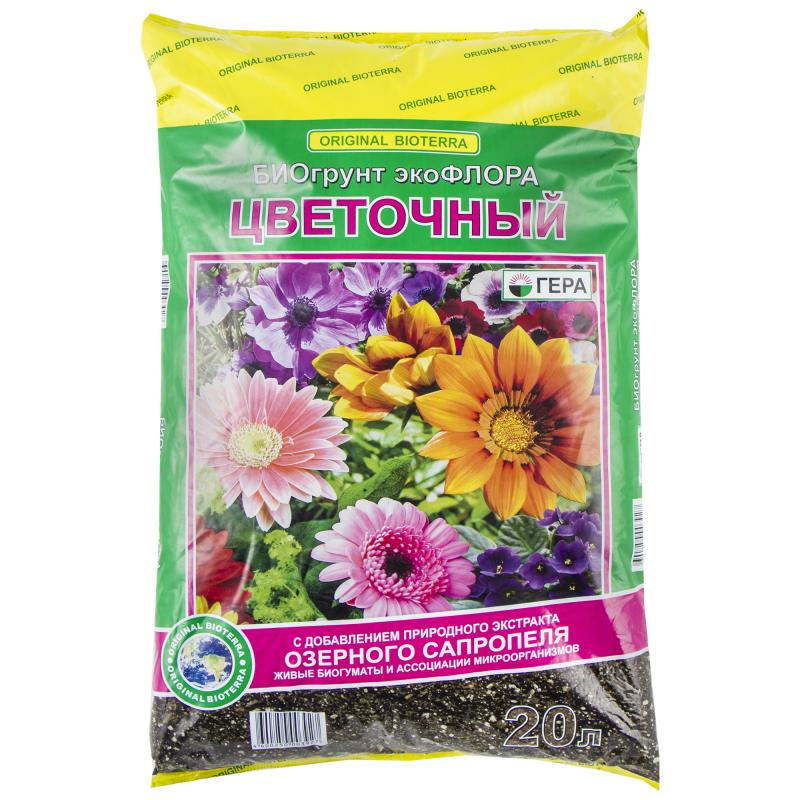
It is best to purchase store-bought primer
Planting seeds
Drainage and substrate are poured into the bottom of clean containers. Next comes a layer of wet soil, it is tamped a little. Seeds must be planted over the surface, covered with soil, with a layer of no more than 1 cm.
A film is pulled on top of the container.
Seedling care
The future seedlings are placed in a place so that direct sunlight does not fall on it
The future seedlings are placed in such a place so that direct sunlight does not fall on it. The room temperature should be maintained at 18-25 degrees Celsius. Open the film for 2 hours daily. Water in moderation, avoiding stagnant water.
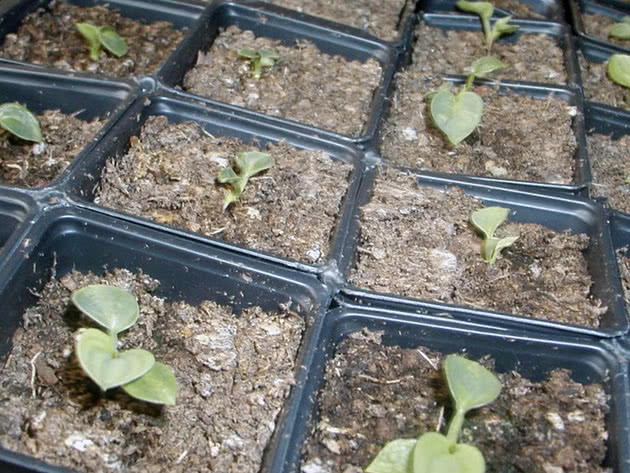
The first bores appear in 2-3 weeks.
When 2 leaves are formed on the sprout, the seedlings begin to dive (transplant into more fertile soil). Placed in a soil mixture sprinkled with sand. Moistened by bottom irrigation.
After diving, the film is removed, after 7 days they begin to take it out into the air every day for 2-3 hours, if the temperature is above 18 degrees Celsius.
Planting seedlings in open ground
It is necessary to plant in the soil on the site at a temperature of at least 20 degrees Celsius. Shade is ideal for growing. The holes are made at a distance of 0.5-0.7 m from each other.
Before planting, the soil of the seedlings is moistened, together with a lump of earth, they are pulled out of the pot and planted in the ground. Sprinkle, tamp a little.
Reproduction of hostas by dividing leaves
The method is not laborious enough, relatively fast. Compared to seed propagation, it is not time consuming.
Breeding stages of hosts by leaves
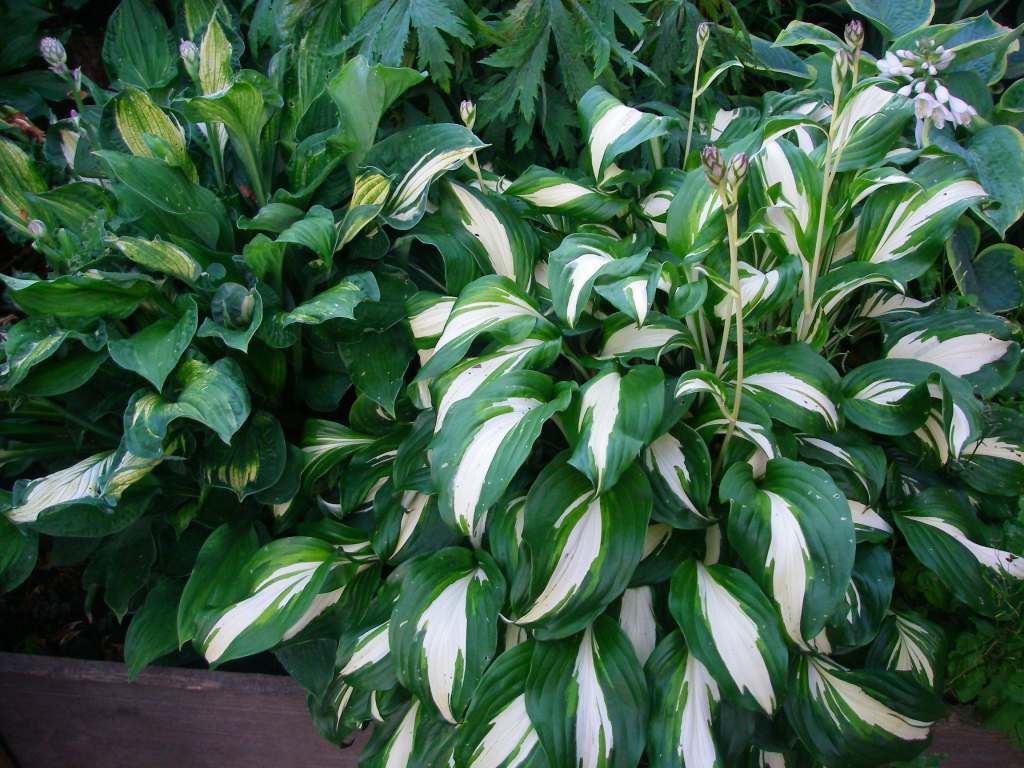
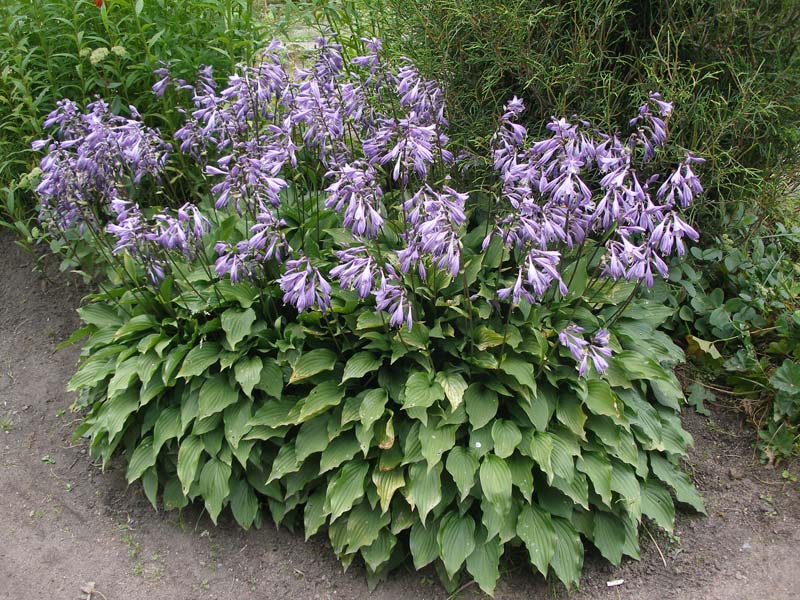
Reproduction of hostas by dividing leaves
The best time to grow is early summer or mid spring. The work is carried out in the following sequence:
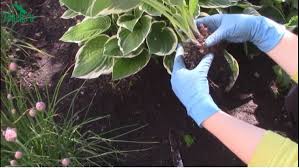
- After the emergence of shoots, it is necessary to cut off young rosettes with a piece of rhizome (heel) with a sharp blade. The cut site is treated with sand.
- The leaves are planted separately in a greenhouse or in a shady place under a transparent plastic bottle.
- They lengthen within 3-4 weeks. At this time, they need to be watered as they dry, it is necessary to raise the bottle no more than 1-2 hours a day.
- After growing, they are dug out with a pitchfork, transplanted to a permanent place, tamped, and then watered.
How to propagate hosta by cuttings
Method 3 is as fast as leaf propagation. Most often it is used by gardeners. If propagated to the host by cuttings, it will grow a hybrid specimen to its parent.
Instructions on how to cut the host
The whole process is very easy and does not require a lot of time and effort:
- Ø As cuttings it is necessary to look after young shoots with a "heel", small leaves on short petioles. Cut them off with a sharp knife.
- Ø Immediately after grafting, the hosts are pruned to a third of the leaf.
- Ø Planting material is placed in the shade or shaded.
- Ø Watering daily.
Landing rules
When growing, the following nuances should be taken into account:
- o For breeding, it is best to take a place that is in partial shade or in the shade. The surface should preferably be absolutely flat.
- o When planting, it is necessary to take into account the growth of the root - the holes should be made larger and wider.
- o Distance between hosts is about 0.8 m.
- o If the soil is not fertile enough, then it is best to add peat, vermiculite, perlite to it.
- o Sprinkle the soil and compact it so that the ground level in this place is a couple of centimeters lower.
- o It is advisable to add mulch in the form of crushed bark to the root area.
Care
The host requires minimal but adequate maintenance. If it is observed, there is no doubt that the plant will grow for a long time.
Watering
It must be carried out as the soil dries up - approximately 1 time in 3 days. The host does not tolerate swampy, damp areas.
Pruning
The plant needs almost no pruning. It is enough only once a year (in spring) to carry out a preventive procedure: reduce the size of the leaf plate, cut off old, rotten areas.
Fertilizer
For feeding, organic fertilizers are best suited, which are applied at the root after watering. Most often, mullein infusion is used 2 times a year: in summer and spring.
Mineral fertilizer granules can be embedded in the soil around the plant.
At least once a year, the soil should be mulched with compost. This will ensure moisture retention.

The most commonly used infusion of mullein
Transfer
Hosta perfectly tolerates the transfer. It is usually carried out in 2 cases:
- o Unsuitable conditions.
- o Plant overgrowth.
Preparing for the winter period
The opinions on this matter are contradictory. Some advise to cut the plant at the root in early November, others say that the hosta already tolerates winter well without it.
A person who has read this article will no longer have a question about how to propagate a host at home. Host breeding can be done easily by choosing a convenient method for yourself and not spending a lot of time. As a result, a gardener or summer resident will receive a magnificent ornamental plant on his site.